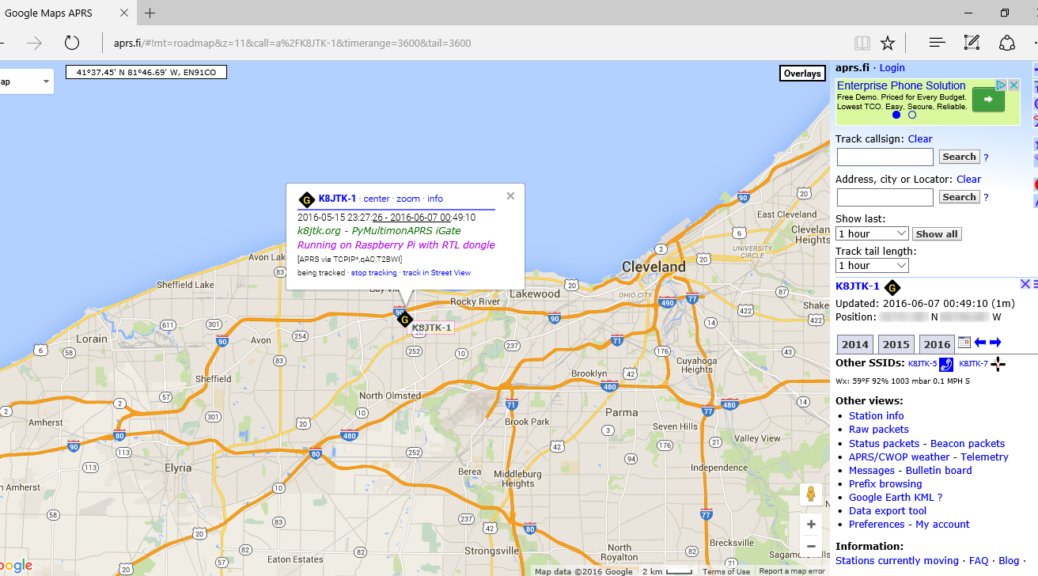
For sometime I wanted to experiment with an APRS IGate. Coverage was spotty at best in my area. There is an IGate in my city but it doesn’t receive so well. Recently there have been more IGates blanketing the area.
APRS stands for Automatic Packet Reporting System and has been developed since the late 1980s by Bob Bruninga – WB4APR. It’s a digital communication mode amateur radio operators use to primarily broadcast location information, though this wasn’t the intended use. It handles text messages, alerts, announcements, bulletins, and information of interest like weather station reports. APRS operates typically on a single frequency. A system of relay stations and digipeaters repeat messages over a wide area. APRS Internet System (APRS-IS) are Internet connected receivers (IGates).
Any ham can add an icon or information to the APRS map. The information is available on the Internet or to users on the local RF network. Data is automatically tracked over time. APRS is frequently used to track mobile stations in a public service event or volunteers in a search and rescue event to visualize locations and track progress.
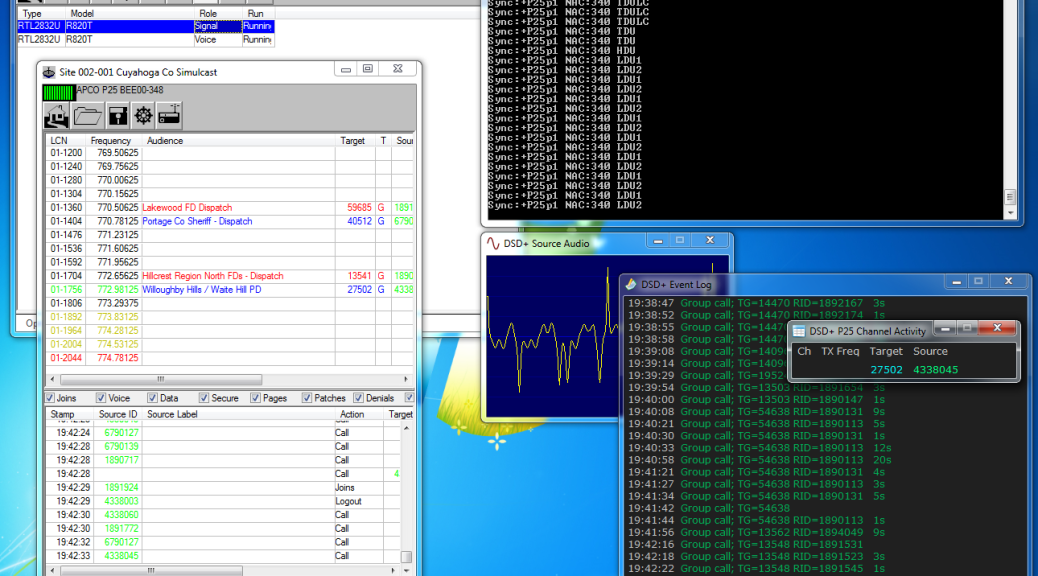
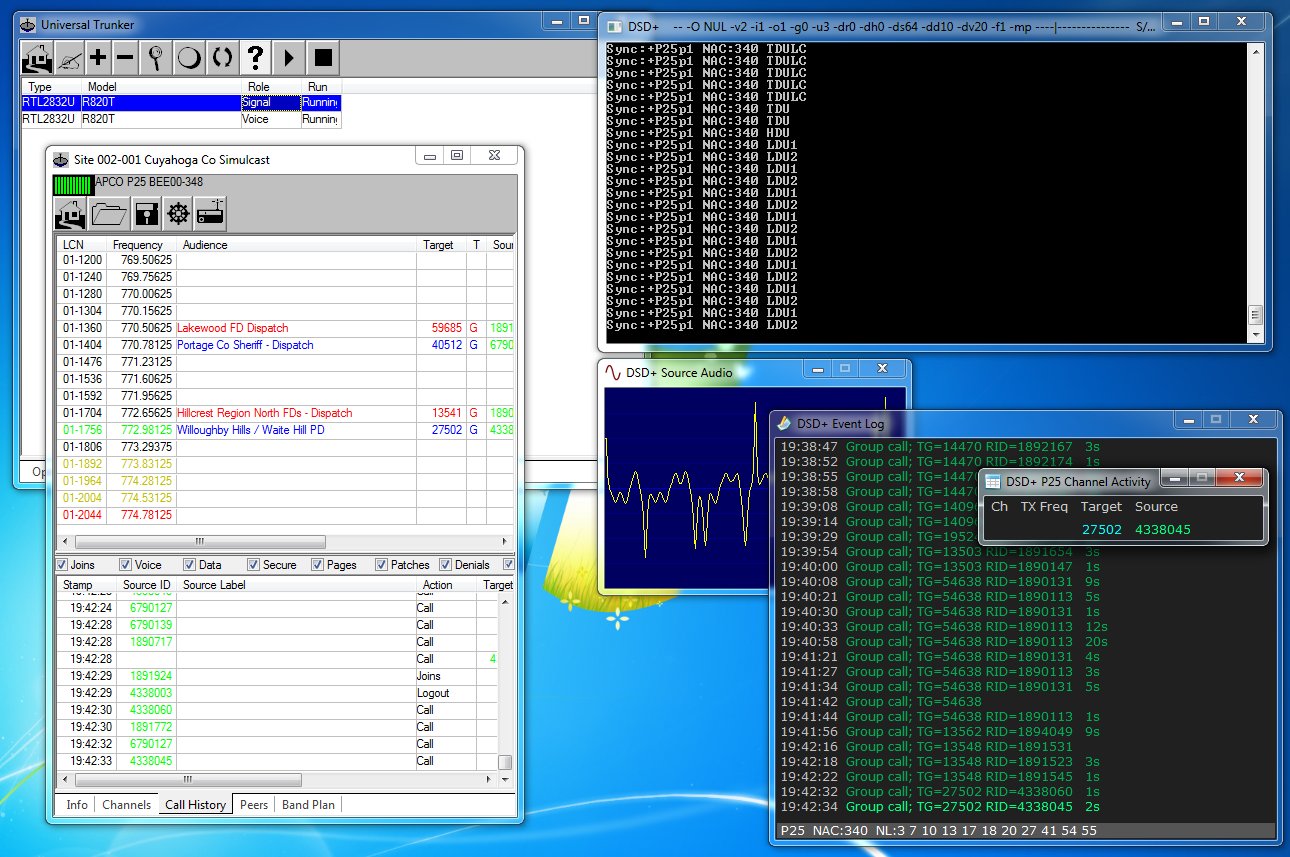
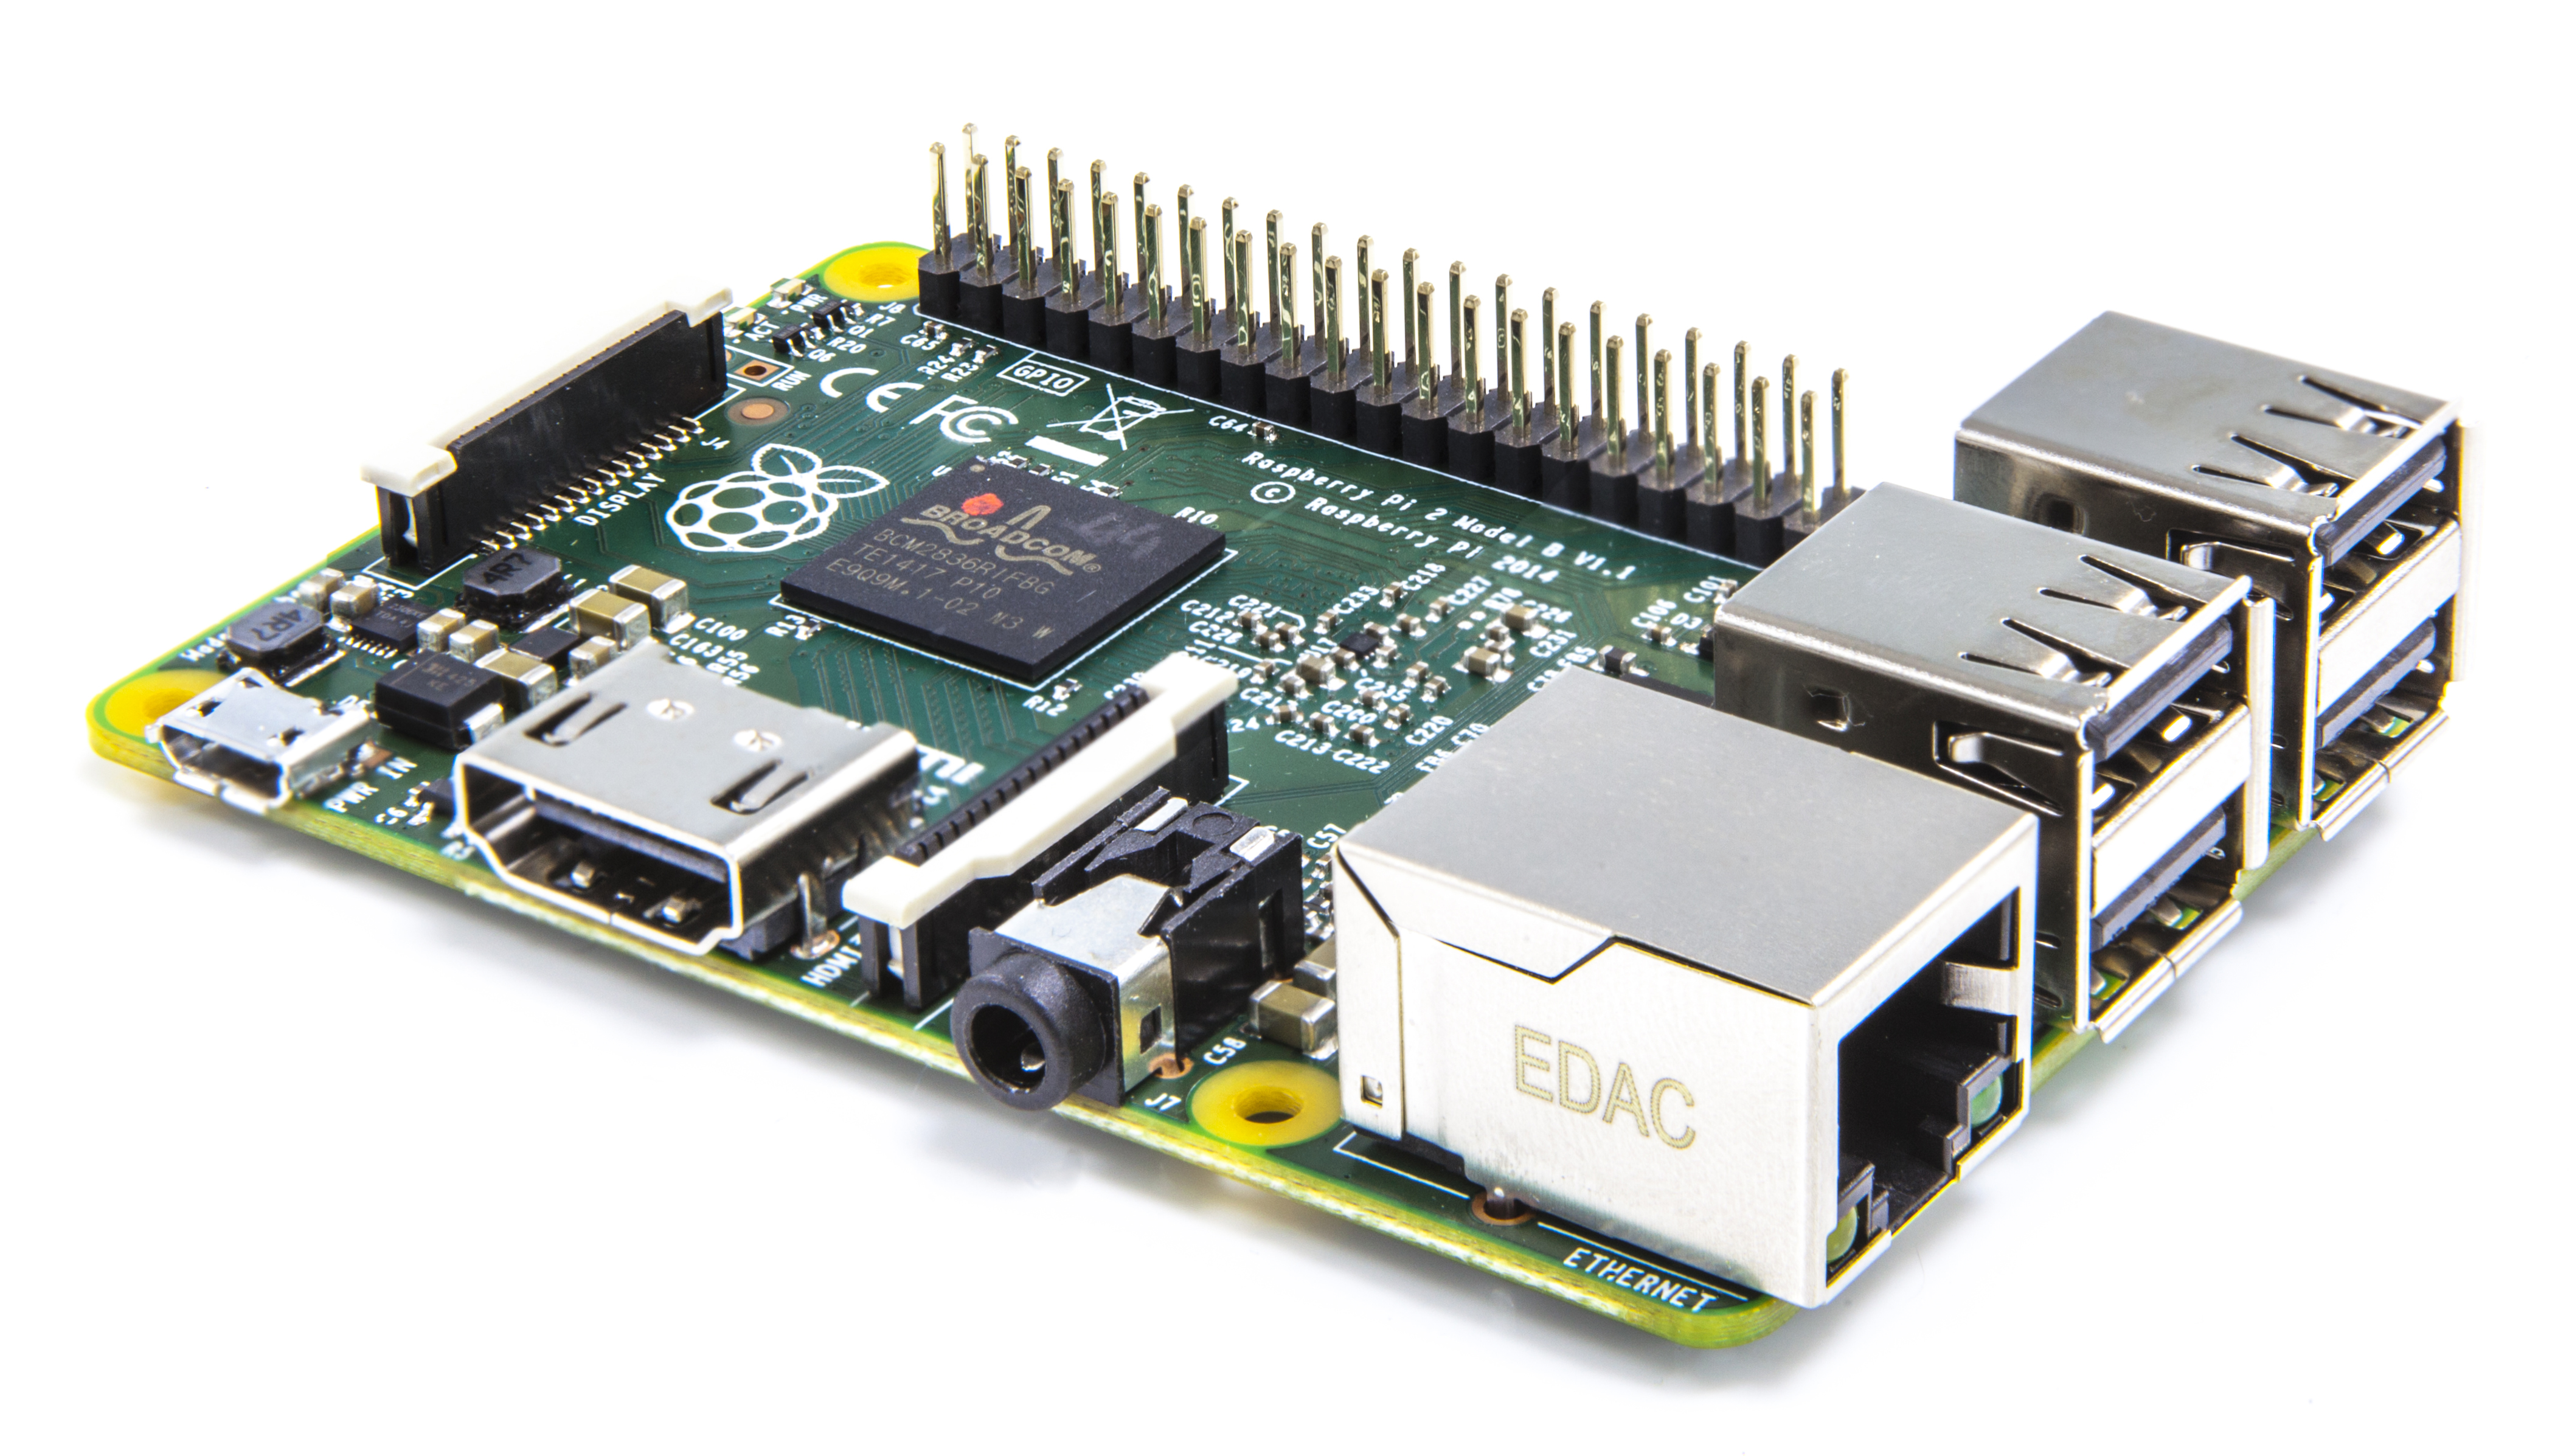
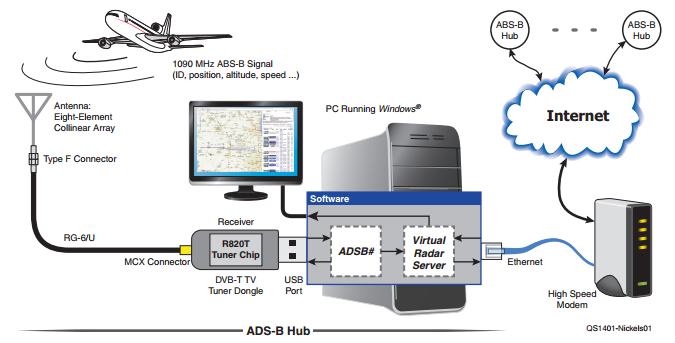
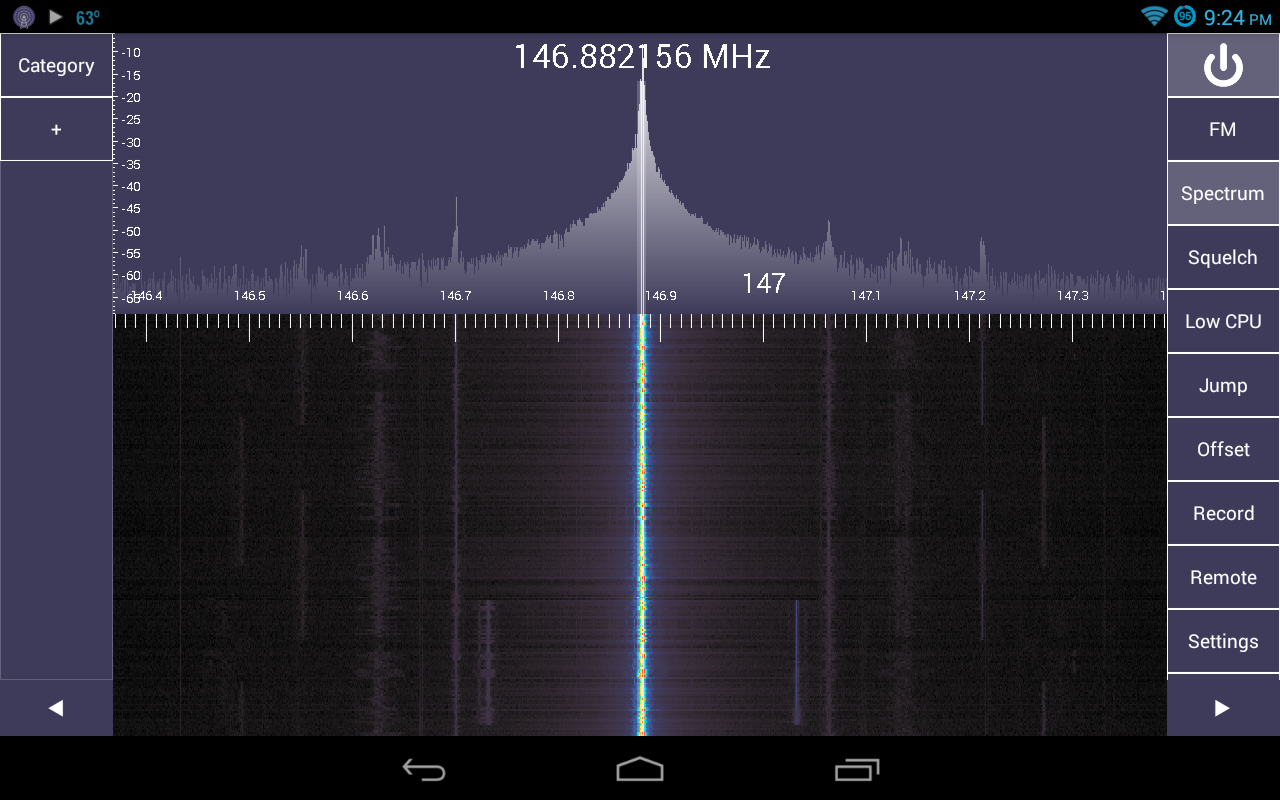
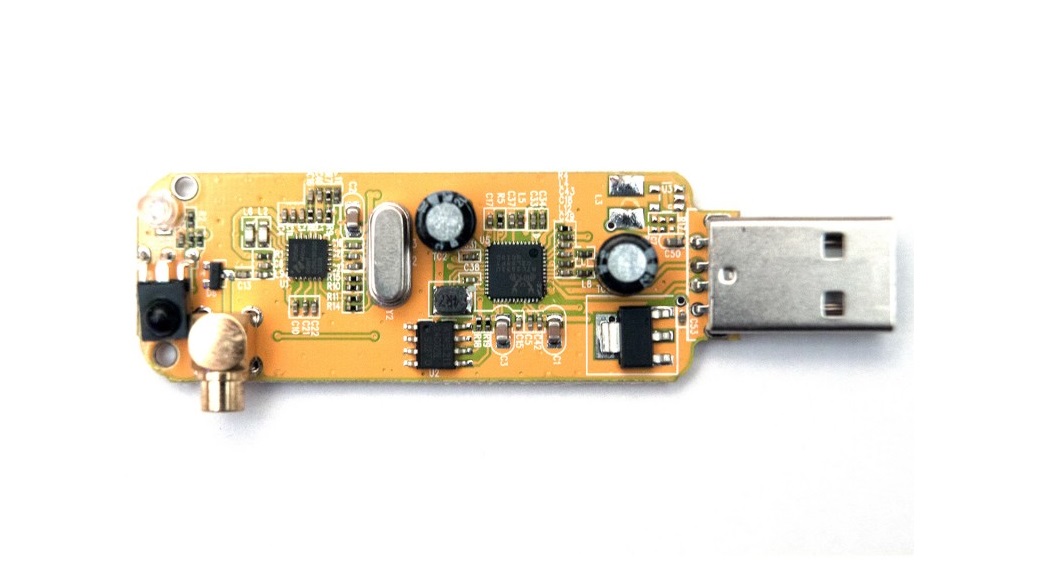
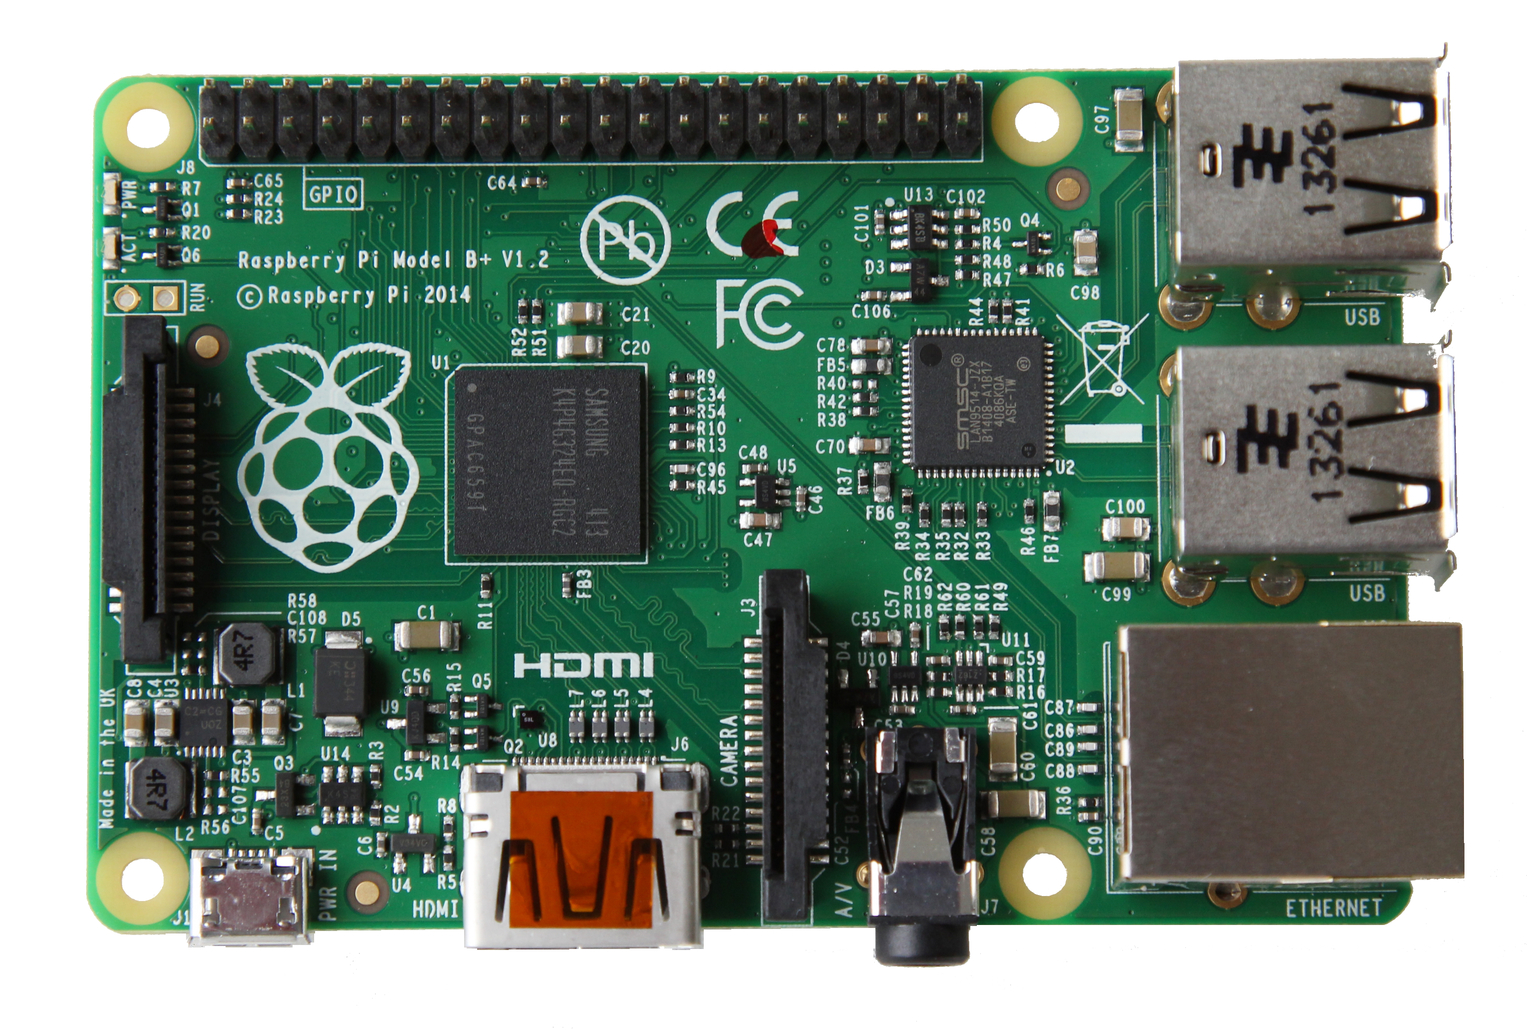
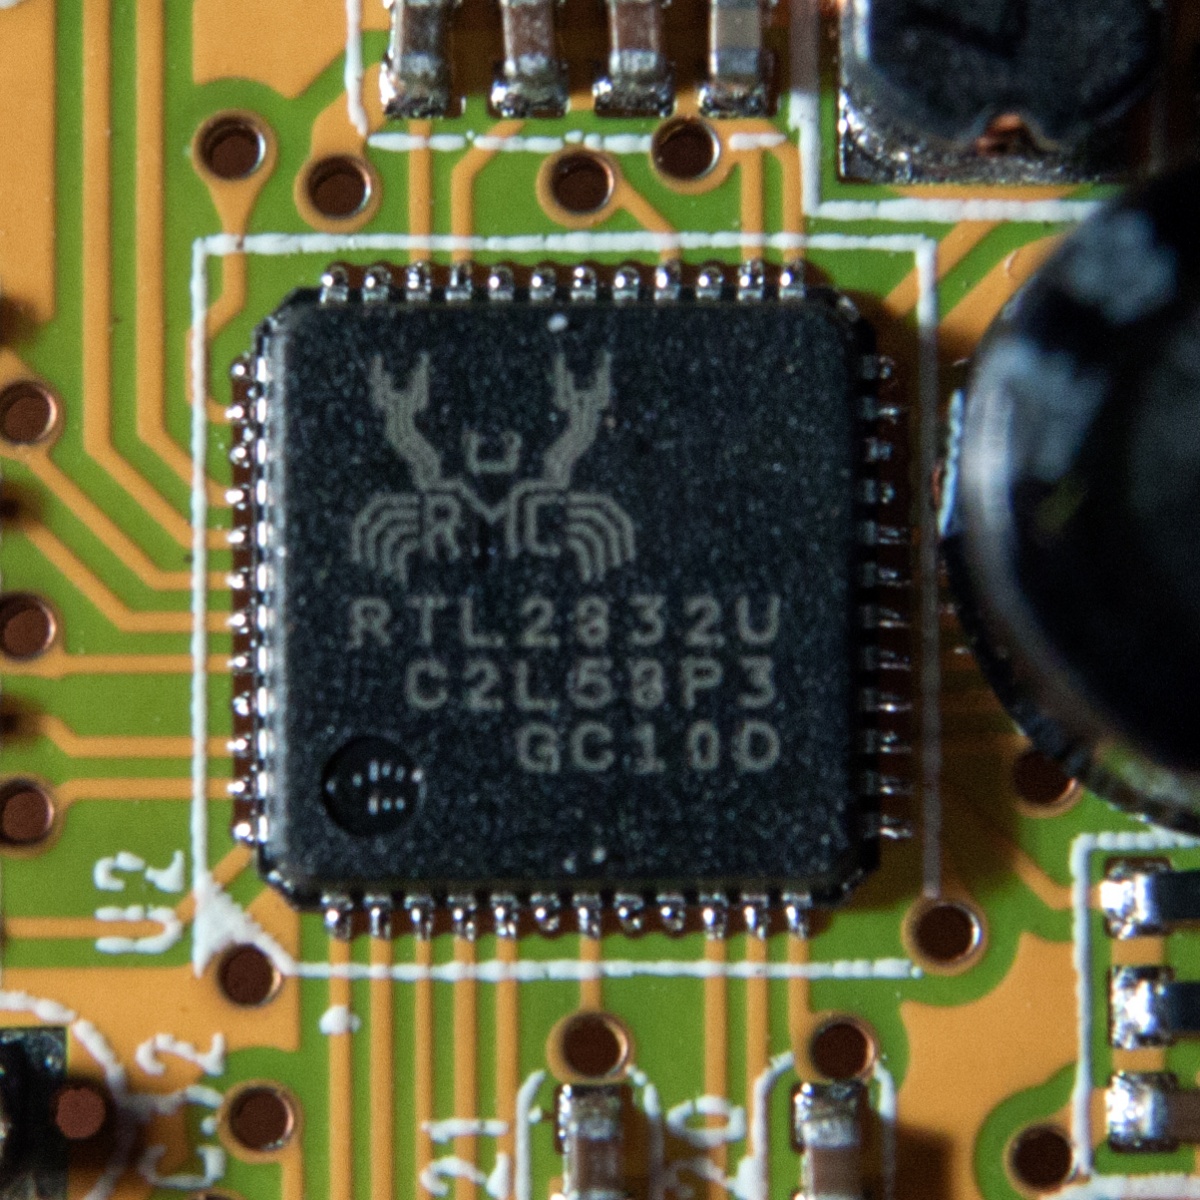
This project will utilize the Raspberry Pi and RTL-SDR dongle. The Raspberry Pi is a credit-card sized micro-computer intended for teaching computer science to students but became popular with the makers. RTL-SDR dongles are DVB-T (European standard) TV tuner dongles. It was found the signal data could be accessed directly which allowed them to be converted into wide band software defined radio receivers. The Pi costs about $35 and RTL-SDR about $20.
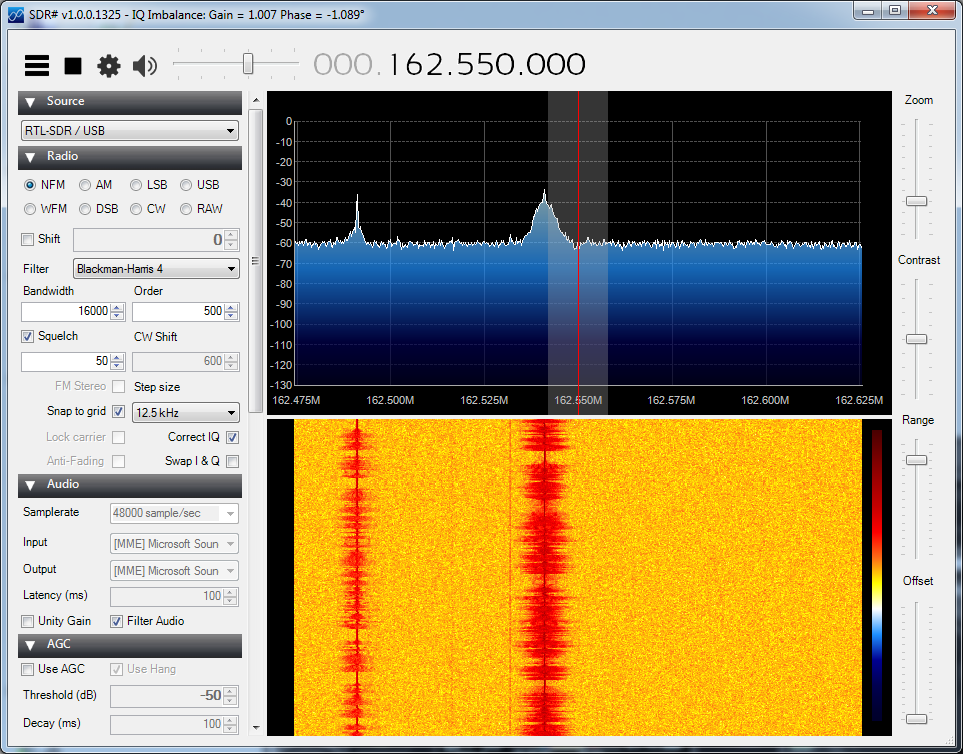
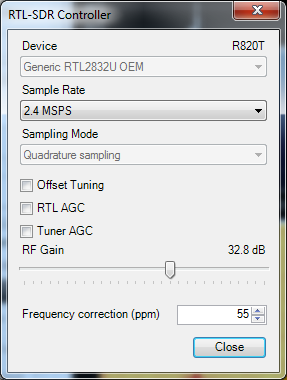
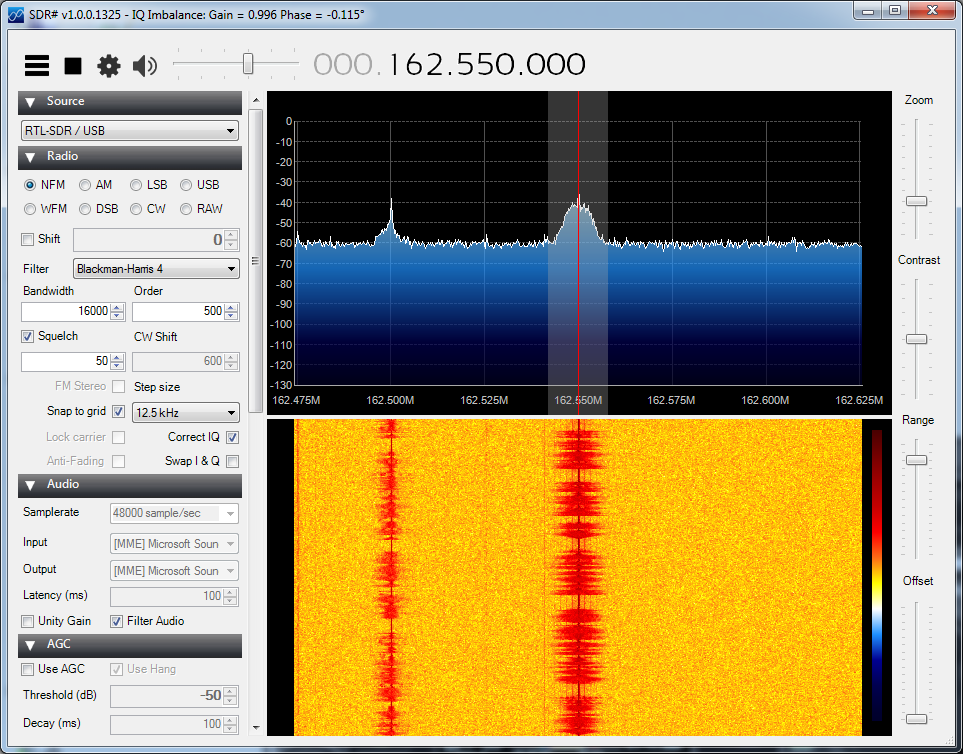
Since the RTL-SDR dongles are meant to receive high power wide bandwidth TV signals, they are not as as sensitive or frequency stable as a ham radio or scanner. Receiver performance will be a little less than an equivalent radio performing the same task but depends on the usual variables: amount of APRS activity, antenna height, antenna gain, propagation, etc, etc. With my antenna about 15 feet high, I get about 5+ miles of coverage. With band openings I’ve heard stations on the opposite side of town and across Lake Erie into Canada.
Even though this IGate will be non-transmitting (cannot relay packets from the Internet), packets are forwarded to APRS-IS. The higher profile – higher power Digitpeaters in the area will relay packets received by your IGate to the local RF network.
Assumptions
This guide is step-by-step in nature, meant for beginners, with brief explanations of the steps. It will help to have an understanding of Linux commands and scripting. Capitalization is important in Linux!
My setup is on my home LAN. The IGate could be installed at a remote site using a shared Internet connection. Be aware that firewalls that might block connection to the APRS-IS network on a shared connection. You may want to request or have port 22 open on your router for SSH to establish a remote connection.
If all wired options fall through, look for a cellular hotspot device such as a MiFi to install along with the Pi. Use the built in WiFi on the Pi 3 or approved WiFi dongles for earlier Pi devices. Associate the MiFi with your Pi (turning on WPA2 so no one else piggybacks on your connection). Test the setup before installing it. Don’t find out after leaving the site that the MiFi times out after a few hours.
Program versions
Applications and versions used in this writeup:
- Windows 10 64 bit
- Raspbian Jessie 2016-05-27
- Win32 Disk Imager 0.9.5
- PuTTY 0.67
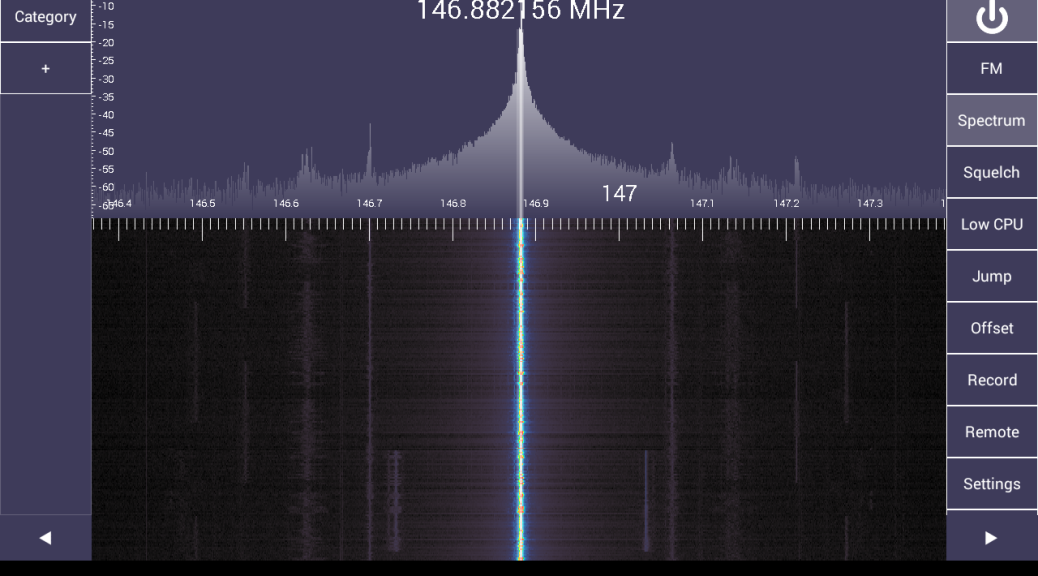
- SDR Sharp 1.0.0.1444
- RTL-SDR 0.5.3
- Multimon-NG ?
- Pymultimonaprs 1.3.0
Parts list
Listed below are all the parts needed to get this project working. It is noted when items can be left out or substituted.
- Raspberry Pi 2. A Raspberry Pi B+ could be used. Processing power required is minimal. Consider a Pi 3 when WiFi will be required.
- Adafruit Raspberry Pi B+ / Pi 2 Case – Smoke Base w/ Clear Top or select any of the other enclosures.
- 5V 1A (1000mA) USB port power supply
- SD/MicroSD Memory Card 8GB or larger.
- USB MicroSD Card Reader/Writer – microSD / microSDHC / microSDXC or a SD Card Reader/Writer that can handle SDHC cards.
- USB cable – A/MicroB
- Ethernet Cable
- HDMI monitor or Television.
- HDMI Cable for video.
- Basic USB keyboard. I used an off-brand 5V 50mA.
- Basic USB mouse. I used a Microsoft optical wheel mouse.
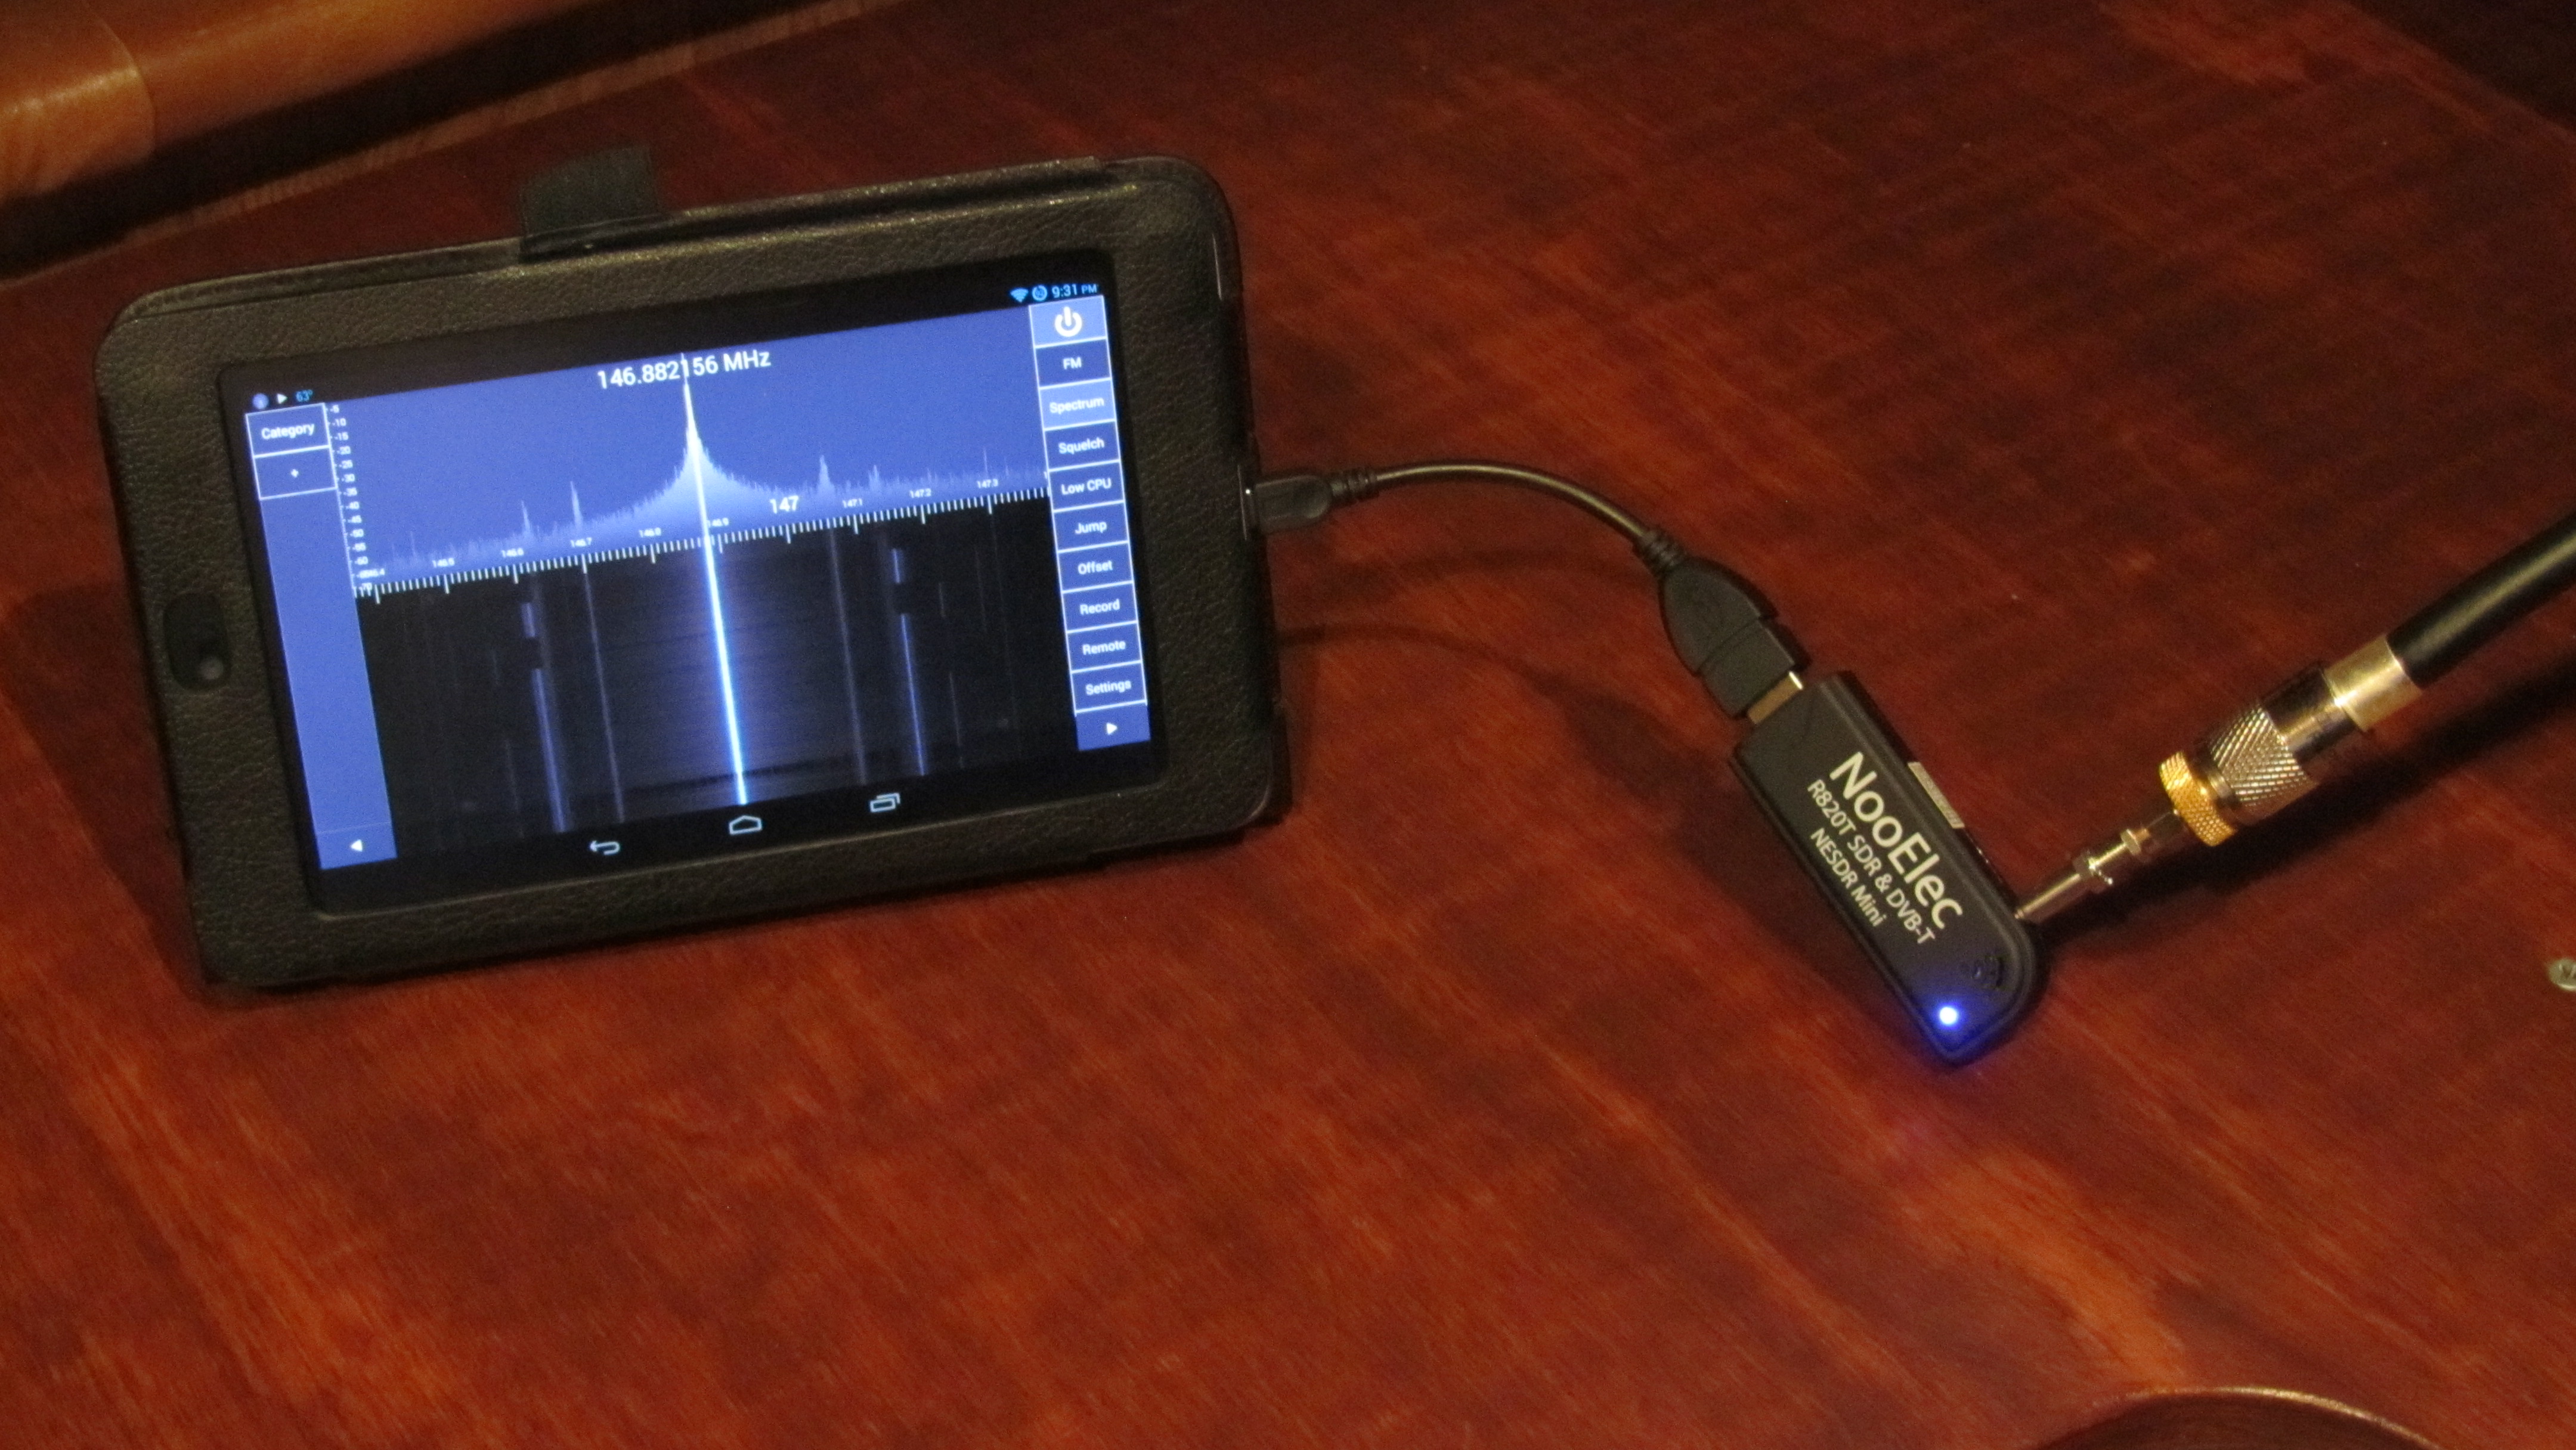
- NooElec RTL-SDR
- USB A-Male to A-Female extension cable. Optional, use for when the RTL-SDR blocks USB ports.
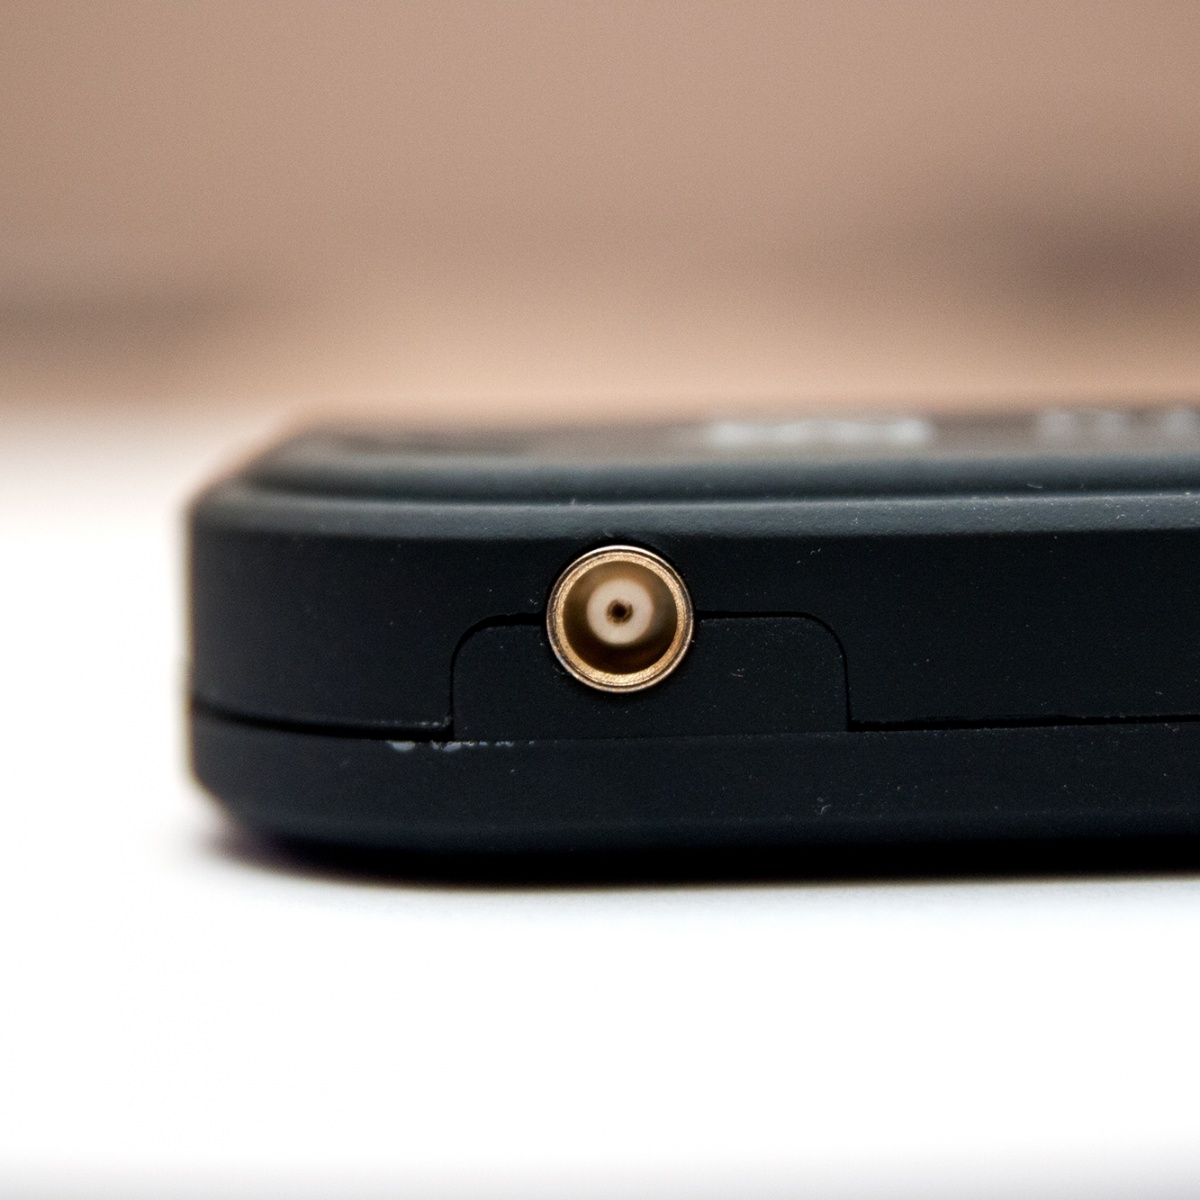
- MCX adapters. This will depend on the connector for your antenna: MCX to BNC, or MCX to SMA, or SMA to something else (search the net) maybe needed. You may need a second adapter to convert SMA to PL-259, for example.
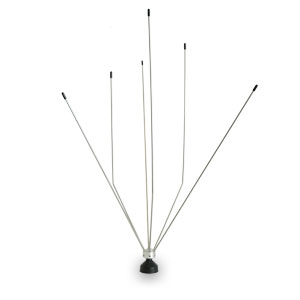
- 144 MHz (VHF) antenna. This is to your liking or situation. An existing ham antenna will work, or scanner discone since the IGate is receive only. Check DX Engineering (they are a Ham Nation sponsor) or any ham radio store.
That’s all the parts needed for this project. Check out the AdaFruit Raspberry Pi page for other hardware that might be useful, like the USB to PS/2 adapter for example. Many of these parts are included in the Raspberry Pi Starter Pack.