Burning the image
If you try to extract the Raspbian Jessie zip file using the Windows compressed folder utility under earlier versions of Windows, you will see an error message about there not being enough space on the drive. This is because the built-in Windows utility cannot handle files in an archive larger than 4 GB, the zip archive is NOT corrupt. Click Cancel. Then extract the Raspbian Jessie zip file using 7-Zip.
Extract the Wheezy Raspbian zip file using the Windows compressed folder utility or 7-Zip. Right-click on the compressed folder and click Extract All.
Uncheck Show extracted files when complete.
Then click Extract.
Insert the SD card into your computer.
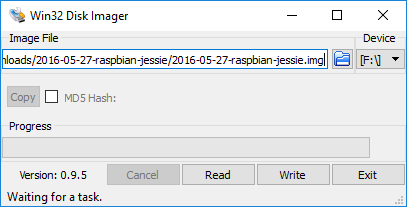
Start Win32DiskImager from the Start Menu if it is not already.
Under Image File, click the blue folder.
Select your image file. If the default download location is used, it will be something like: C:\Users\username\Downloads\2016-05-27-raspbian-jessie\2016-05-27-raspbian-jessie.img
Click Open.
The Win32 Disk Imager does a good job of detecting the drive letter of your SD card. Make SURE the drive letter under Device is correct! Select the correct drive letter if it is not.
Click Write.
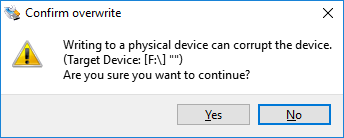
This is the last chance to verify the correct drive letter and cancel before overwriting the SD card. Click Yes.
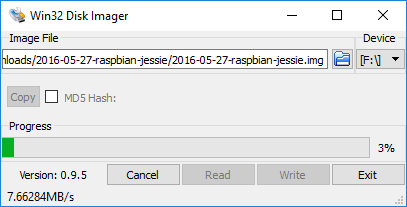
The image will be written to the SD card. This may take 5-10 minutes depending on the speed of the SD card and writer.
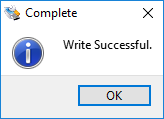
Once completed, click OK.
Click Exit on Win32DiskImager.
Don’t forget to eject the SD card from the Safely remove hardware and eject media icon in the Windows system tray before removing. Click Eject boot. Boot is the label of the SD card.
Remove the SD card from the computer.
The image has been burned to the SD card!
More bits
Win32DiskImager is a cool little program that will write Raspberry Pi distributions to an SD Card but it can also save images (read). This is useful to save a known project state, make copies of a project, use the SD card for other projects, or make an image to put online.
