As I continue to use Soundcard Oscilloscope in the shack, I find new uses for it. In a previous post, I showed how to use it to calibrate receive levels for Ham Radio digital modes. I’ve used Soundcard Oscilloscope to understand DSP (Digital Signal Processing) features of my radio. I have an ICOM IC-7000 which doesn’t have any of the features the newer/larger radios: waterfall display, frequency display, or oscilloscope. As a substitute, I’ll fire up Soundcard Oscilloscope to set filters eliminating loud adjacent stations or set a manual notch filter for annoying stations that tune up on frequency.
Soundcard Oscilloscope is a program that emulates an oscilloscope from signal data received from a sound card. It also has a frequency graph which will be used for this tutorial.
Station setup
- HF Radio and antenna.
- SignaLink USB and correct cable for your radio (pictures). Any audio interface will work or even 1/8″ male-to-male audio cable between the audio out of the radio and Line-in on any regular sound card.
- PC computer where the radio interface is connected.
Program versions
- Windows 7 – 64 bit
- Soundcard Oscilloscope 1.46
Download and Installation
This will install Soundcard Oscilloscope on your PC.
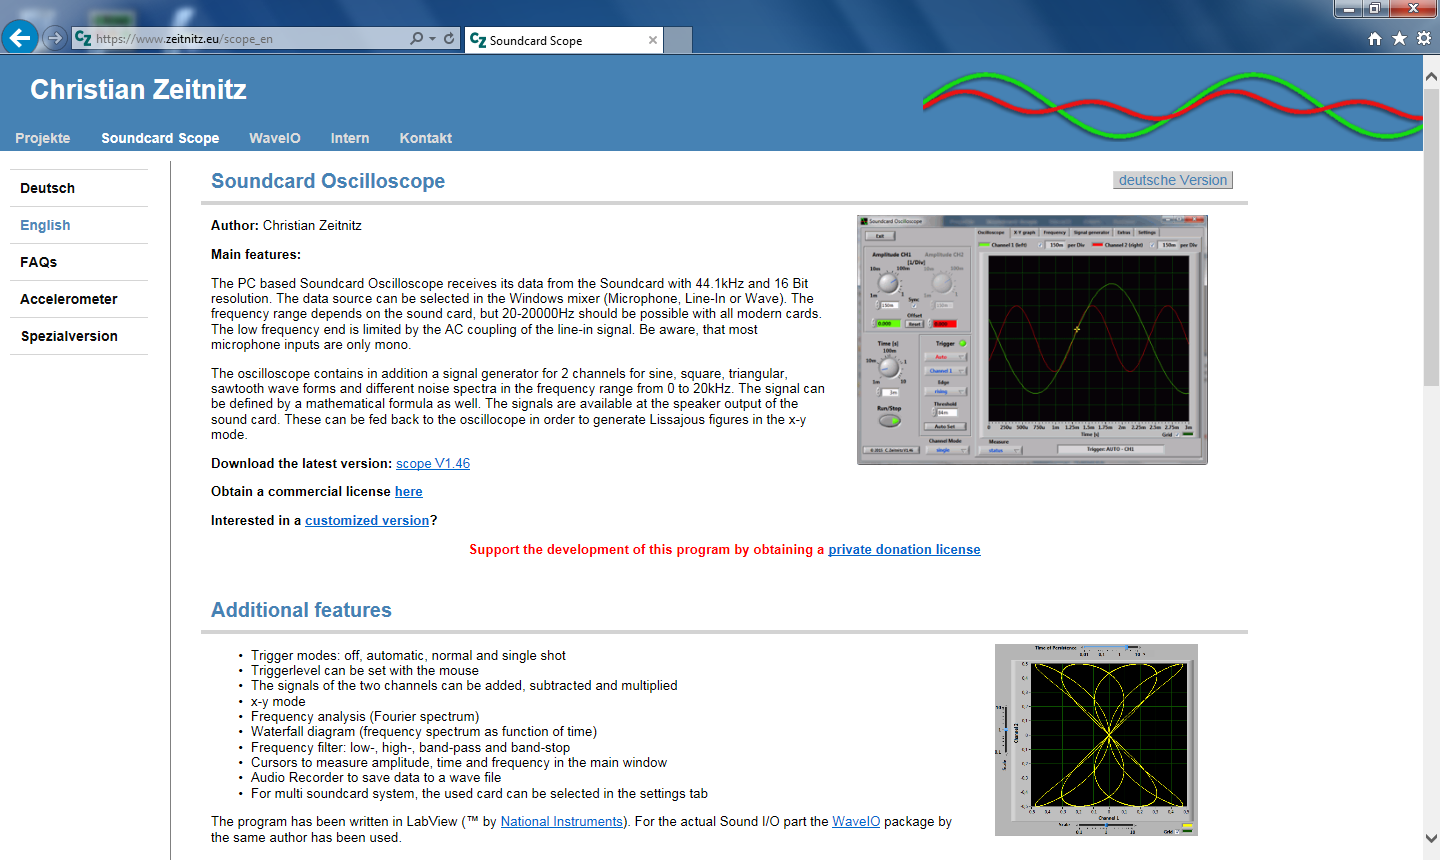
Go to https://www.zeitnitz.eu/scope_en.
Click the link to “Download the latest version.” Save it in your Downloads folder.
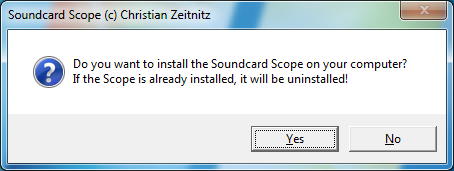
Launch the installer.
Click Yes.
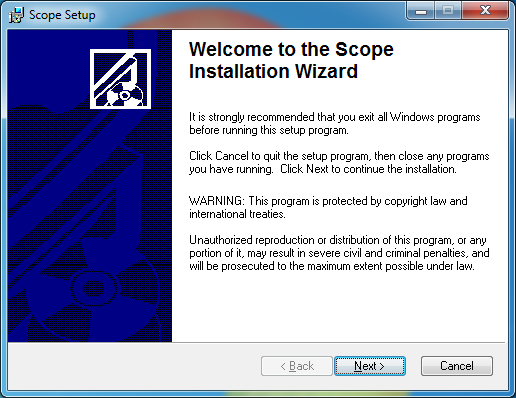
Click Next.

Click Next.
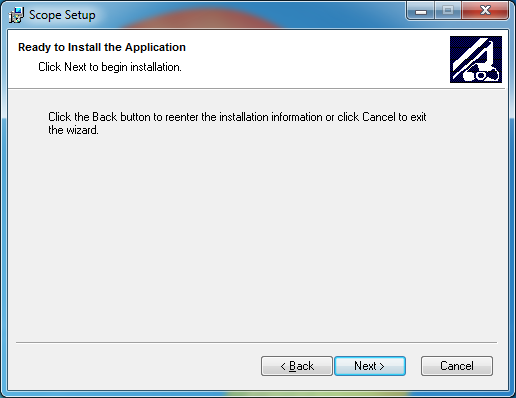
Click Next.
Installation will begin.
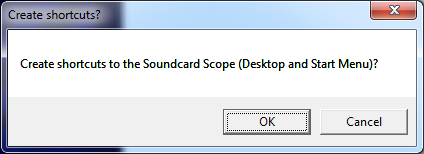
Click OK.
Click Finish.
Soundcard Oscilloscope is now installed.
Configuration
This will setup Soundcard Oscilloscope to capture audio coming from your audio interface device.
Start Soundcard Oscilloscope by clicking the Start orb.
Click All Programs.
Click Scope.
Click Scope.
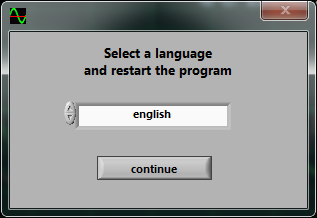
The first time the program is run, you’ll be prompted to select a language. Select your language and click Continue.
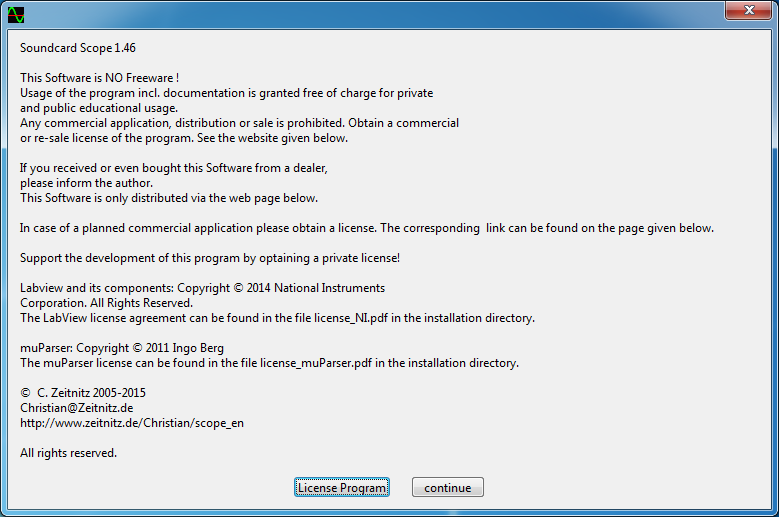
The program is not free and will ask for a License key. Not entering a license will display this screen each time the program is started. The program is less than $12.50 US. Please support the developers by purchasing a license. This is made at the download site by clicking the “private donation license” link.
Click Continue if you don’t have a license.
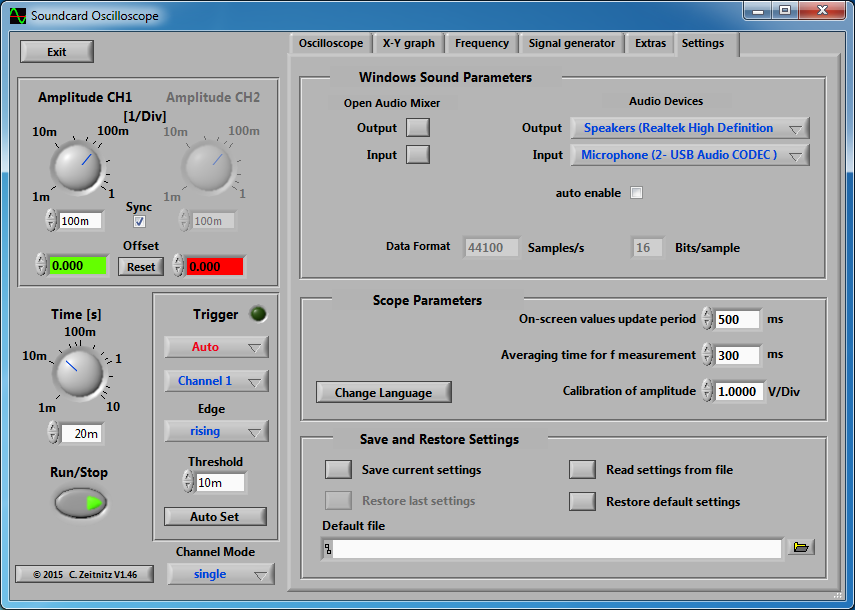
Click the Settings tab.
Under Windows Sound Parameters, Audio Devices, Input is where you select the audio interface device. For SignaLink USB, this would be Microphone USB Audio Codec. Other interfaces: Line In, or Mic In would be selected appropriately and known from my audio interface setup tutorial.
Soundcard Oscilloscope is now configured.
Loud adjacent station
An example using notch functions and filters to remove a loud and stronger adjacent station.
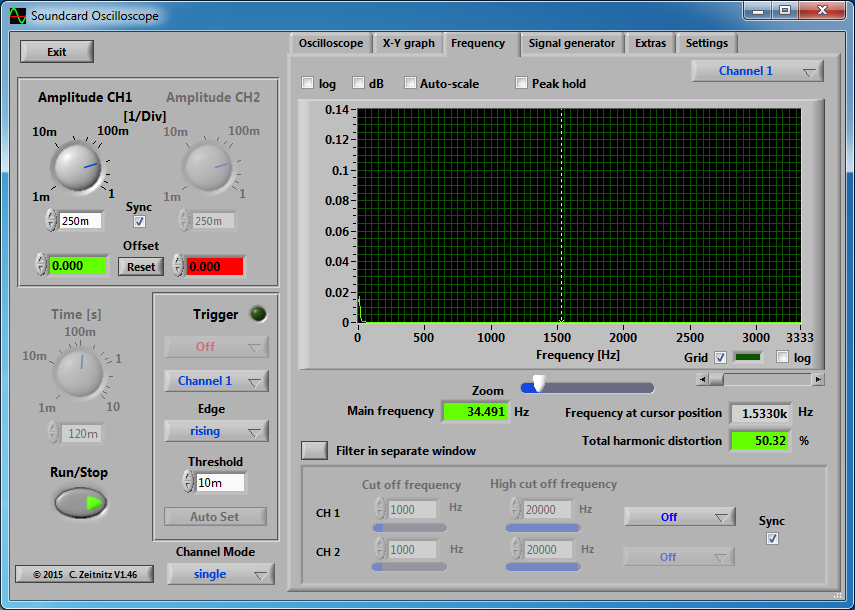
Click the Frequency tab.
These settings will need to be reset after restarting the program. At this point, my radio is off but it doesn’t matter.
Along the bottom is the Frequency graph, click about 1500 Hz (1.5 kHz) on the graph.
Slide the Zoom control over about 5 ticks so that the frequency graph now shows 3000 Hz (3 kHz) near the right edge.
I unchecked Auto-scale. This is not required and only keeps the vertical graph at the same scale for this tutorial.
Turn on the radio if it is not already.
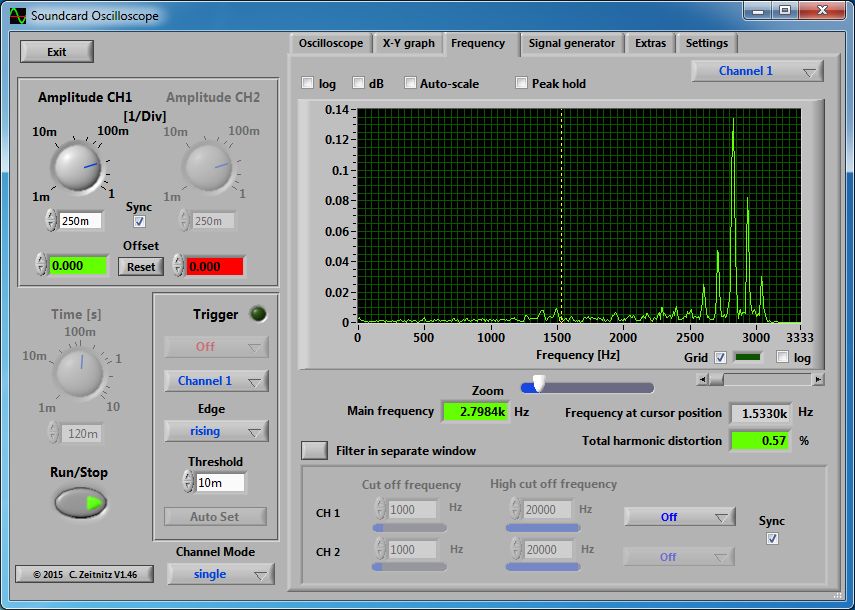
Between 2500 Hz and 3200 Hz is a strong adjacent station to the frequency I’m trying to work. The station is really coming in between 2100 Hz and 3200 Hz as we’ll see in a moment.
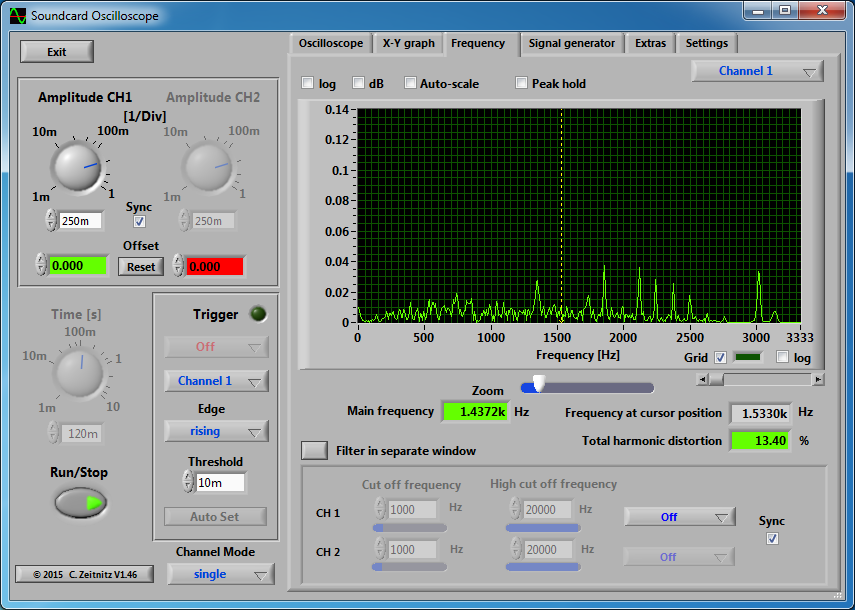
I try a Notch Filter (Manual Notch Function – MNF) to notch out the signal. The wide setting it not enough to get rid of the signal. The signal is still peaking between 1750 Hz and 3200 Hz. You can see the notch between 2750 Hz and 2900 Hz. I tried adding in the 2nd notch filter and it didn’t fully notch out the entire signal.
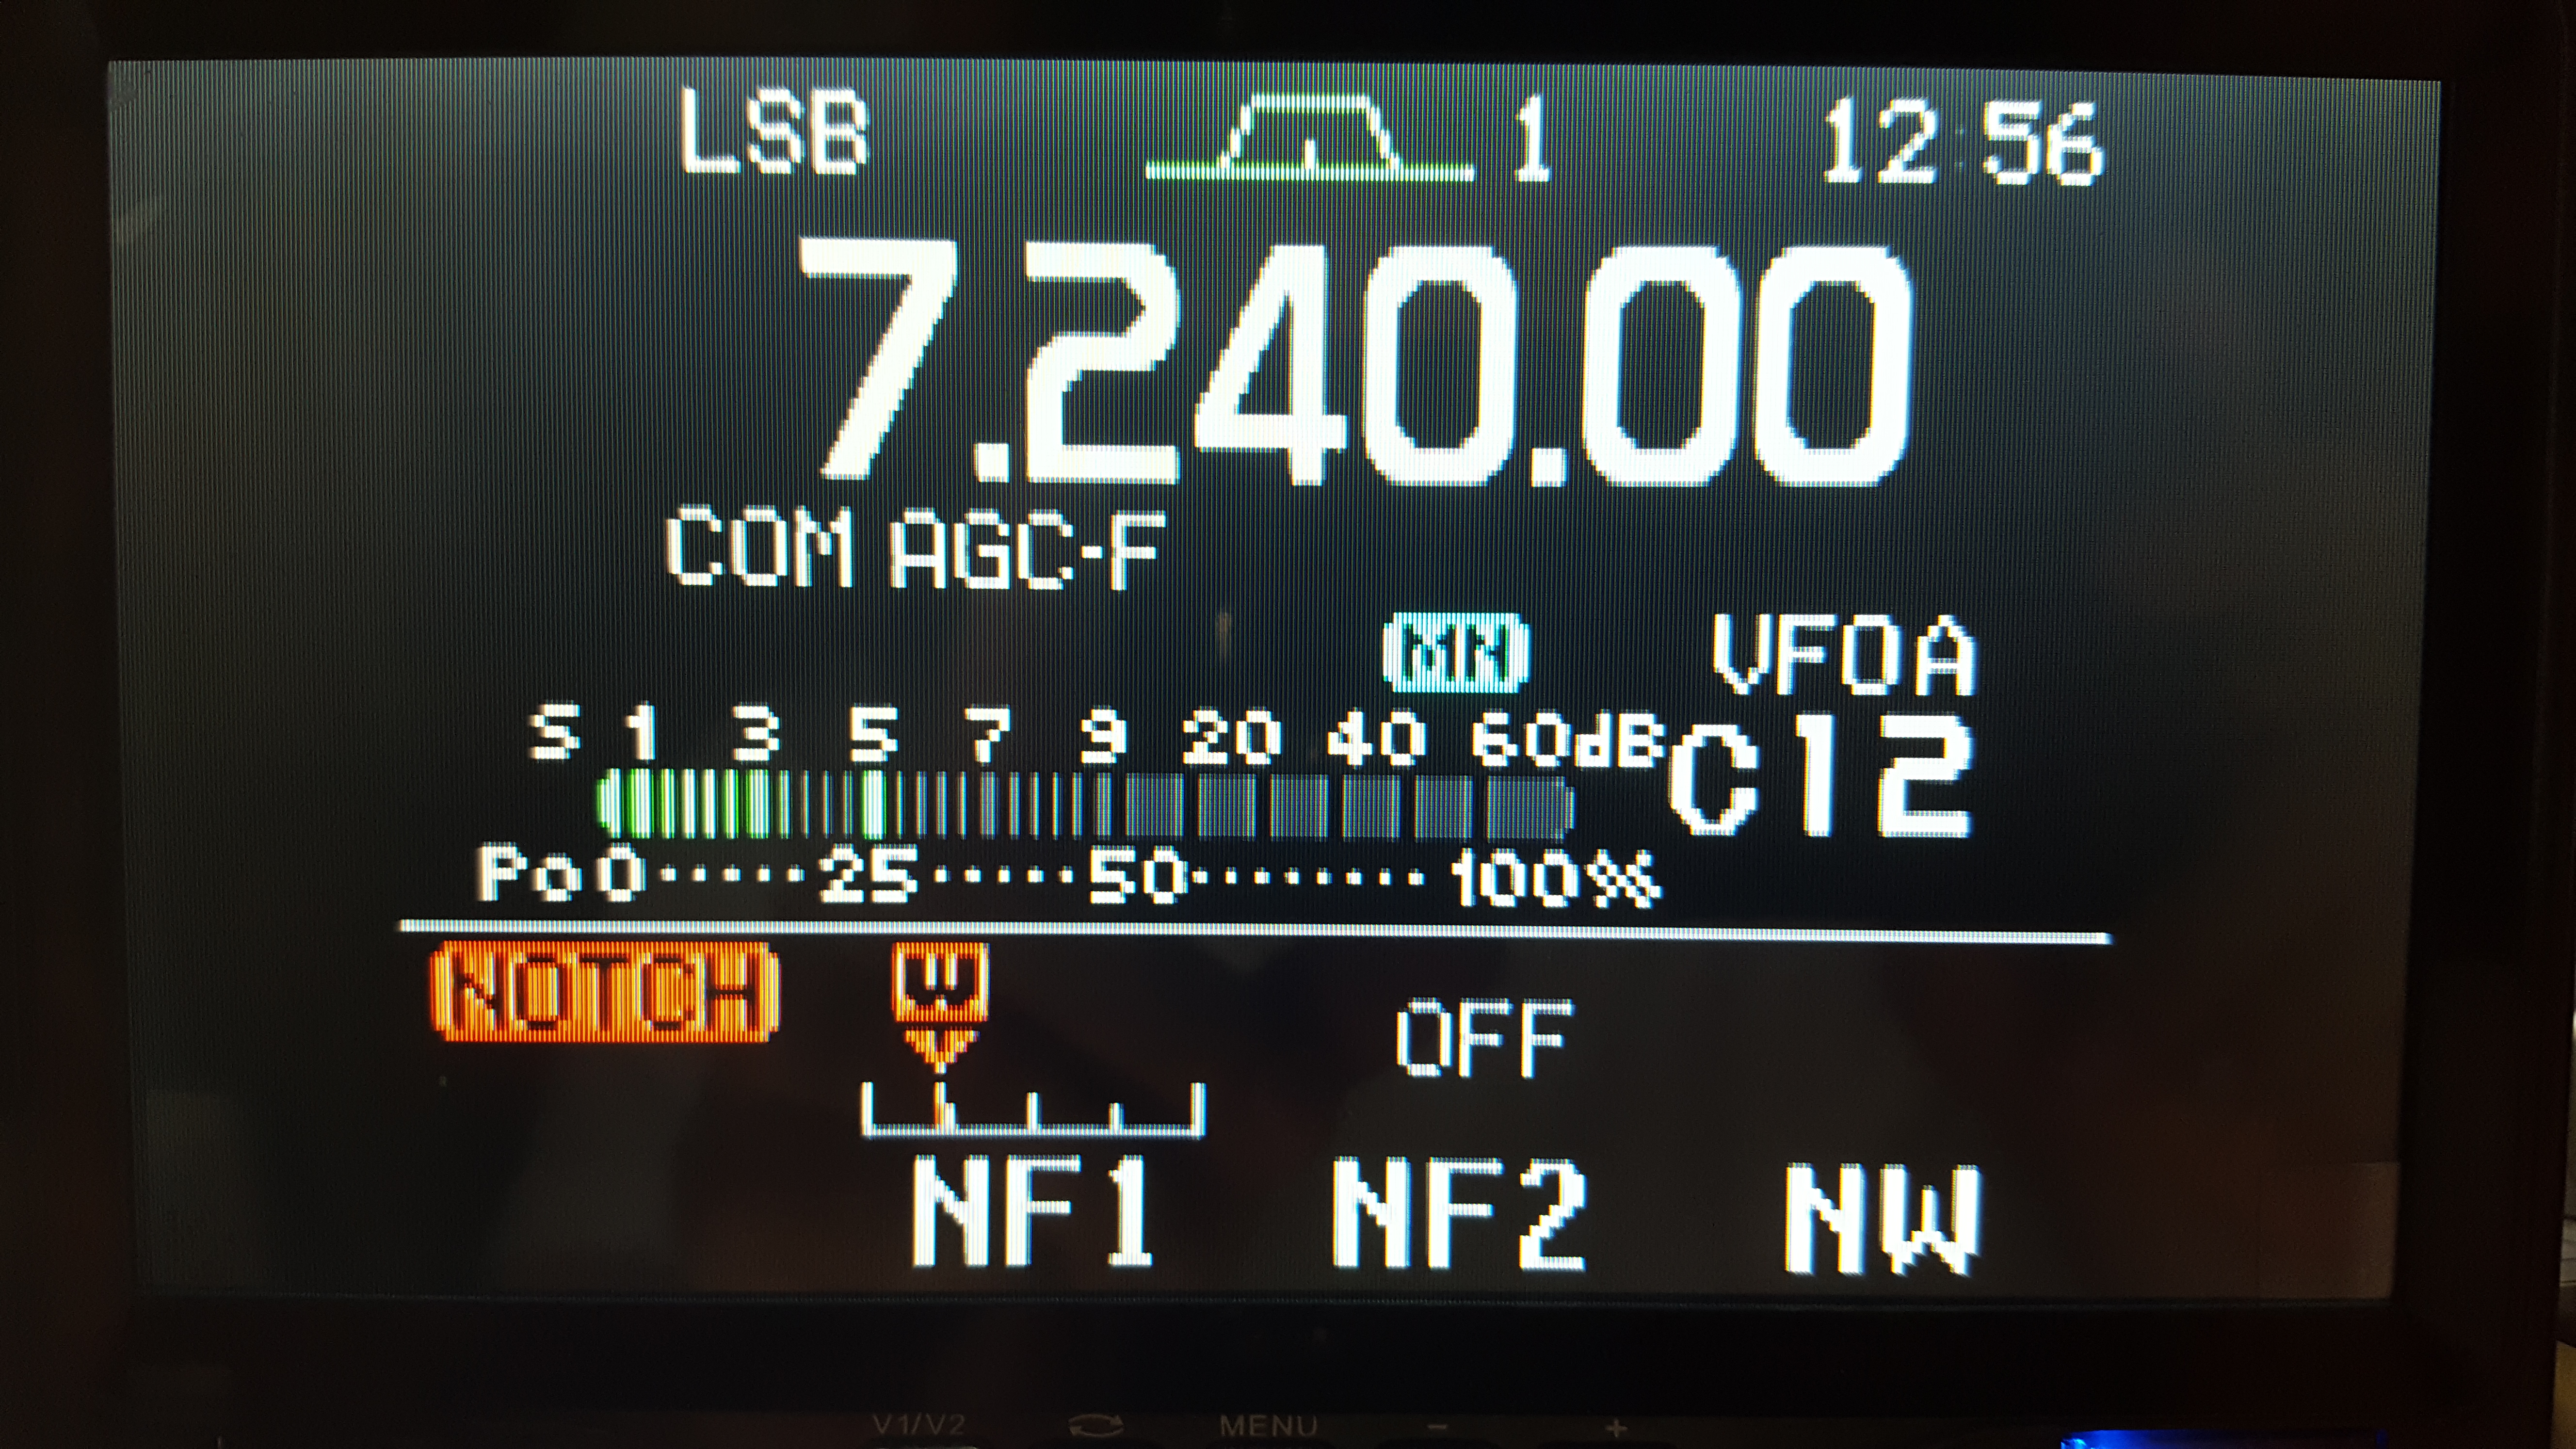
Notch filter settings on the 7000 radio.

I am able to knock out the loud adjacent station by choosing a narrower filter and using pass band tuning to shift the filter.

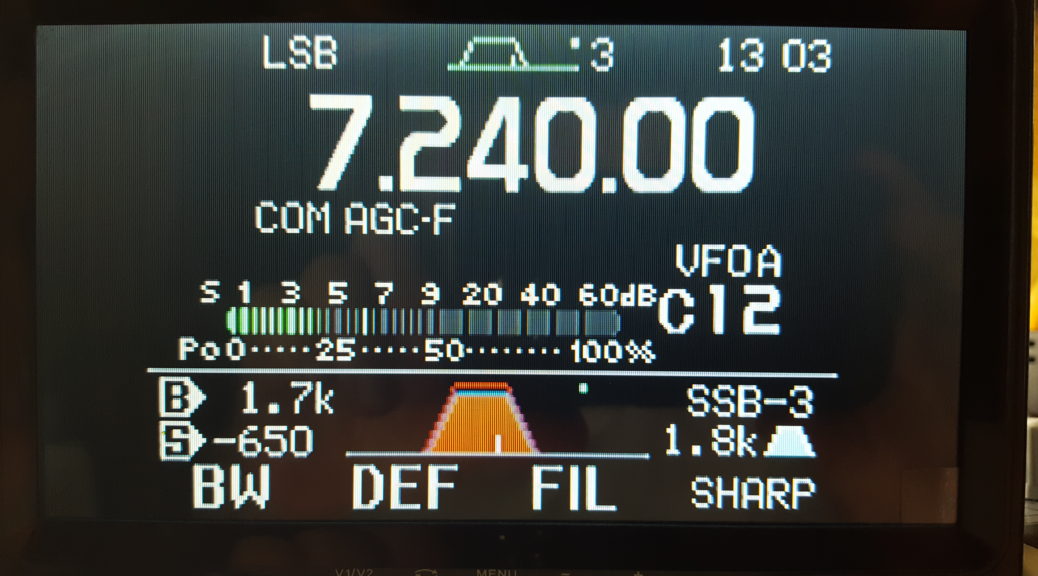
Turn off the Notch Function. Selected a filter bandwidth of 1.8 kHz (FIL) (SSB-3 default on the 7000 is 1.8 kHz). I used pass band tuning (PBT) to shift both edges of the filter to the left (on screen). In this case the Shift Frequency was -650 narrowing the bandwidth to 1.7 kHz. The filter shape was SHARP.
These settings eliminated the adjacent station as shown in the previous image. Everything higher than 2000 Hz is completely gone.