Virtual Radar Server setup
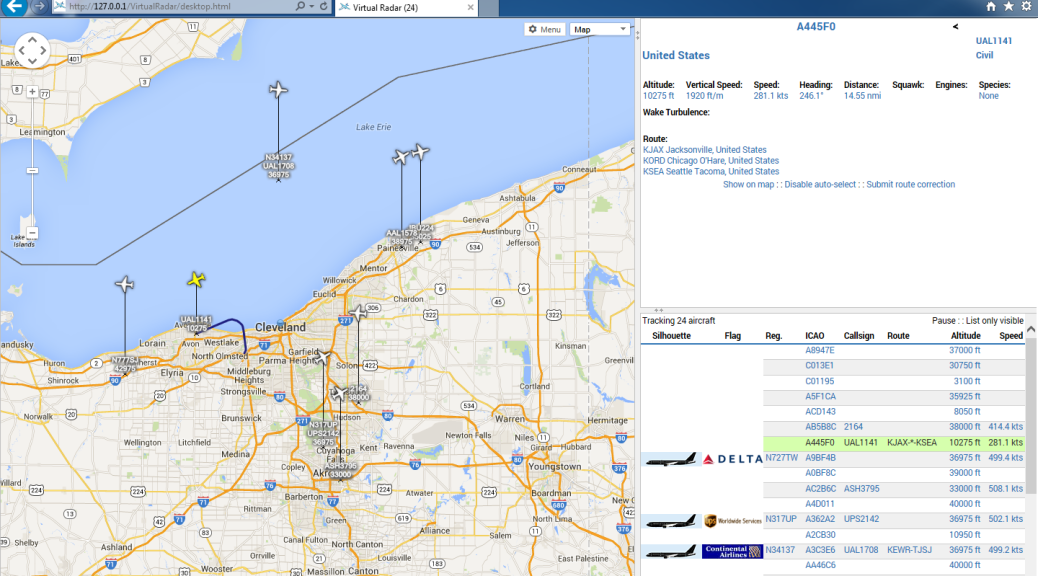
Virtual Radar Server connects to ADSBSharp to retrieve data and plots on a map.
Click the Start orb.
Click All Programs.
Click Virtual Radar.
Click Virtual Radar.
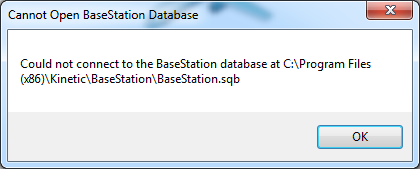
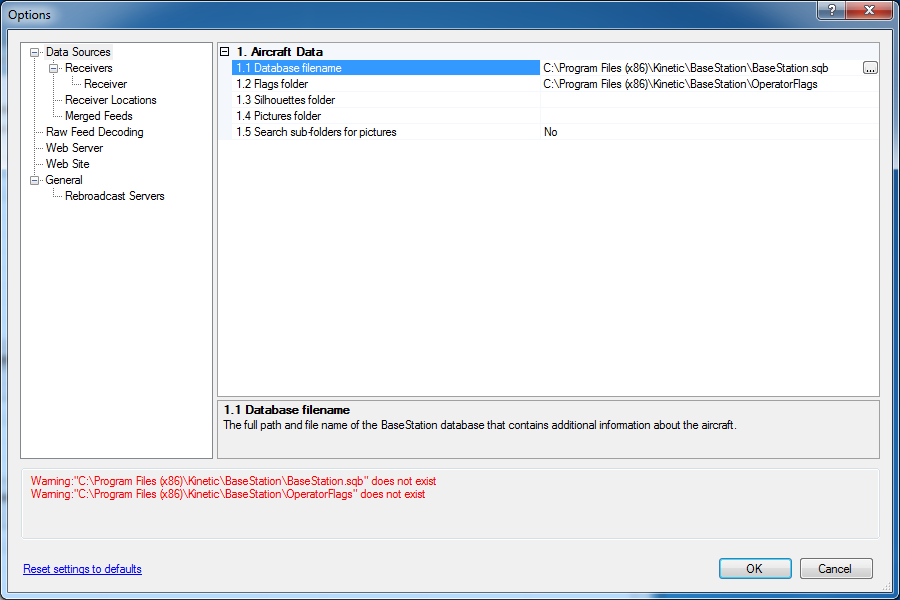
We will configure Virtual Radar for these databases. This is the last time these errors are seen.
Click OK.
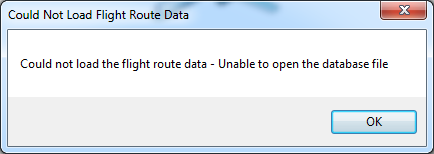
Click OK.
Click Tools.
Click Download Data.

This will download route data. Click Download.

Update complete. Click Close.
Click Tools.
Click Options.
Data Sources should be selected. Click 1.1 Database filename.
A button with 3 periods will appear at the end of the line, click that button.
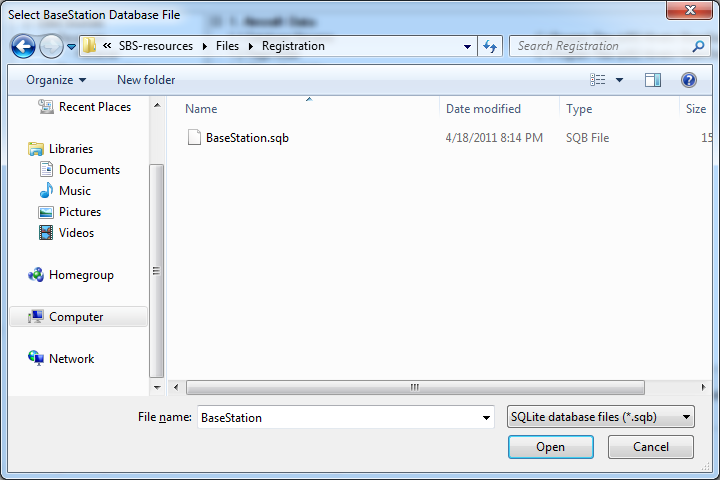
Navigate to the directory C:\SBS-resources\Files\Registration.
Click BaseStation.sqb. You may not see the file extension if you have known extensions hidden in Windows Folder Options.
Click Open.
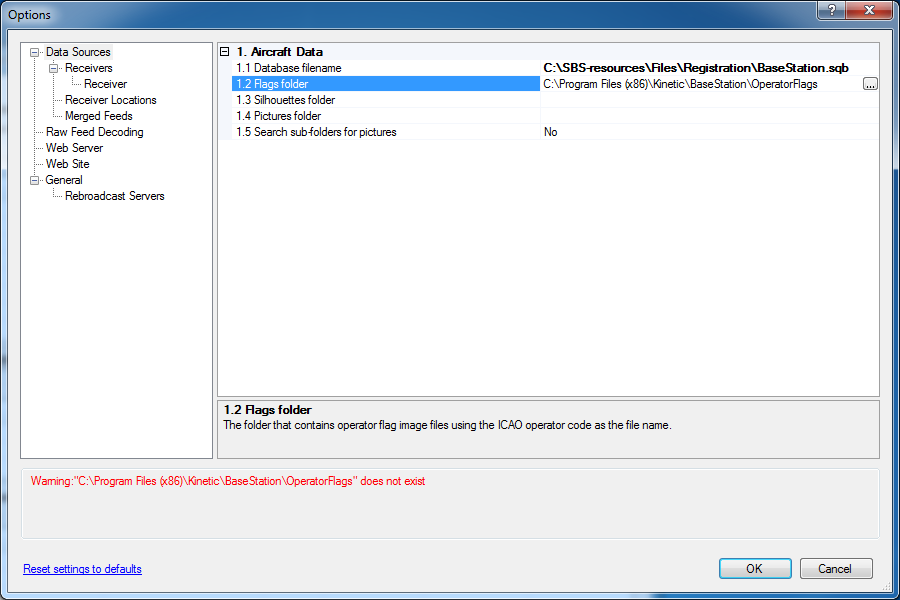
This will display the airline logo in the browser aircraft list. Click 1.2 Flags folder.
A button with 3 periods will appear at the end of the line, click that button.
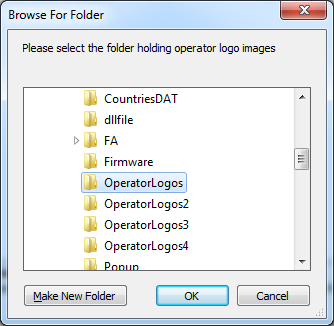
Navigate to the directory C:\SBS-resources\Files.
Click OperatorLogos.
Click OK.
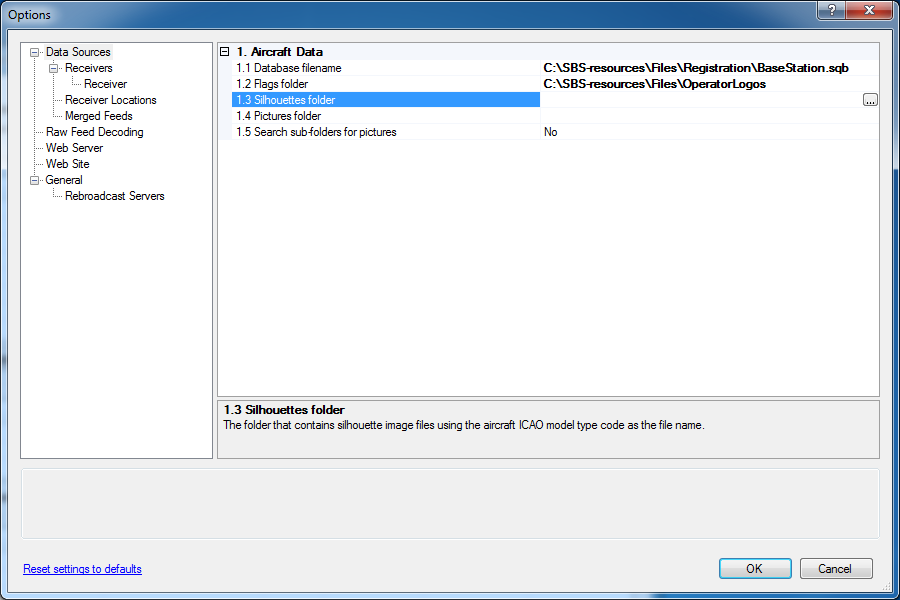
This will display the plane silhouette in the browser aircraft list. Click 1.3 Silhouettes folder.
A button with 3 periods will appear at the end of the line, click that button.
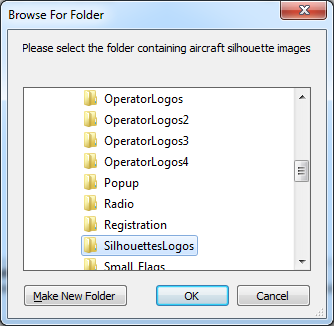
Navigate to the directory C:\SBS-resources\Files.
Click SilhouettesLogos.
Click OK.
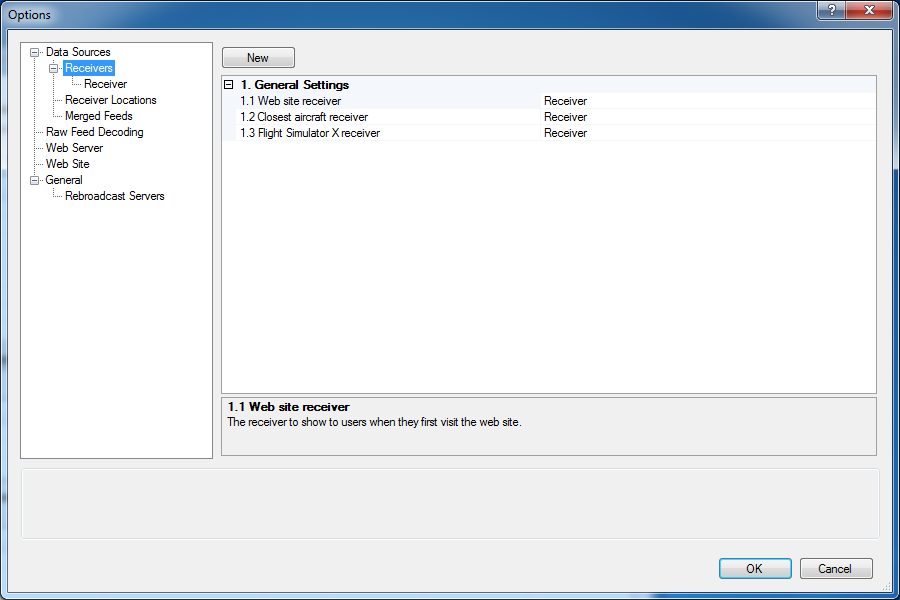
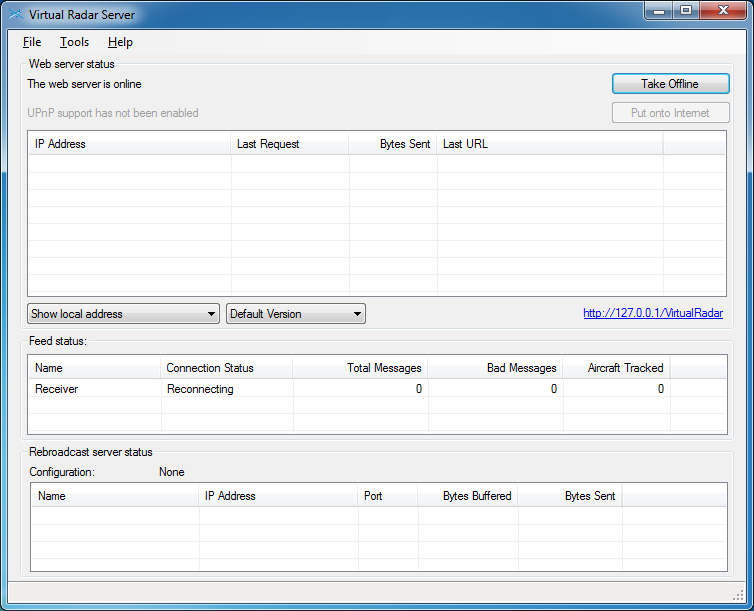
Under Data Sources, click Receivers.
On the Receivers page, click New.

Click 1.2 Name, enter RTL-SDR.
Click 2.1 Data Source. There will be a drop down arrow, click and select AVR or Beast Raw Feed.
Click 3.1 Address. If ADSBSharp is running on this machine, leave it set to 127.0.0.1. If ADSBSharp is running remotely on another machine or Internet address, enter it here.
Click 3.2 Port, for ADSBSharp default port is (enter) 47806. Set this to the exact port shown on the ADSBSharp window, right next to the start/stop button.
Click Test Connection.
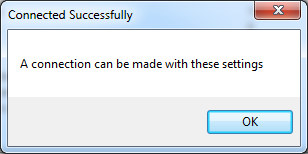
This tells you that it can make a connection with ADSBSharp using the settings entered and does not mean data is being successfully received.
Click OK.
Click OK on the Options window.