Configuration
Configuration and setup of Fldigi and Flmsg. Flwrap does not have any configuration options.
Fldigi
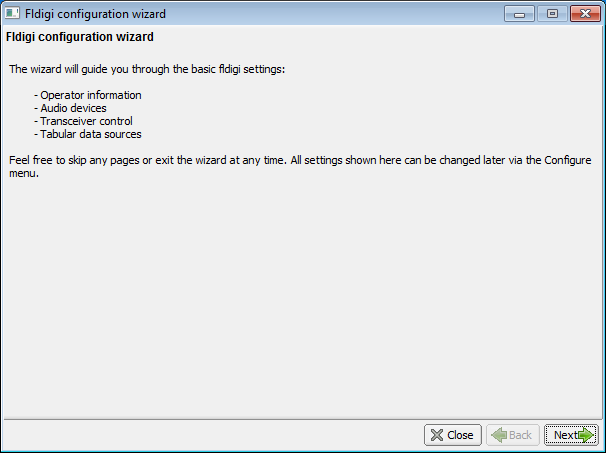
Start Fldigi.
First time Fldigi is started, the configuration wizard will appear.
Click Next.
Notes:
- To change any of these settings in the future, they can be found in the Fldigi application under the “Configure” menu.

Enter your Station Callsign, Station QTH (location), Station Locator (gridsquare), Operator Callsign, Operator Name, and Antenna(s) used.
In a single operator setting, Station Callsign and Operator Callsign are the same. At a multi-operator setting (Field Day), the Station Callsign would be the club call and Operator Callsign would be the individual operating.
Click Next.
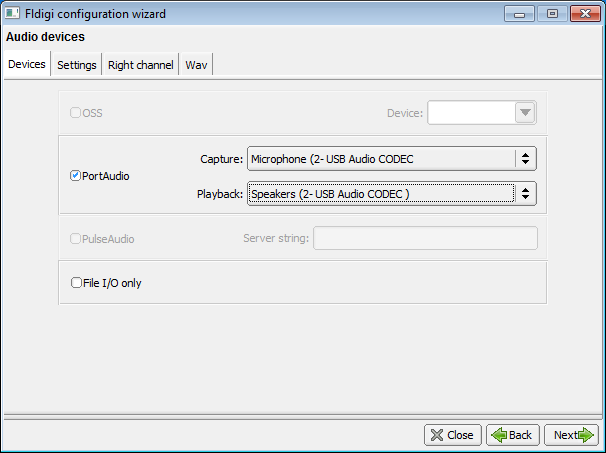
Click Devices.
Check PortAudio.
Click Capture.
Click the receive audio interface device.
Click Playback.
Click the transmit audio interface device.
Notes:
- SignaLink USB is labeled USB Audio CODEC in PortAudio.
- Additional audio architecture options maybe presented. WDM-KS is the lowest latency, followed by DirectSound, and MME most compatible. MME is recommended.
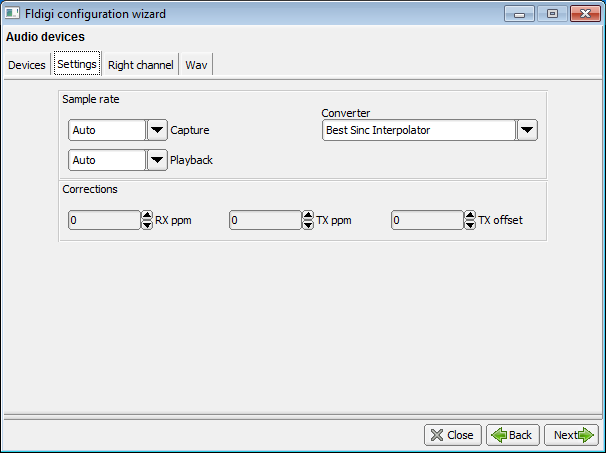
Click the Settings tab.
Under Correction, enter the RX ppm and TX ppm for your interface device.
Click Next.
The remaining settings are the default settings.
Notes:
- Corrections are not as important for MT63-2KL on FM. Sound card calibration is recommended regardless of mode. See the “Calibration” section at the beginning of this document for methods to calibrate Fldigi.
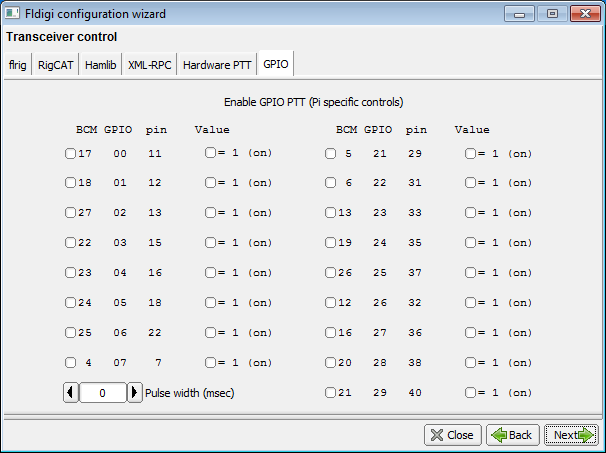
If the transceiver requires keying control, select it using one of the control methods and configure those options. This depends on your setup.
Click Next.
Notes:
- SignaLink USB users do not need to set these options.
Click Finish.
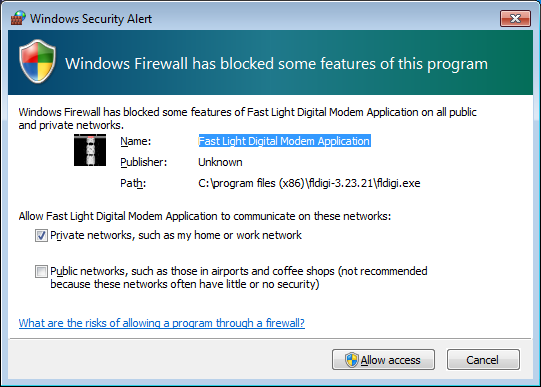
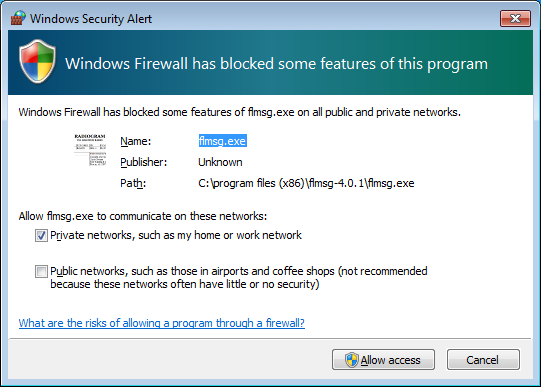
Click Allow access.
If you are a standard user, you will need the administrator password.
Notes:
- Fldigi sets up a local server to communicate with other programs. Blocking this firewall exception will not allow programs in the suite to communicate and result in undesired operation.
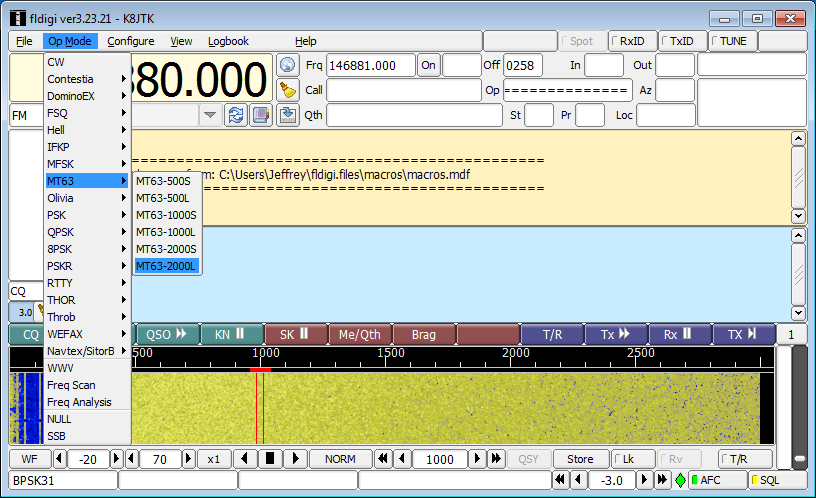
Click Op Mode.
Select MT63.
Click MT63-2000L.
Notes:
- MT63-2000L (or MT63-2KL) is most often used by the net and NBEMS.

Fldigi will now show “MT63-2KL” in the lower left status line.
Click 1500 on the waterfall.
The frequency can be fine-tuned with the “adjust cursor frequency” adjustment ![]() .
.
![]()
Click RxID in the upper right.
Click TxID in the upper right.
Notes:
- RxID and TxID encode and decode the Reed-Solomon Identification (RSID) for identifying digital modes. On reception of an RSID, the mode is changed. It is possible to decode the RSID and not decode data due to a weak signal. The RSID can take up more bandwidth than the digital mode and is not used on many common modes. PSK31 is a very popular mode so no RSIDs are used. A PSK31 (31Hz) RSID (172Hz) takes up 5.5 times the bandwidth! Other nearby PSK31 users will not be very happy with you transmitting a PSK31 RSID.To control which modes transmit an RSID click Configure, IDs, click the RsID tab, and click Transmit modes. More information: http://www.w1hkj.com/RSID_description.html
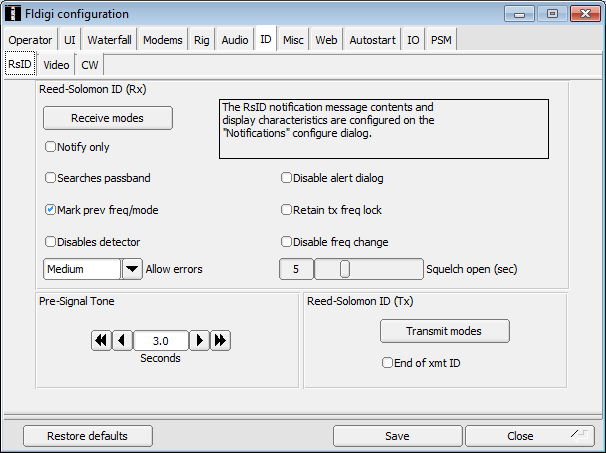
Click Configure.
Click IDs.
Click RsID in the second row of tabs.
Under Pre-Signal Tone, for an FM repeater net select a time between 3 and 5 seconds.
Notes:
- The Pre-Signal tone will bring up the repeater and allow receiving stations time to start receiving the signal before the RsID is sent. This will ensure the RsID is not cut off while the repeater and receiving stations are starting to receive the transmitted signal.
- When using devices like the SignaLink, set the delay to the 12 o’clock position or higher. There is a half-second delay between the Pre-Signal tone and RsID that will unkey the radio.
- Leave this value at 0 for HF/sideband operation and/or remember to turn it off if the station will operate FM and sideband with the same setup.
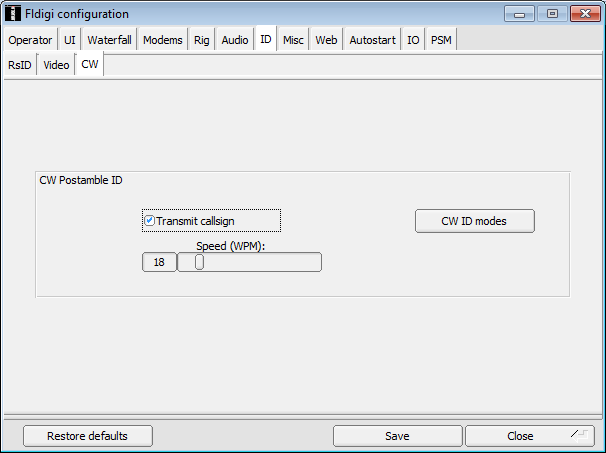
When using NBEMS on FM (this is non-standard on side band), click CW in the second row of tabs.
Under CW Postamble ID, check Transmit callsign.
Notes:
- If operating NBEMS and digital sideband with the same station, take some time to go through the list of CW ID modes and disable PSK and any modes that will be used on HF, leaving MT63/FM modes enabled. Enabling CW ID will properly ID your station after each transmission. It’s not proper etiquette to send a CW ID after every transmission in the digital portion of the low bands (HF).
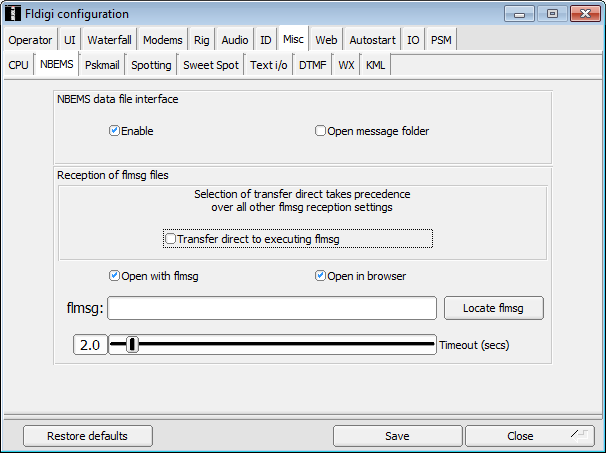
Click Misc in the first row of tabs.
Click NBEMS in the second row of tabs.
Under Reception of flmsg files, uncheck Transfer direct to executing flmsg (this option is not in versions prior to 3.23.0).
Click Locate flmsg.
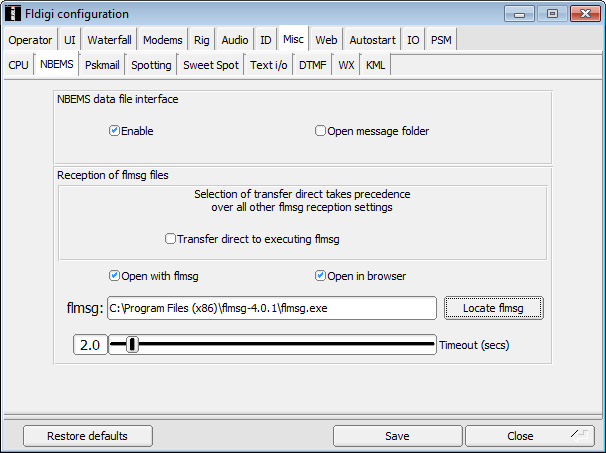
The remaining settings are the default settings. It is important to have: Enabled checked under NBEMS data file interface. Open with flmsg and Open in browser checked under Reception of flmsg files.
Notes:
- Upgrading Flmsg will require changing the path to use the newer version.
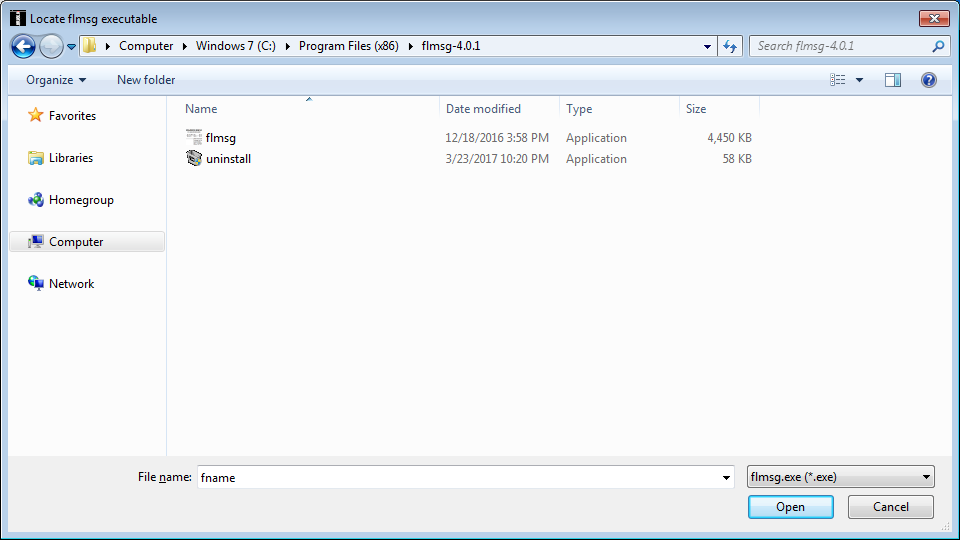
Navigate to C:\Program Files (x86)\flmsg-x.x.x where x.x.x is the flmsg version to use.
Click flmsg.
Click Open.
Notes:
- The path maybe different depending on system type and Flmsg version. To determine which system you are running:
Click the Start button.
Right-click Computer.
Click Properties. This will display System information.
Under the System heading will be System Type. Type will be 64-bit or 32-bit Operating System.
Locations based on system type:Windows – 64 bit: C:\Program Files (x86)
Windows – 32 bit: C:\Program Files
Click Save.
Click Close.
Notes:
- A new configuration can be tested in Fldigi without overwriting the previously saved configuration. With Fldigi open, change any settings under the “Configure” menu. When done making changes, click Close. Do not click Save. Fldigi will run with the new configuration settings for this session. When done, close Fldigi.
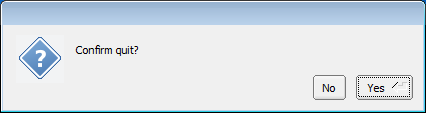
Anytime Fldigi is closed, it will prompt to confirm you really want to quit. This can be turned off in the Configuration, User Interface, General tab.
Click Yes.
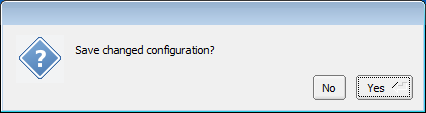
If you are satisfied with the new configuration, click Yes.
To revert to the previous configuration, click No.
Flmsg

Start Flmsg.
Click Communicator / Expert (this option is not in versions prior to 3). This can be changed later in the “Config” menu and click “User Interface.”
Click Allow access.
If you are a standard user, you will need the administrator password.
Notes:
- Fldigi sets up a local server to communicate with other programs. Blocking this firewall exception will not allow programs in the suite to communicate and result in undesired operation.
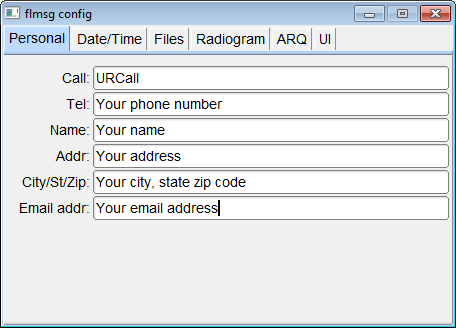
First time Flmsg is started, config will appear.
Enter your station’s Call, Telephone, Name, Address, City/St/Zip, and Email address.
Click close (red X) when done.
Note:
- While not required, other options can be set in other tabs.
- To change any of these settings in the future, they can be found in the Flmsg application under the “Config” menu.

In the center of the Flmsg status line, click the down arrow.
Select MT63-2KL.