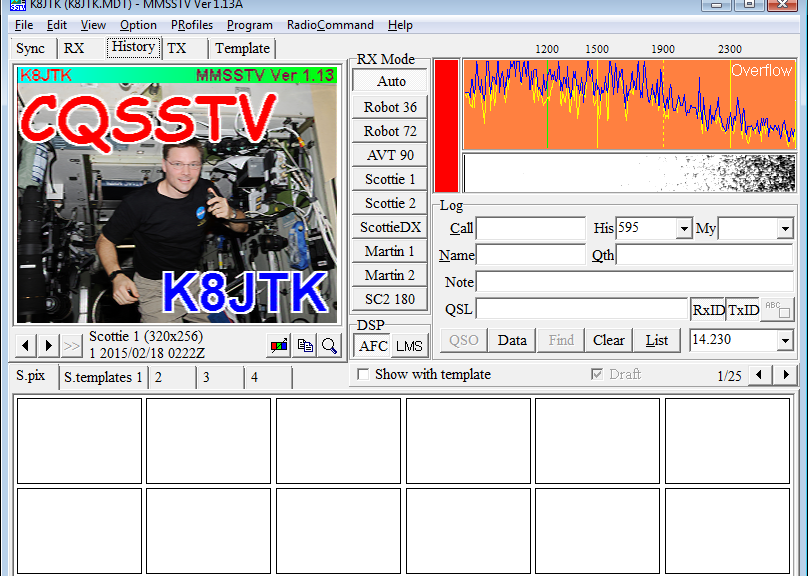
TX
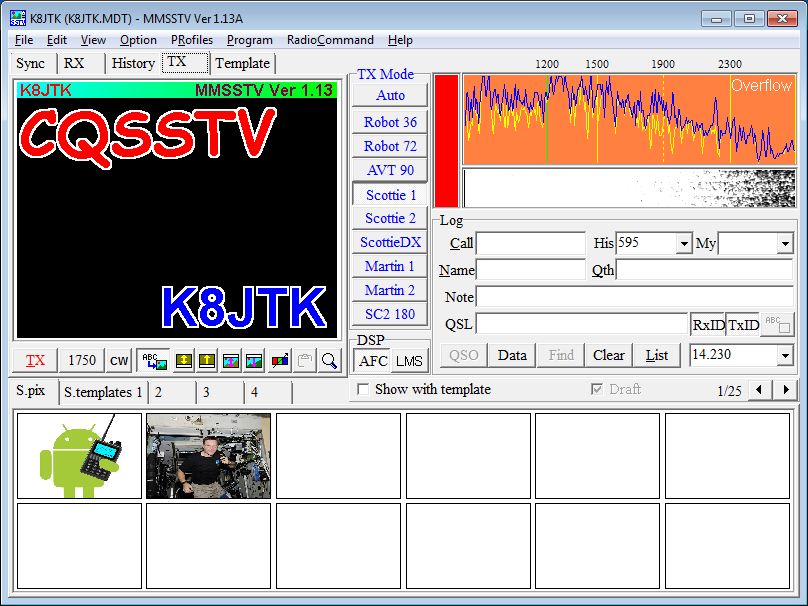
In the TX tab, images are prepared and transmitted.
Modes
Click the TX tab ![]() .
.
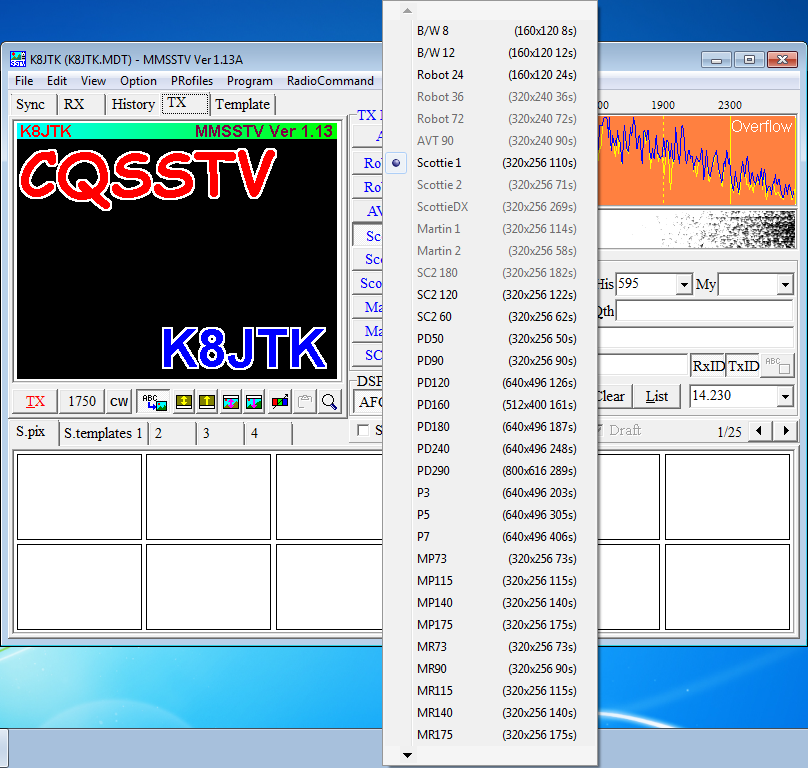
Right-clicking any of the mode slots under TX Mode will bring up the entire list of supported SSTV modes including resolution and transmit times. More modes are available by clicking the solid black arrows at the top and bottom of the list. The selected option will be the mode the image is transmitted.
Notes:
- For an FM repeater net, select a mode that is at least 30 seconds less than the Time-Out-Timer on the repeater. This allows for delays, protocol overhead, FSKID tones, and CW IDing which adds about 10 seconds to the duration. Choose a mode 150s (2:30) or less. Scottie 1, PD90, PD120, MP140 would be good choices. PD180, PD240, PD290 would not be good choices and would time-out the repeater during transmission.
- The Auto button in TX changes the transmit mode to the last mode received. For example, the RX tab has an image received in Scottie 1. In the TX tab, having any other mode selected and pressing Auto will change TX mode to Scottie 1. This does not work without an image in the RX tab. If the Auto option is already enabled (pressed in), release it by clicking, then click it again.
Loading images
“S.pix” and “S.templates” tabs are convenient places to have images and templates available for quick recall.
Methods for loading images
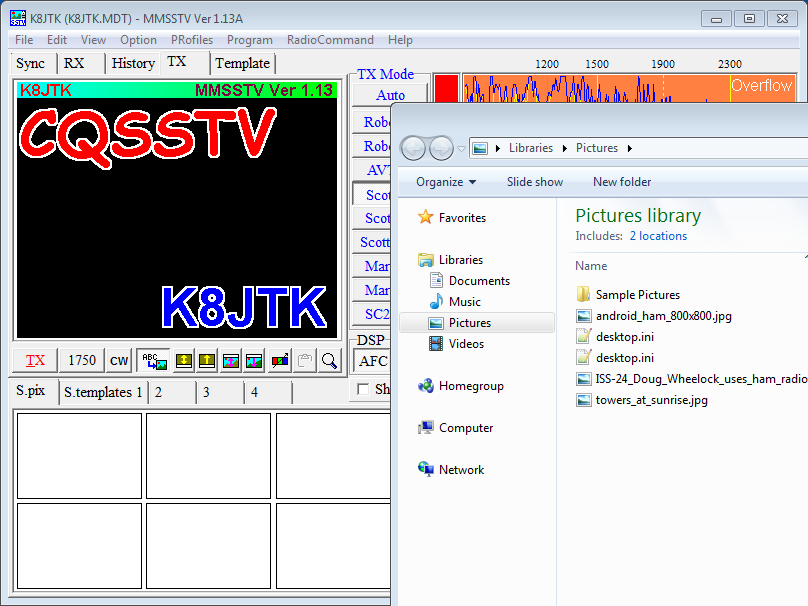
- Images can be dragged and dropped to either the TX window or a frame in the “S.pix” (standard pix) tab
 .
. - Right-click in the TX window or “S.pix” frame and click Load from file. Then select a file.
- A picture can be pasted directly from the clipboard by clicking the Paste icon.
Notes:
- Select the SSTV mode first before importing using the TX tab. The “target” resolution of the imported image will be at least 320×256 (noted in the title bar of Picture clipper). When the selected SSTV mode is larger than 320×256 (examples: PD290, P3, ML180), the target resolution will match the mode. Modes with smaller resolutions (examples: B/W 8, Robot 36) will be imported at 320×256 then automatically scaled down.
- S.pix images will always be imported at 320×256. When a larger resolution SSTV mode is selected and an S.pix image is used, the image (and template) will appear smaller than the full frame.
- JPG, BMP, and WMF are the supported file formats. An image in another format would have to be converted into one of the supported file formats before it can be loaded. Any image editing program will work for converting and adjusting. Free image editing choices are: Gimp (http://www.gimp.org/) or Paint.Net (http://www.getpaint.net/).
Picture clipper
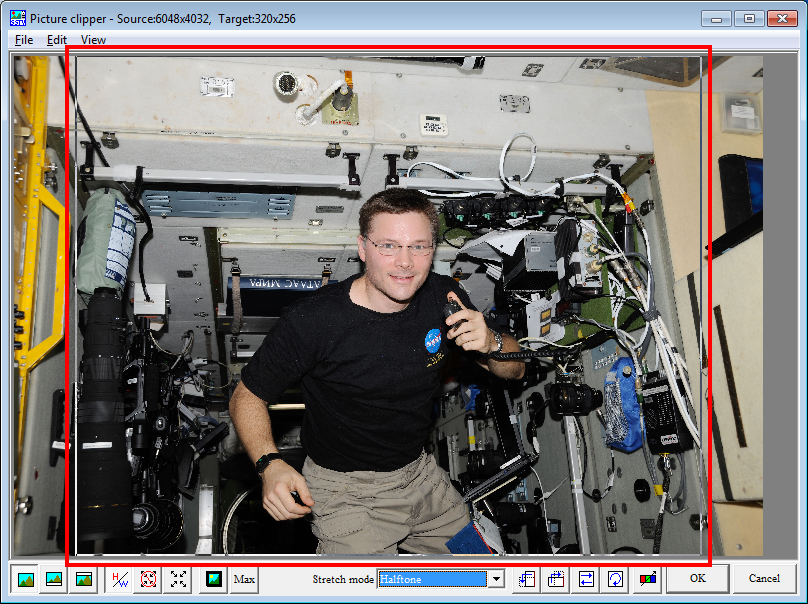
After loading an image, if the picture needs to be cropped, the “Picture clipper” will appear.
A majority of the picture will be selected in a transparent gray box (the gray box is just inside the red highlighted box). The selected area will be the area imported.
Picture clipper can make some other basic adjustments with the tools below the picture.
Click OK.
Transmitting an image from s.pix
To load an image from the “S.pix” tab to the TX window simply, double-click the image.
An image can be removed from “S.pix” by right-clicking and click Delete.
Transmit loaded image
Click the TX tab ![]() .
.
To change the selected template, click the S.templates tab  and double-click the template.
To remove or show the template on a transmitted image, click the Use Template button ![]() . It is not required to have a call sign in the transmitted image. However, someone going back through their history would not know who sent the image. The CW ID (if enabled) will legally ID your signal.
. It is not required to have a call sign in the transmitted image. However, someone going back through their history would not know who sent the image. The CW ID (if enabled) will legally ID your signal.
When ready to transmit, make sure you are on the TX tab, and click TX  .
.
![]()
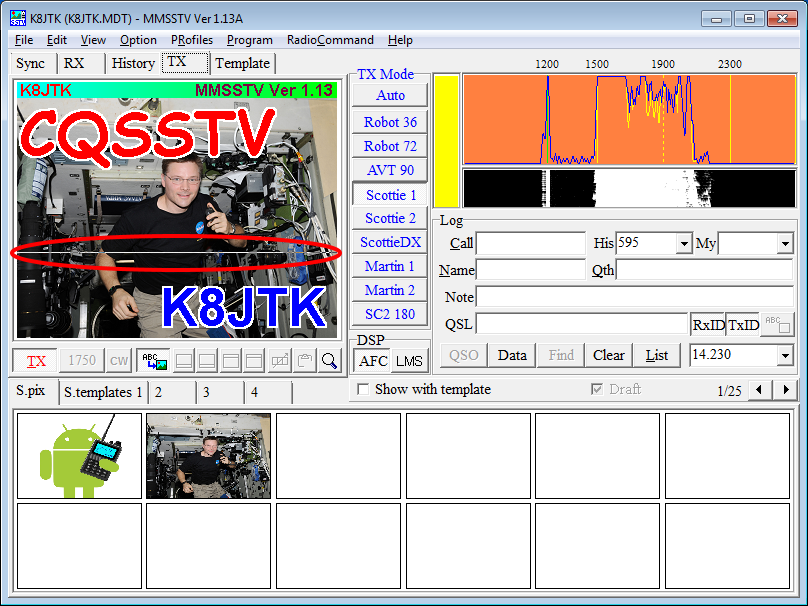
During transmission, the audio level meter will turn yellow. A transparent gray line will progress down the image indicating which line is being transmitted (highlighted by the red circle).
Similar to receiving, the spectrum analyzer and waterfall will display the tones as they are transmitted.
To cancel any transmission in progress, click the TX button again.
Notes:
- The S.templates 1, 2, 3, and 4 tabs represent different stages of QSO exchange. This allows the operator to quickly recall images and templates for transmit. The different QSO stages are:
- CQ SSTV.
- Returning CQ with call sign and RST.
- RST of the returning station.
- 73’s.