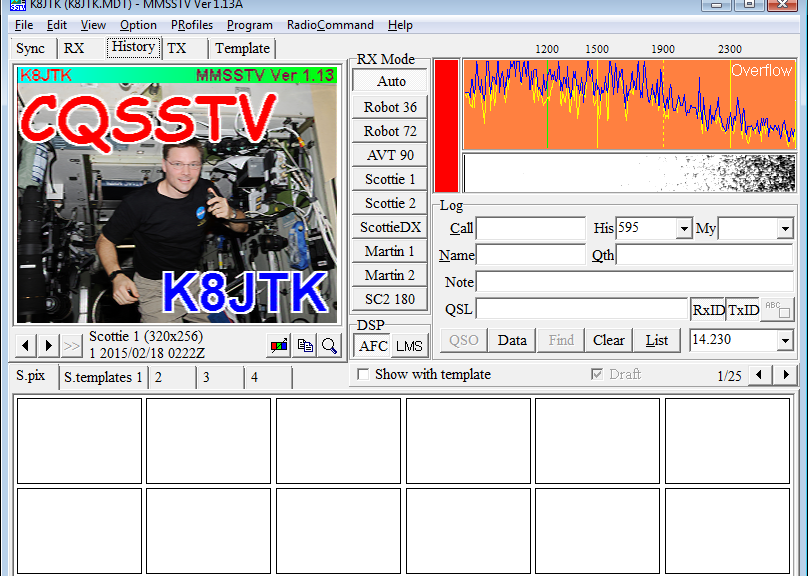
RX
In the RX tab, images will appear as they are received.
Click the RX tab ![]() .
.
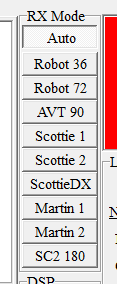
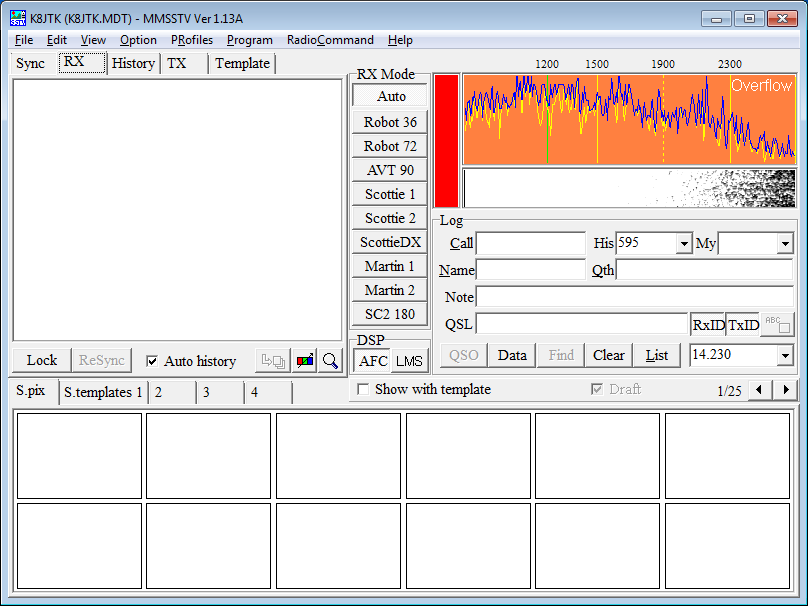
In the center for RX Mode, click Auto.
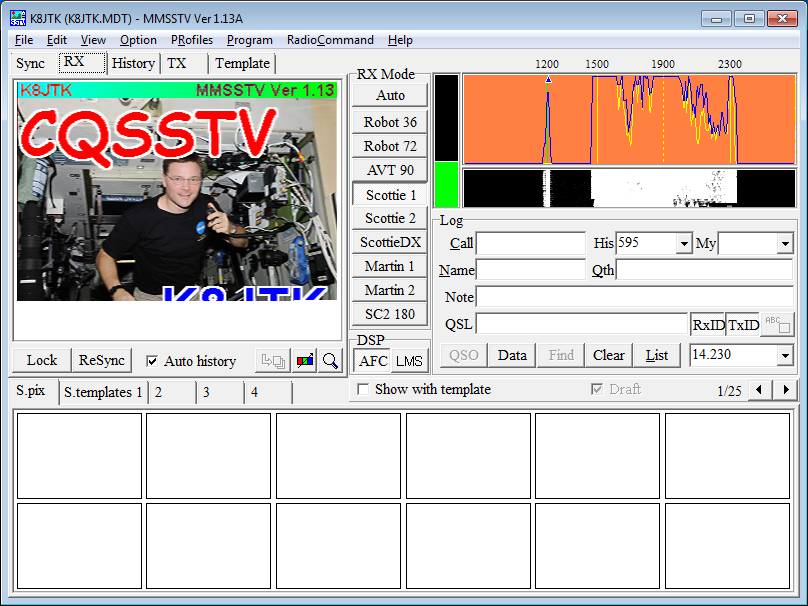
MMSSTV receiving an image. While receiving:
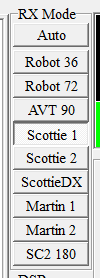
RX Mode will automatically change to the mode the sending station is transmitting. If the mode is not one of the options displayed, it will change out one of the modes.
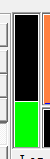
The level meter next to RX Mode will turn green when decoding an SSTV signal. The level should be about half way. Adjust the audio level on your radio interface, not in the Windows Sound Control Panel. A gray level meter means no SSTV signal is detected. Red level meter (and Overflow in the orange box) means the audio level is too high! Turn down the audio level on the radio interface. Red is OK when not receiving an image.
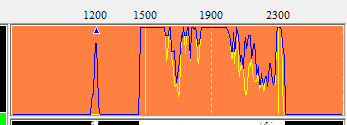
The orange box next to the level meter is the spectrum analyzer. This will settle when receiving an image. A pulse or sync tone at 1200 Hz (green line) tells MMSSTV when the next line of the image is being transmitted. Between 1500 and 2300 are tones for the color information of each line. The RX window displays the colors until it incurs the sync tone and begins displaying the next line of the image. Darker colors are tones near 1500 and brighter colors near 2300.

The waterfall is the black and white box below the spectrum analyzer.
The spectrum analyzer and waterfall will be similar to the screenshot above during a clean reception of an SSTV image. Noise will show up as other frequencies on the spectrum.
Colors of the spectrum and waterfall can be changed in the “Misc” tab options.
Logging
If the transmitting station has “Encode FSKID” checked their call will automatically populate under Log at the end of the transmission. Otherwise it can be manually entered. Click QSO. This will log the start time of the QSO.
Continue exchanging images with the other station. The remaining fields in the log need to be filled in manually. FSKID tones only populate the call sign. More fields are available by clicking Data.
When the QSO has ended, click QSO again to log the end time and record the QSO.
If the station is already in the log, working that station again will populate fields from the previous log entry.
If no log entry is started, the “Call” field will be replaced when another FSKID is received.