Installing DVAP Tool software
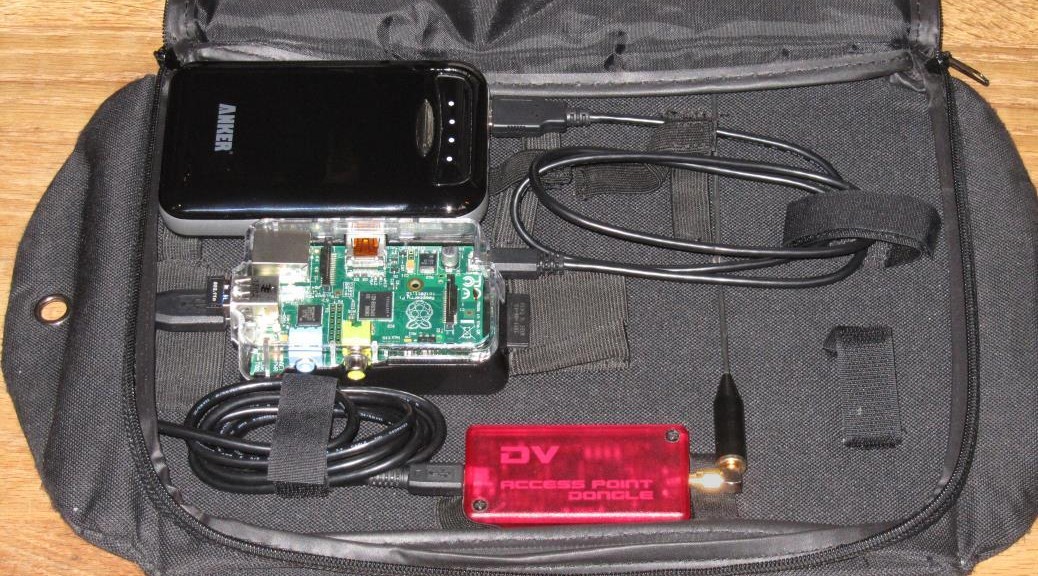
Unplug the USB keyboard and mouse. Plug in the DVAP and WiFi dongle. Cycle power to the Pi.
Once the Pi starts booting, the DVAP will have a yellow LED pulsating about every 2 seconds.
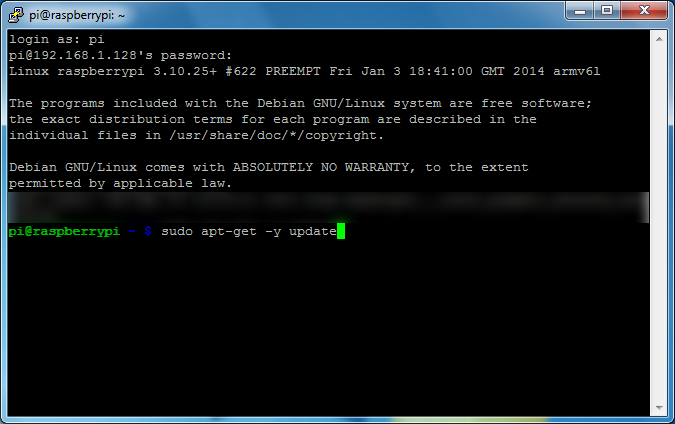
Connect via SSH to the Pi.
Update the repository archives by entering
sudo apt-get -y update
For a description of this command see the Updating Wheezy Raspbian section.
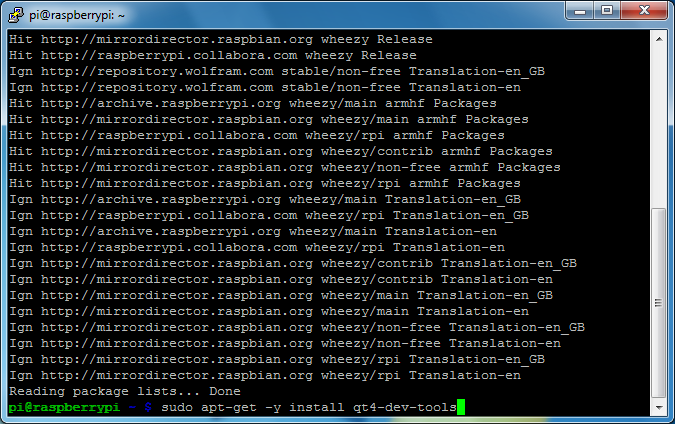
Once complete, install some development tools by entering
sudo apt-get -y install qt4-dev-tools
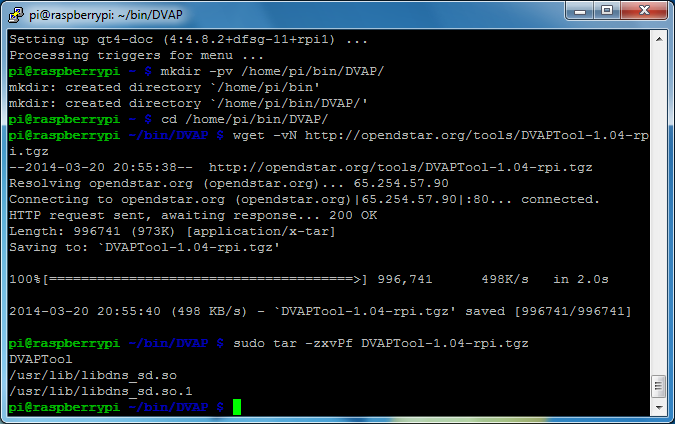
Once complete, create a directory to store the DVAPTool, download the archive from the Open D-STAR website, and install DVAPTool.
mkdir -pv /home/pi/bin/DVAP/
cd /home/pi/bin/DVAP/
wget -vN http://opendstar.org/tools/DVAPTool-1.04-rpi.tgz
sudo tar -zxvPf DVAPTool-1.04-rpi.tgz
This will download the DVAP icon. This file can also be found by subscribing to the DVAP Dongle Yahoo Group.
wget -vN http://www.qsl.net/k9ukj/dvap.png
The PuTTY session can be closed. I am going to use the graphical desktop (GUI) to demonstrate the rest of the setup.
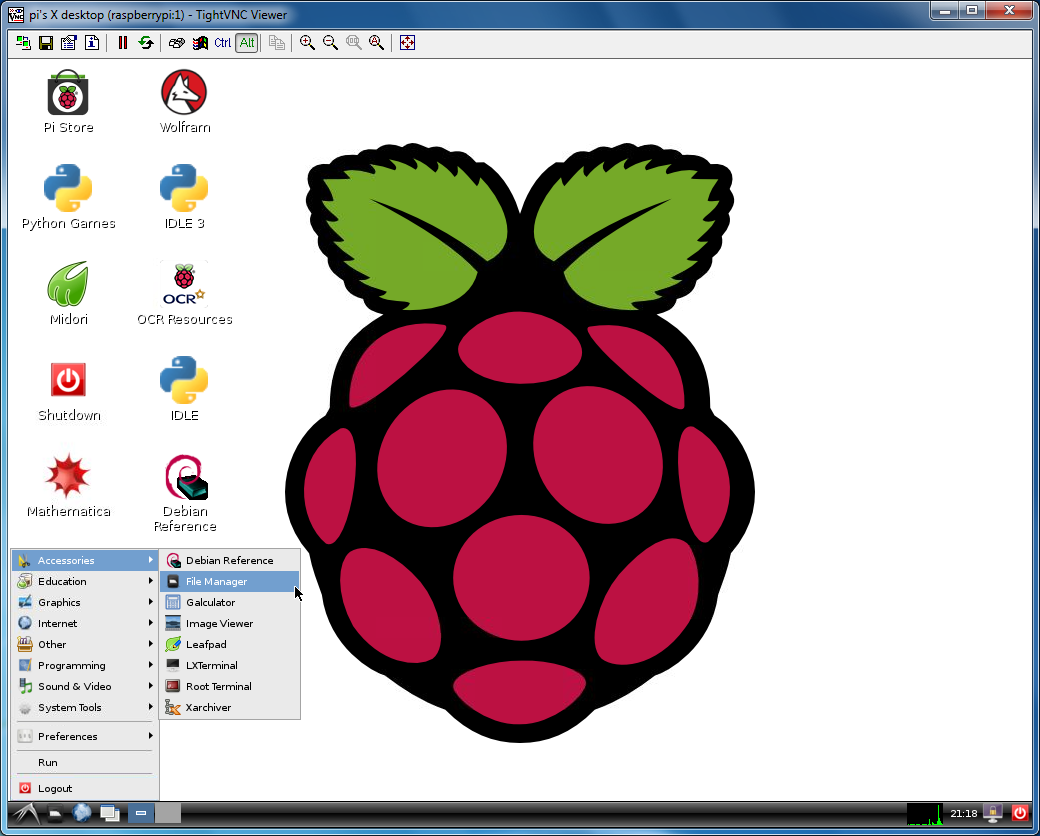
Click the X in the lower left.
Select Accessories.
Click File Manager.
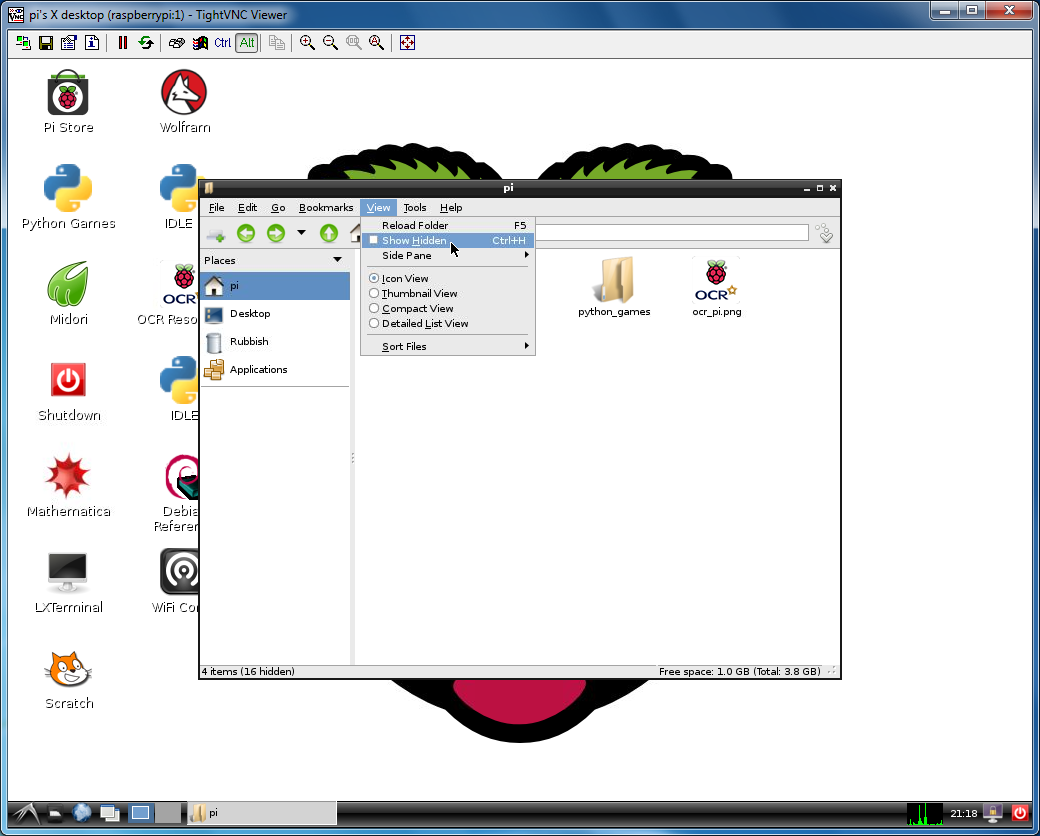
Hidden files need to be displayed. In Linux, hidden files begin with a period.
Click View.
Click Show Hidden.
Next will be the setup to have the DVAP Tool start when the Pi boots.
Open the .config then autostart directories.
If there is not an autostart directory, right-click and select Create New.
Click Folder. Name the folder
autostart
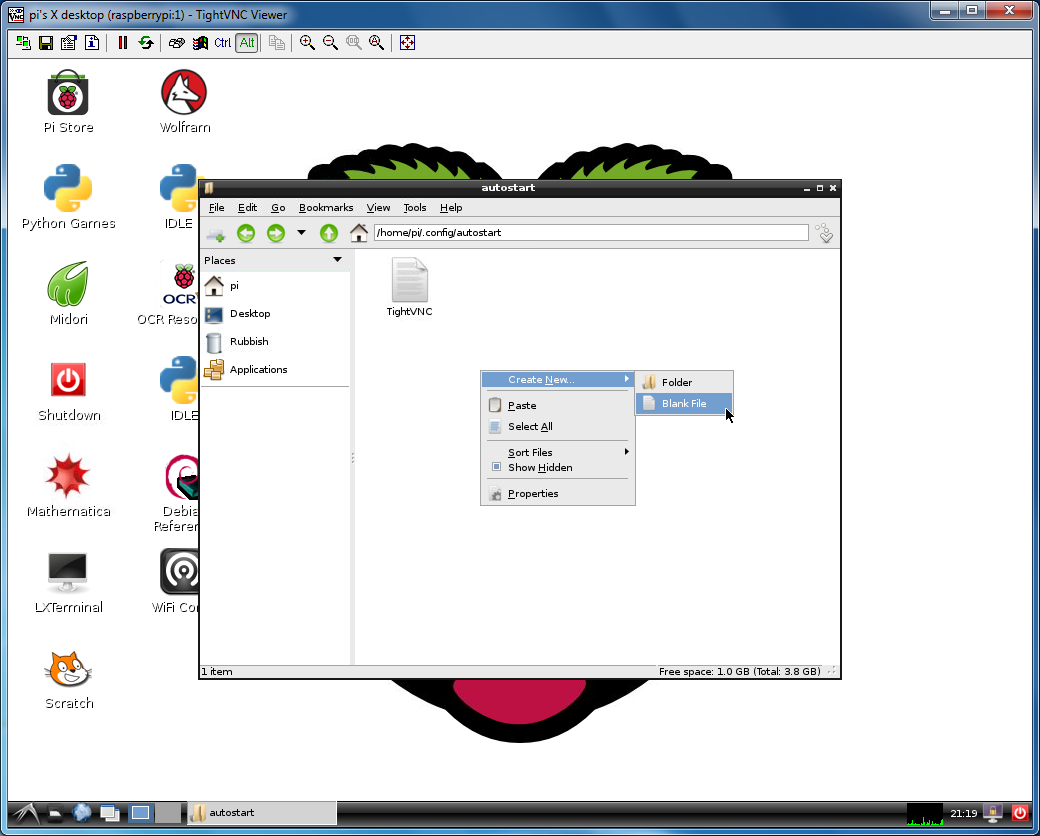
In the autostart directory, right-click and select Create New.
Click Blank File.
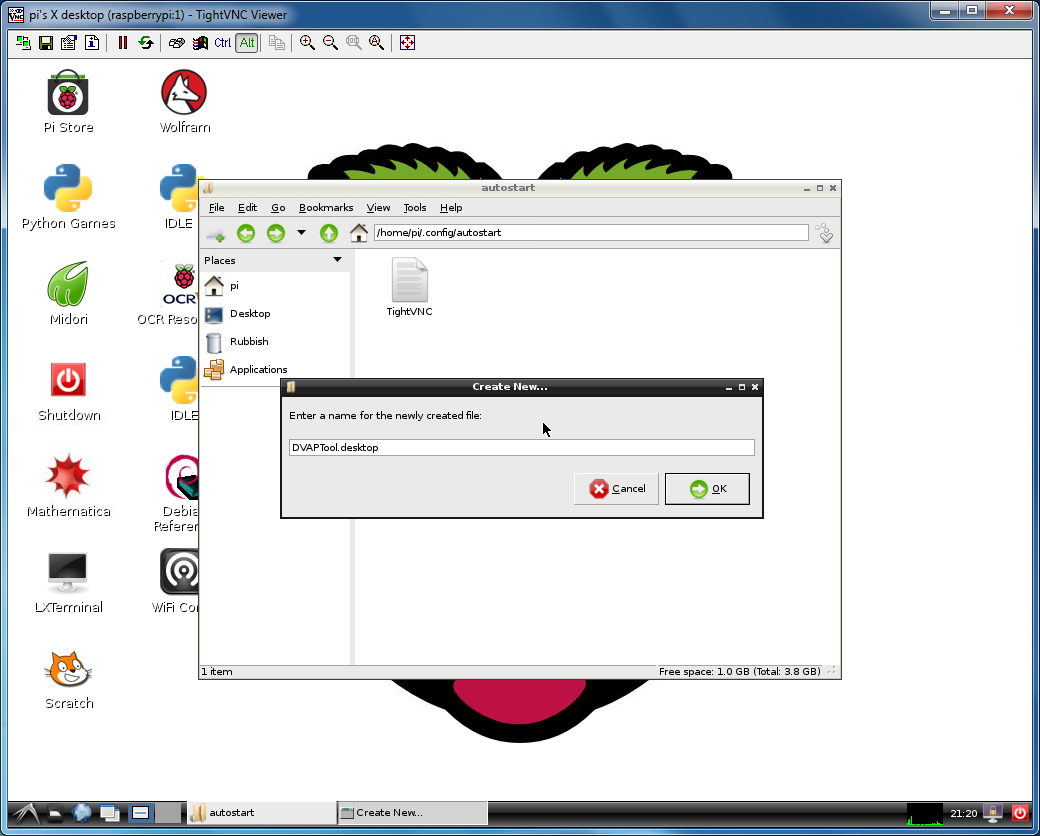
Name the file
DVAPTool.desktop
Click OK.
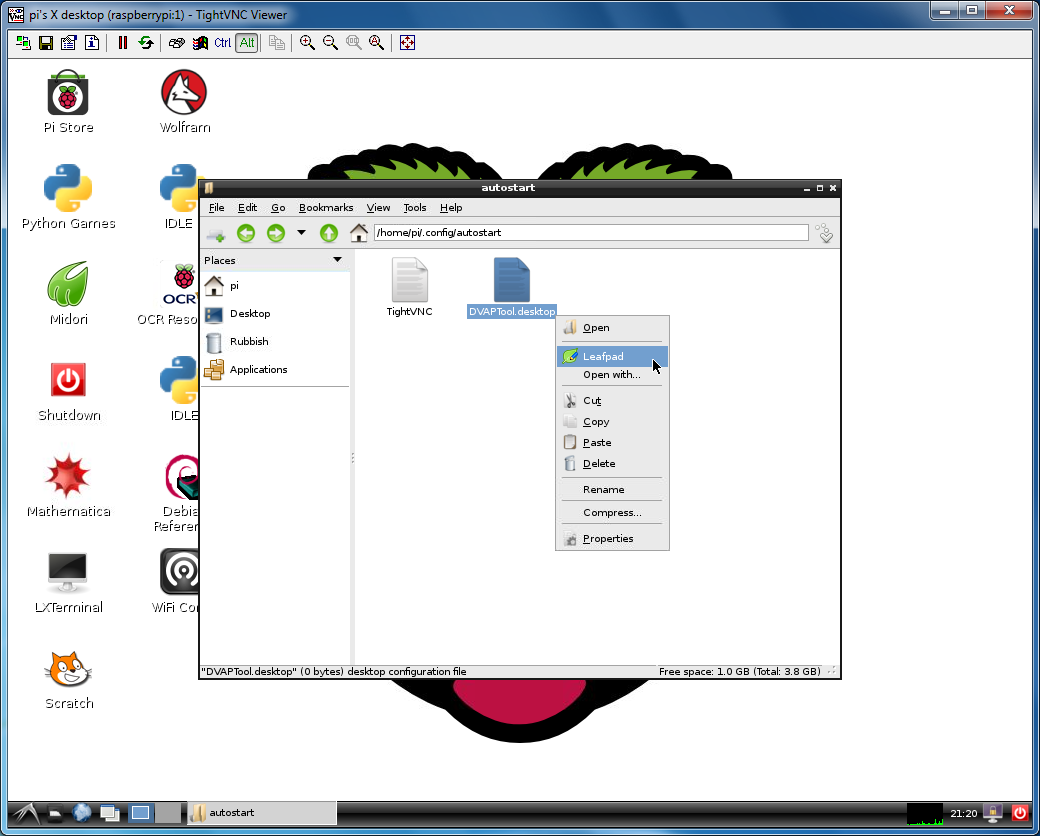
Right-click DVAPTool.desktop.
Click Leafpad. This is a graphical file editor.
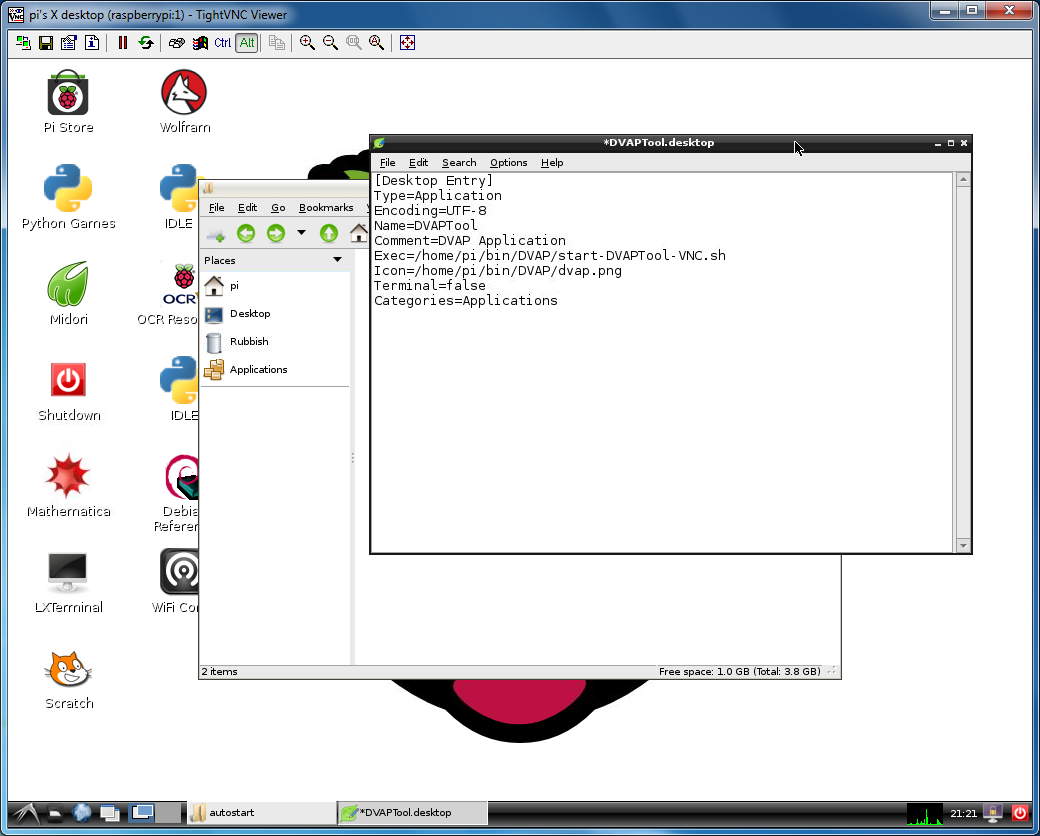
In the editor, paste the contents (right-click Paste or Edit and Paste)
[Desktop Entry]
Type=Application
Encoding=UTF-8
Name=DVAPTool
Comment=DVAP Application
Exec=/home/pi/bin/DVAP/start-DVAPTool-VNC.sh
Icon=/home/pi/bin/DVAP/dvap.png
Terminal=false
Categories=Applications
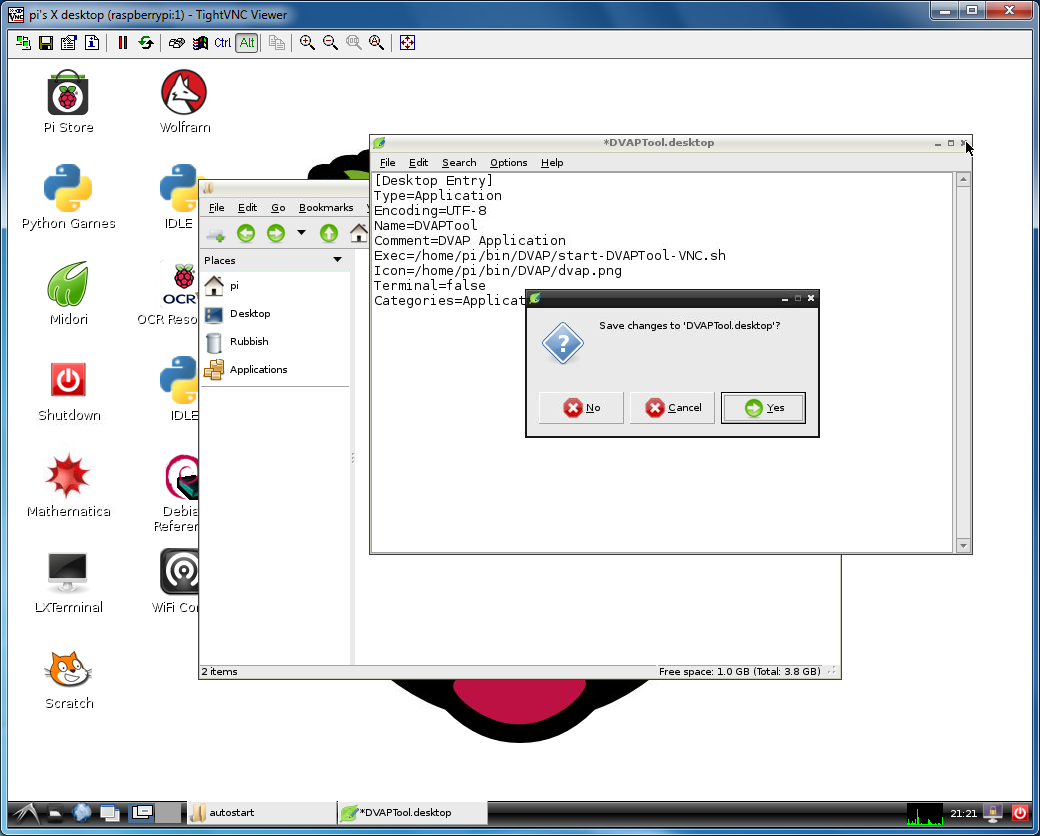
Click the X to close the Leafpad window.
Click Yes to save the file.
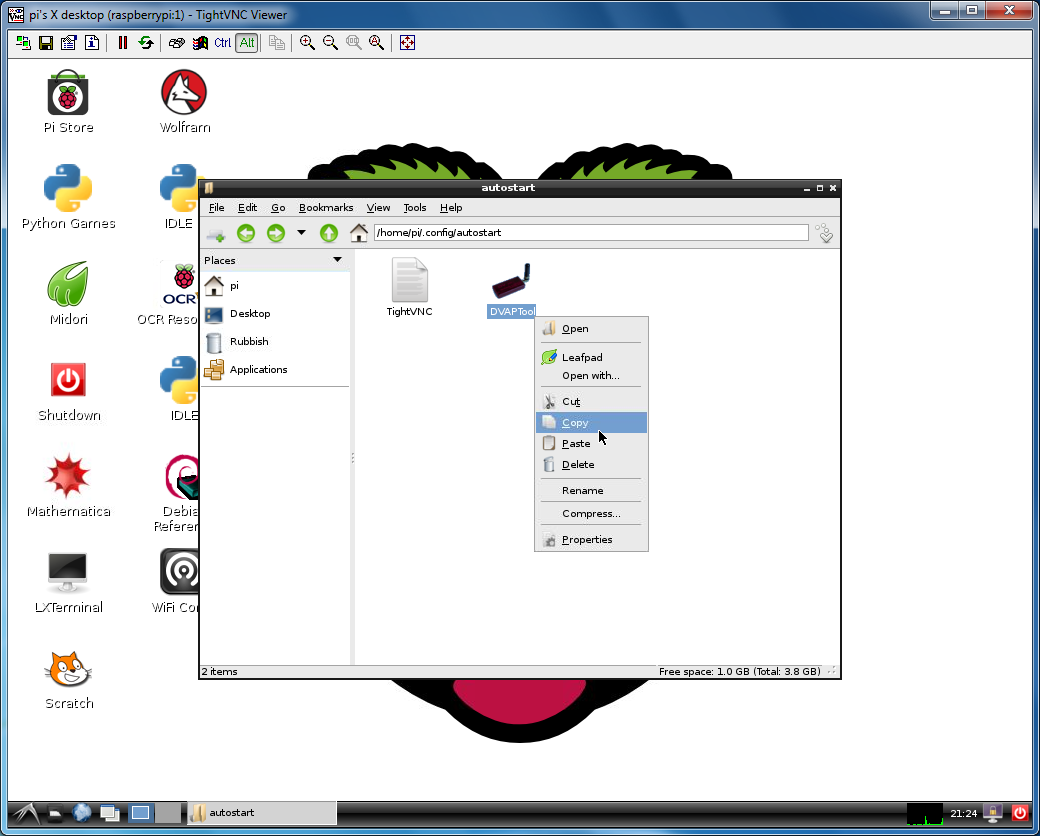
Notice the “.desktop” extension disappeared and the DVAP icon appeared for the file.
Right-click the DVAPTool file.
Click Copy.
Minimize the File Manager.
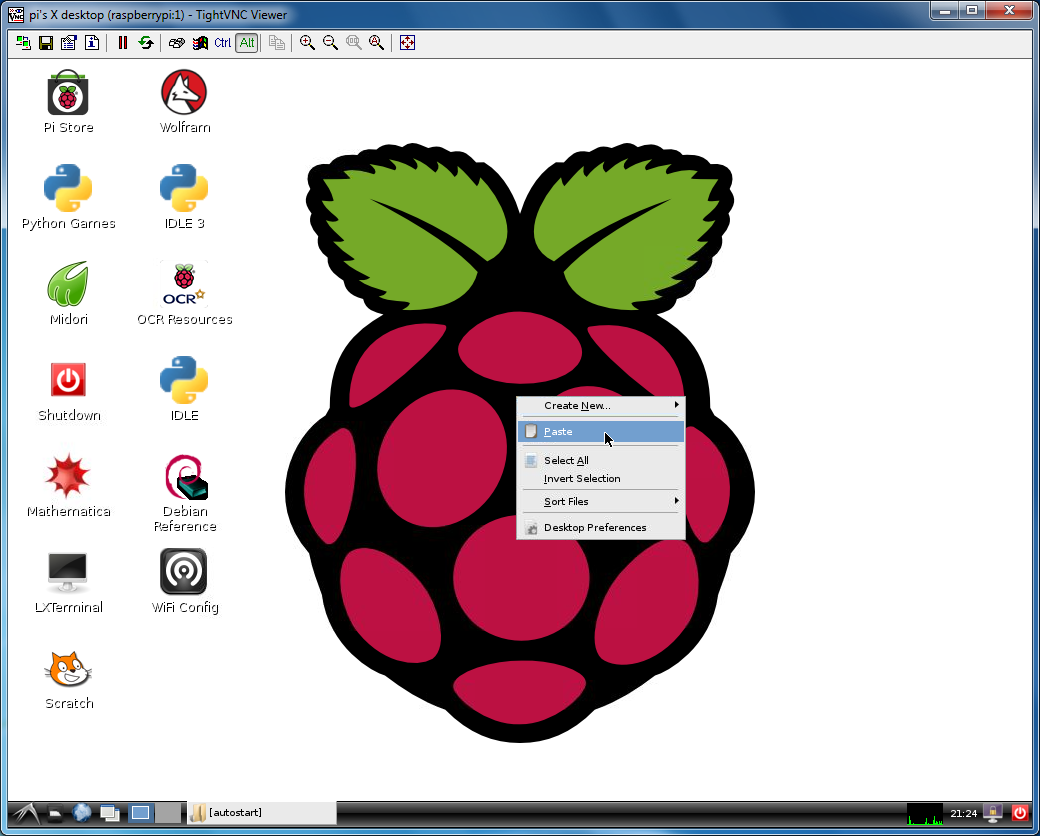
Right-click on the desktop and click Paste.
This shortcut can be used to launch the DVAP Tool when using the graphical desktop either via a monitor or VNC.
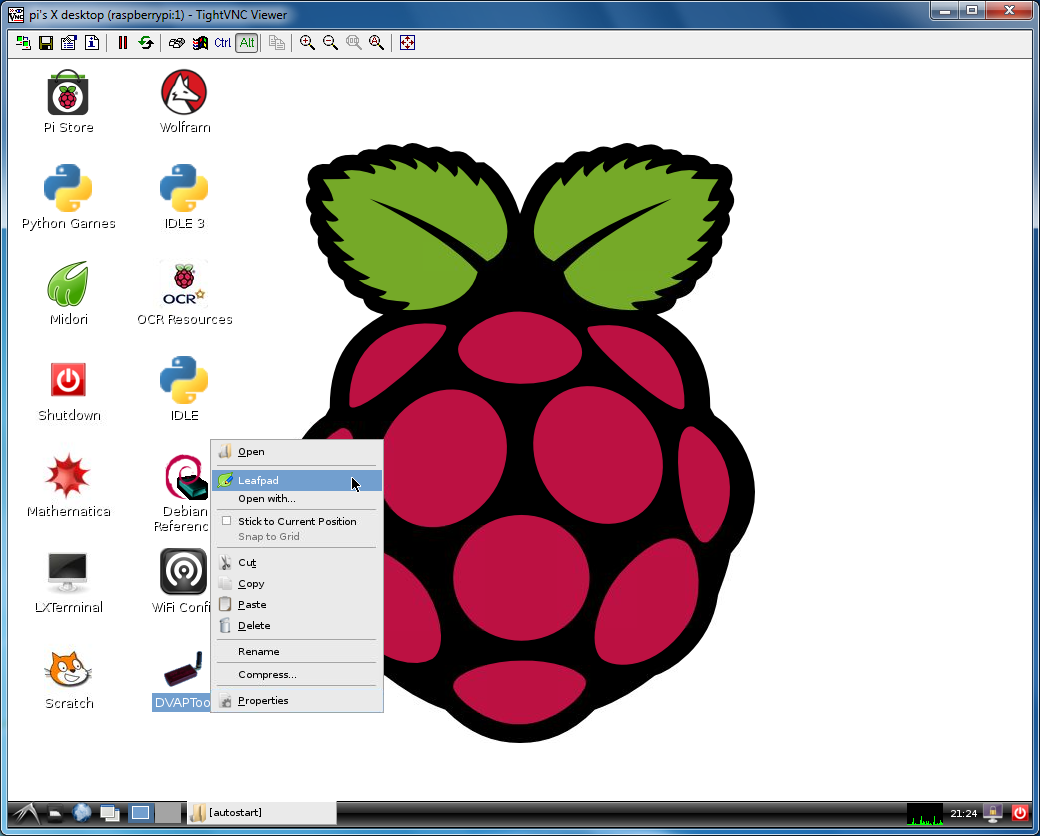
One change needs to be made to this file. Again right-click DVAPTool.
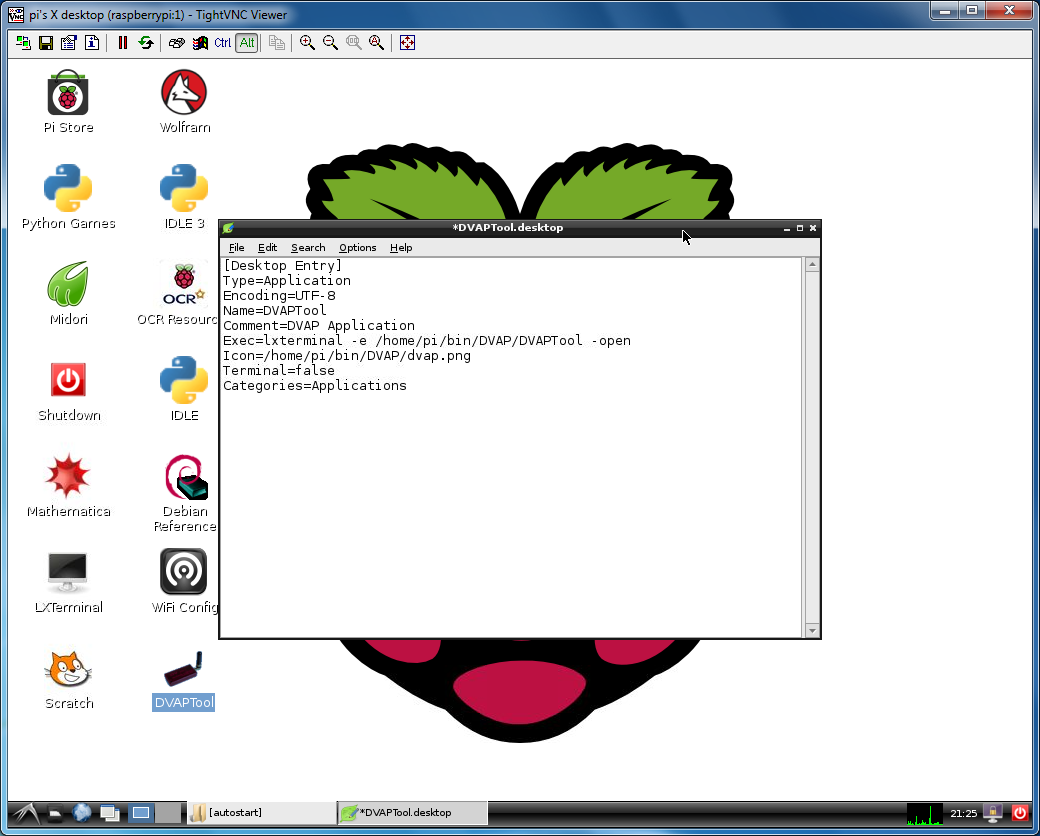
Click Leafpad.
Change the Exec line to
Exec=lxterminal -e /home/pi/bin/DVAP/DVAPTool -open
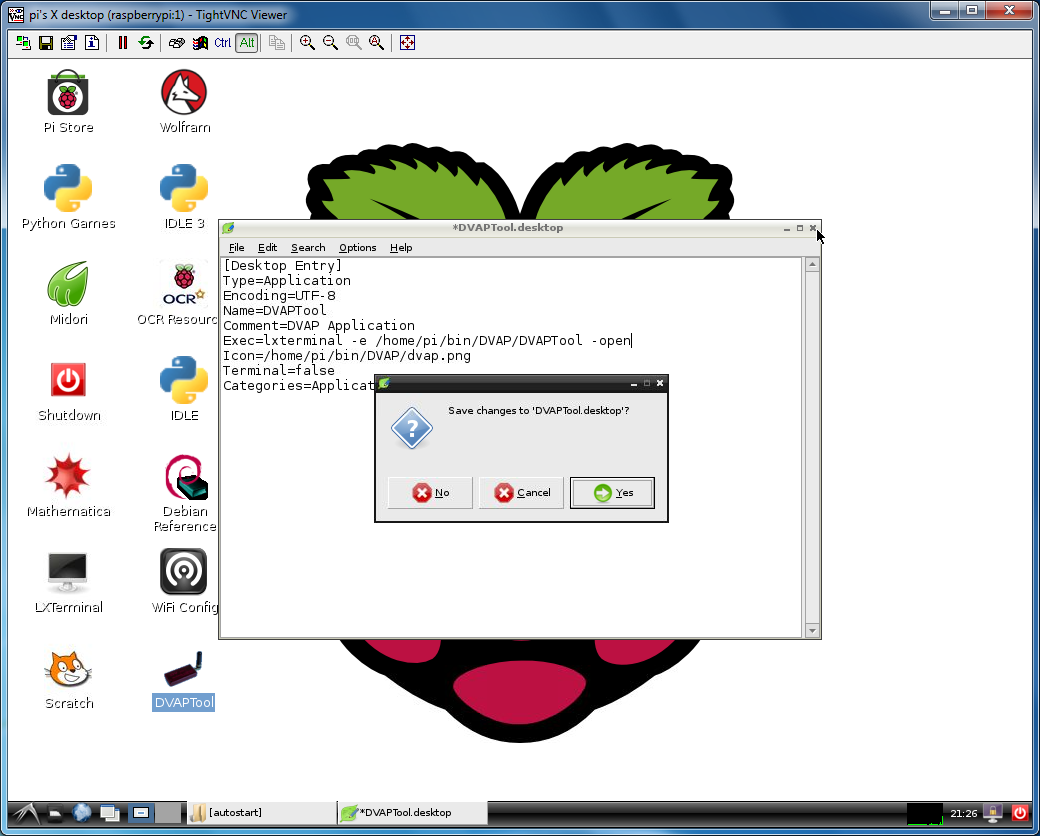
Click the X to close the Leafpad window.
Click Yes to save the changes.
Click File Manager in the taskbar to raise it.
Click the green up arrow twice to go up two directories to /home/pi/.
Go into the bin and then DVAP directories.
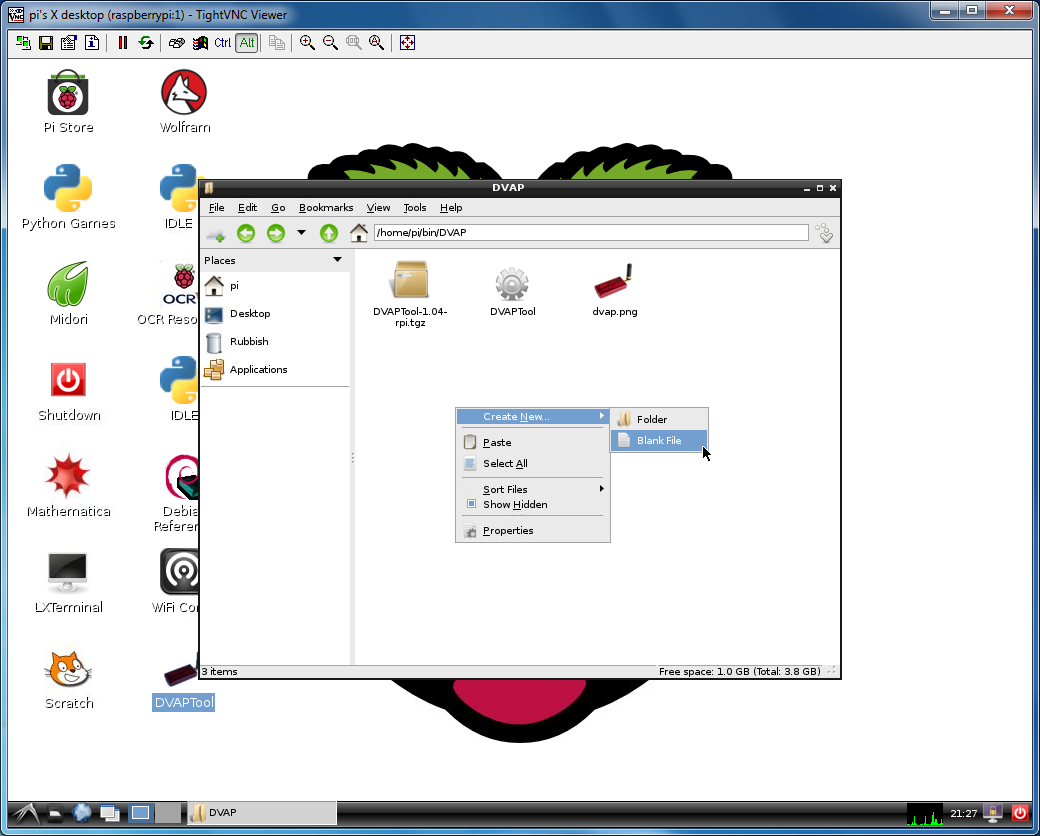
Right-click and select Create New.
Click Blank File.
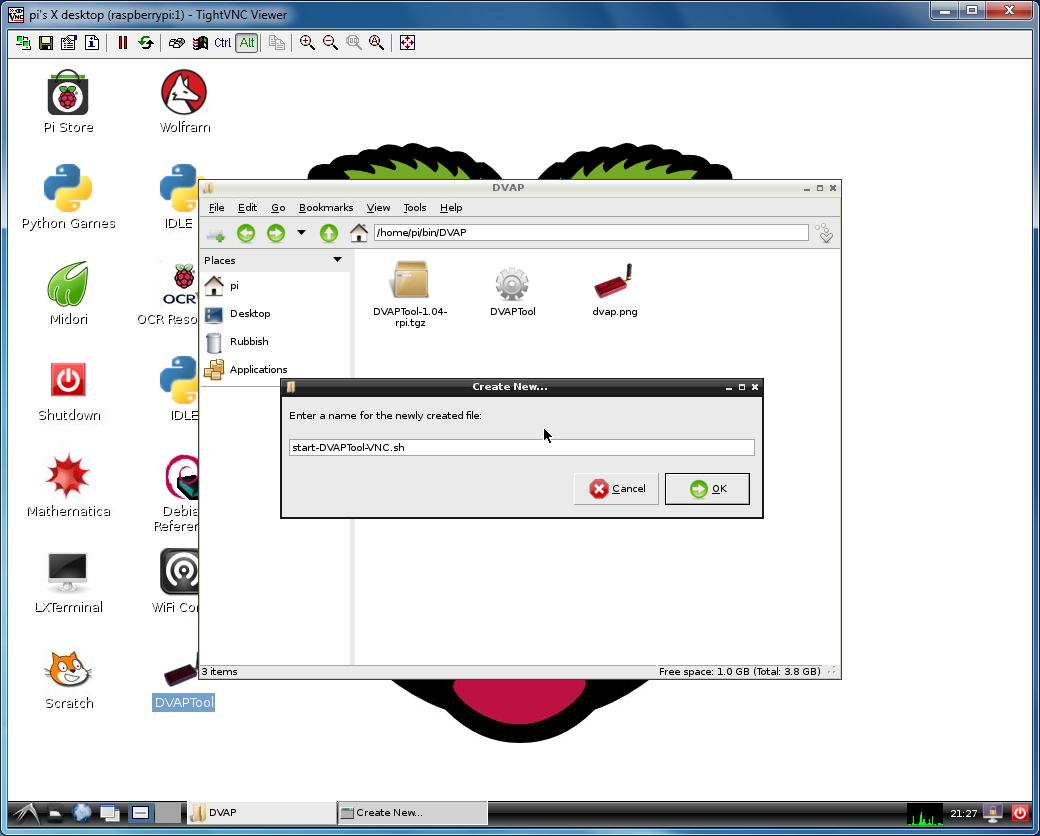
Name the file
start-DVAPTool-VNC.sh
Click OK.
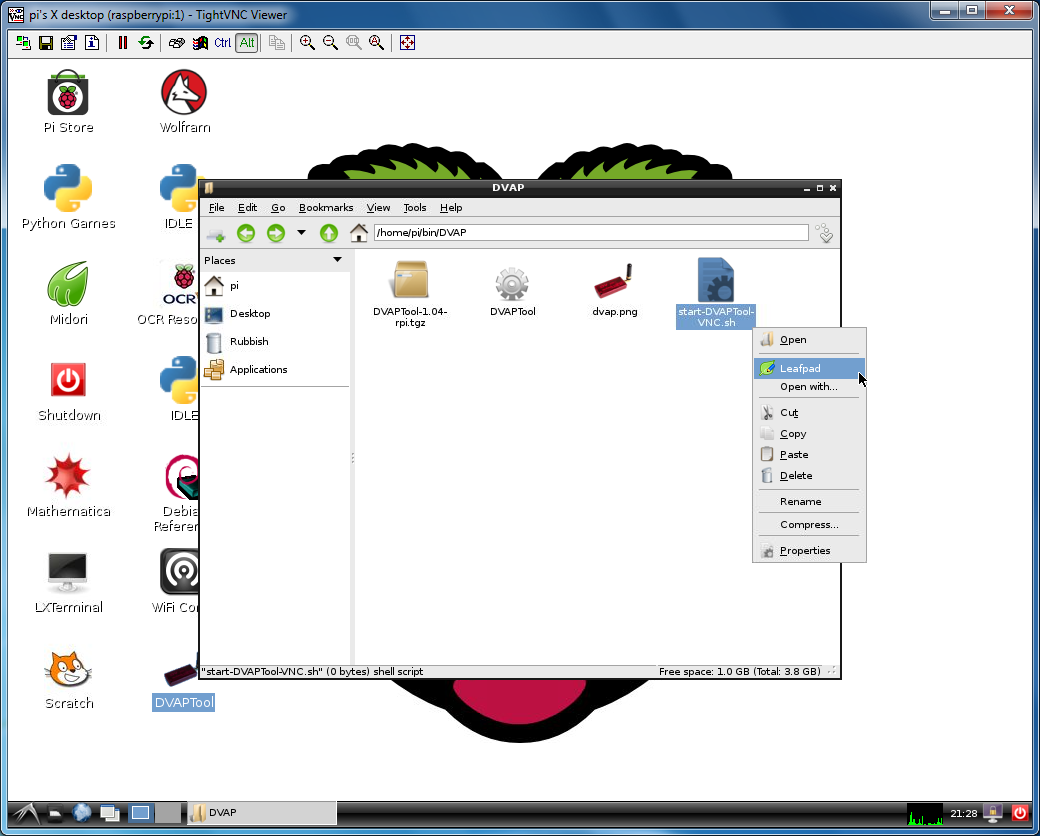
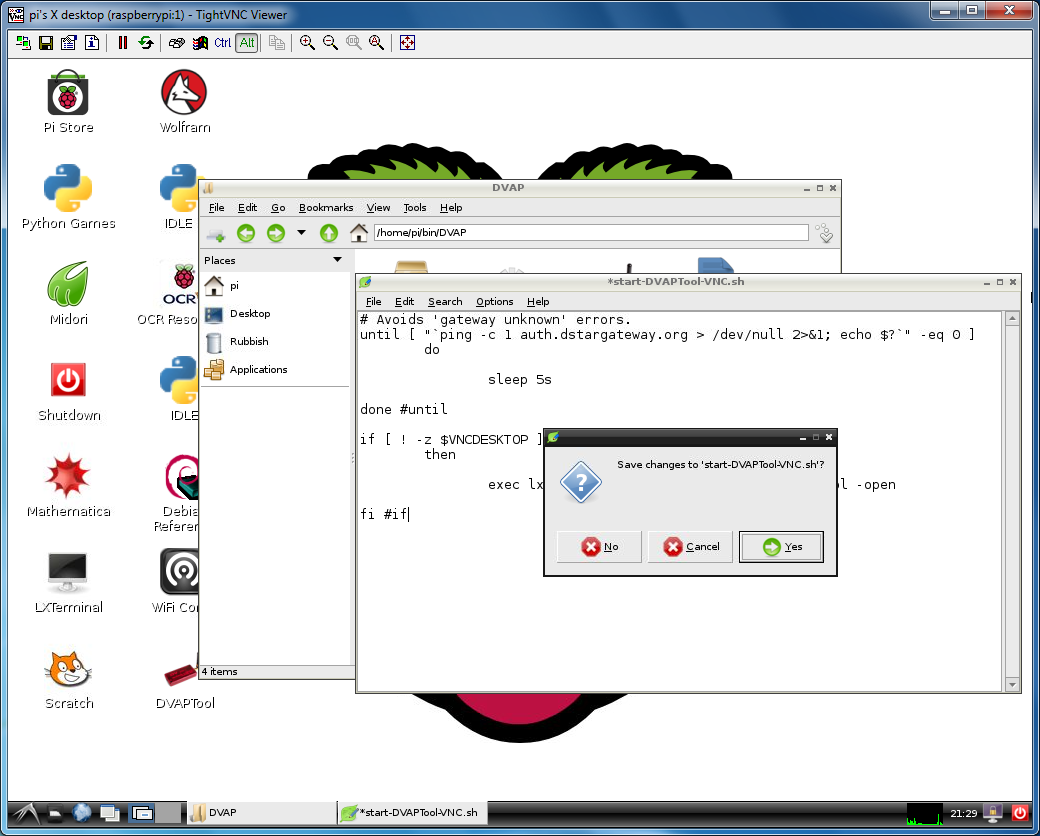
Edit with Leafpad.
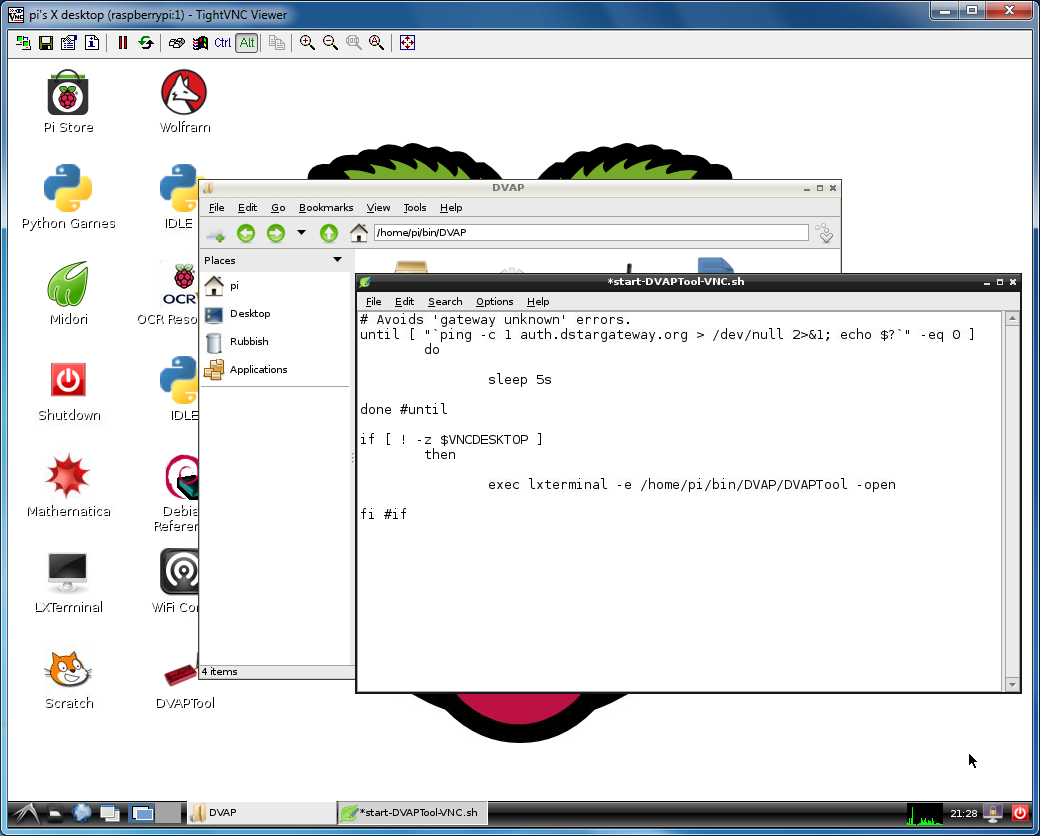
Click the link below. Copy and paste the lines from the text file
For a description of this file, see “other bits” at the bottom of this page.
Click the X to close the Leafpad window.
Click Yes to save the changes.
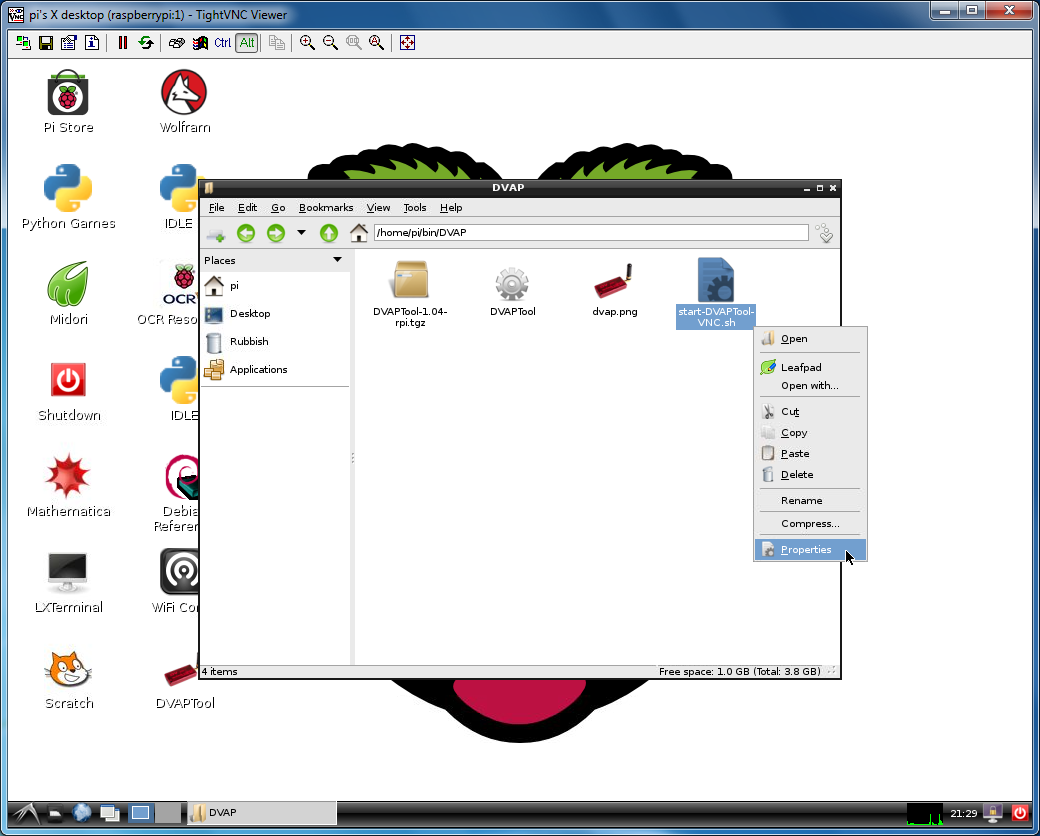
Right-click start-DVAPTool-VNC.sh.
Click Properties.
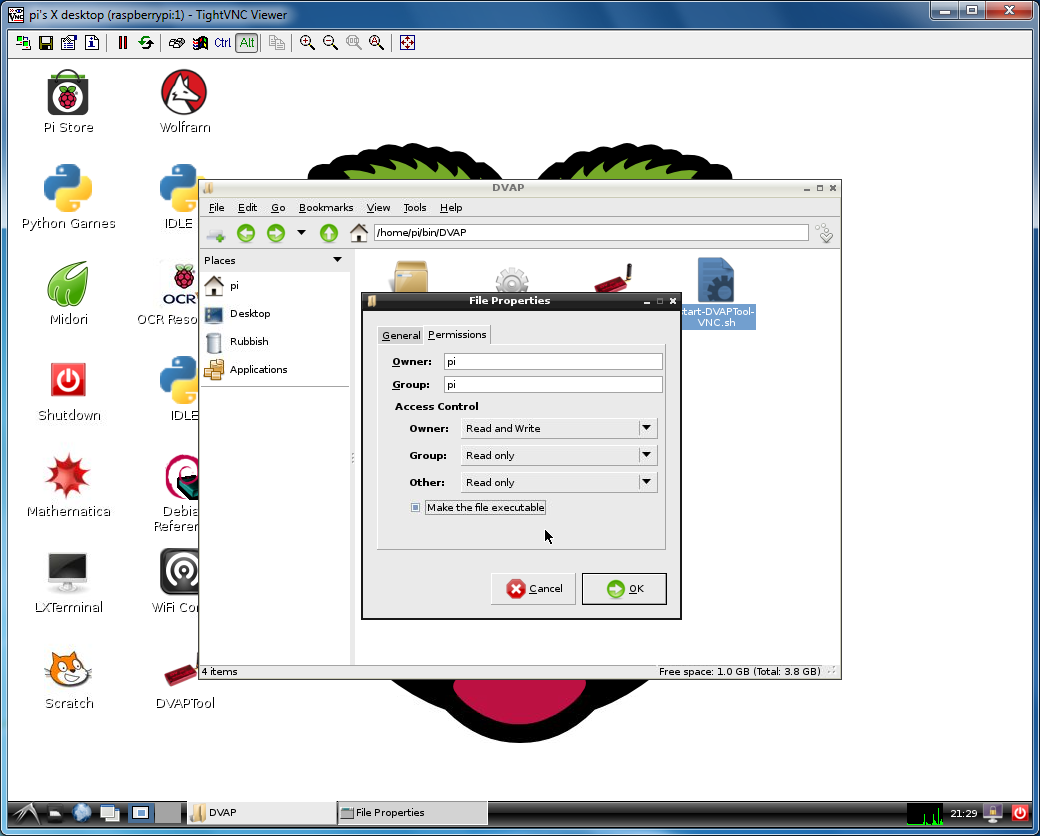
Click the Permissions tab.
Check Make the file executable.
Click OK.
We will need to configure the DVAPTool before we can have it autostart with the correct settings.
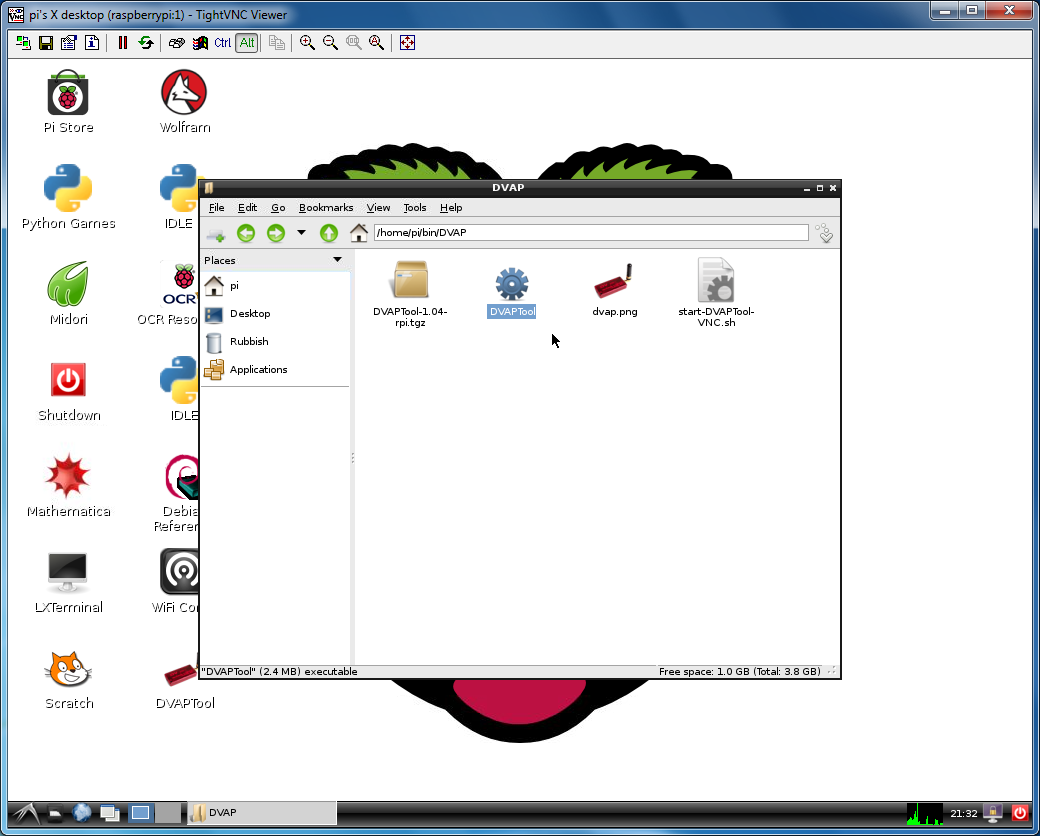
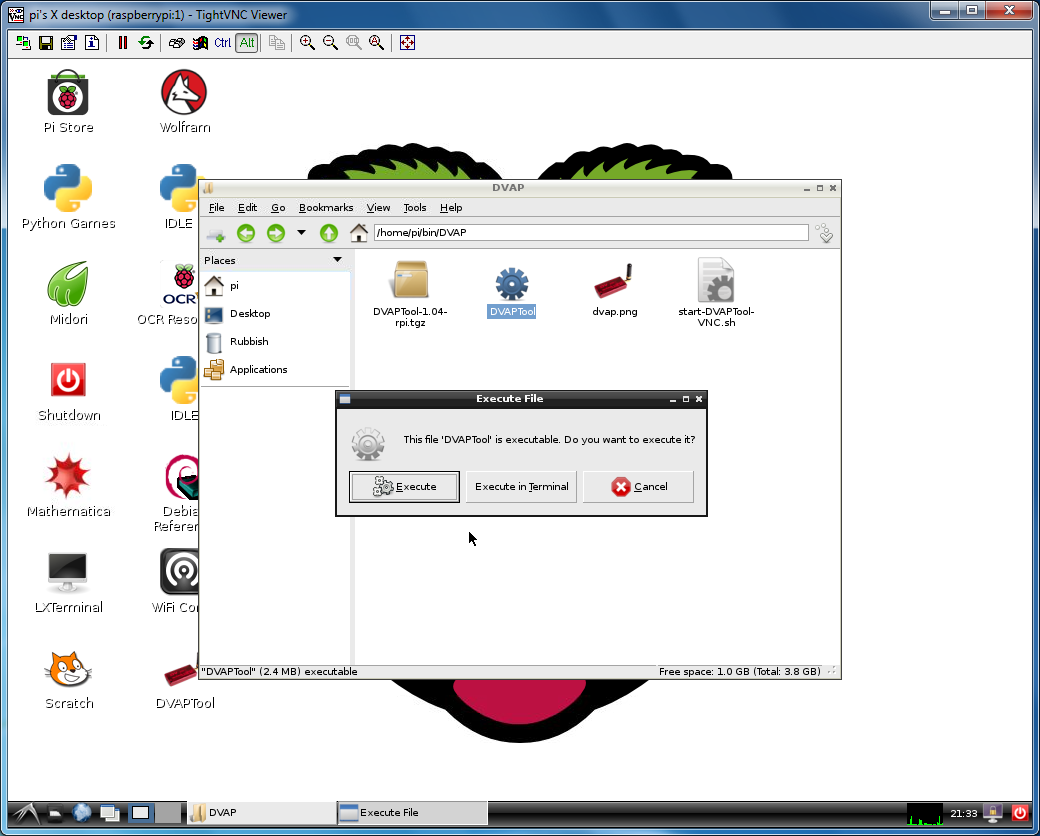
Start the DVAPTool.
Click Execute.
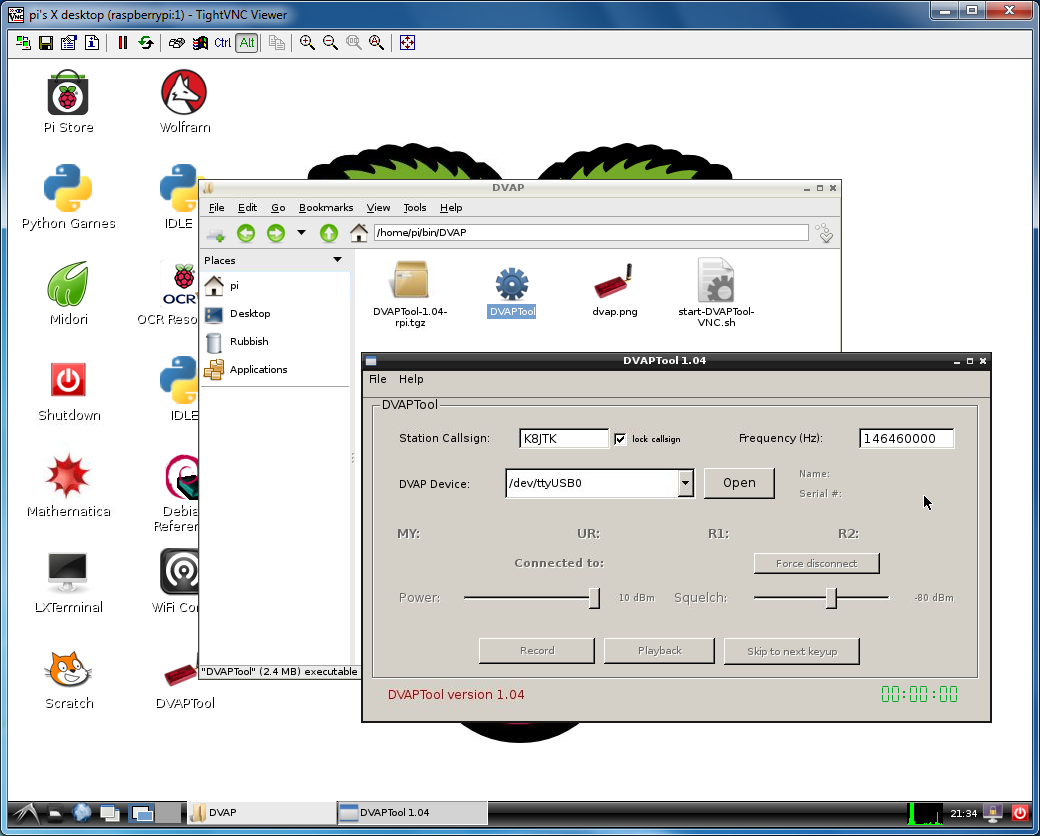
Enter station callsign registered on the D-STAR network. If you’re the only one who will use this DVAP, leave lock callsign checked. If unchecked, this will allow other users to access your DVAP.
Enter operating frequency. If you’ve previously used the DVAP with a computer and have memories programmed in your radio, use the same frequency.
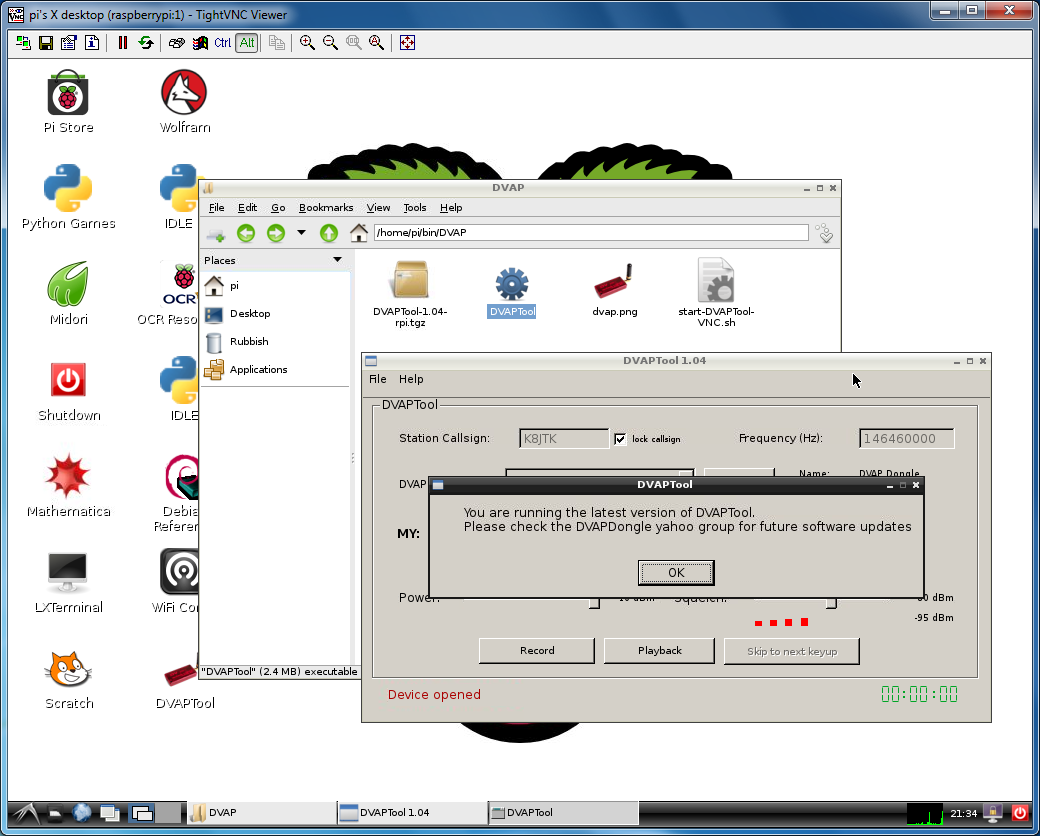
Click Open.
Click OK.
The blue LED should be flashing about once per second on the DVAP.
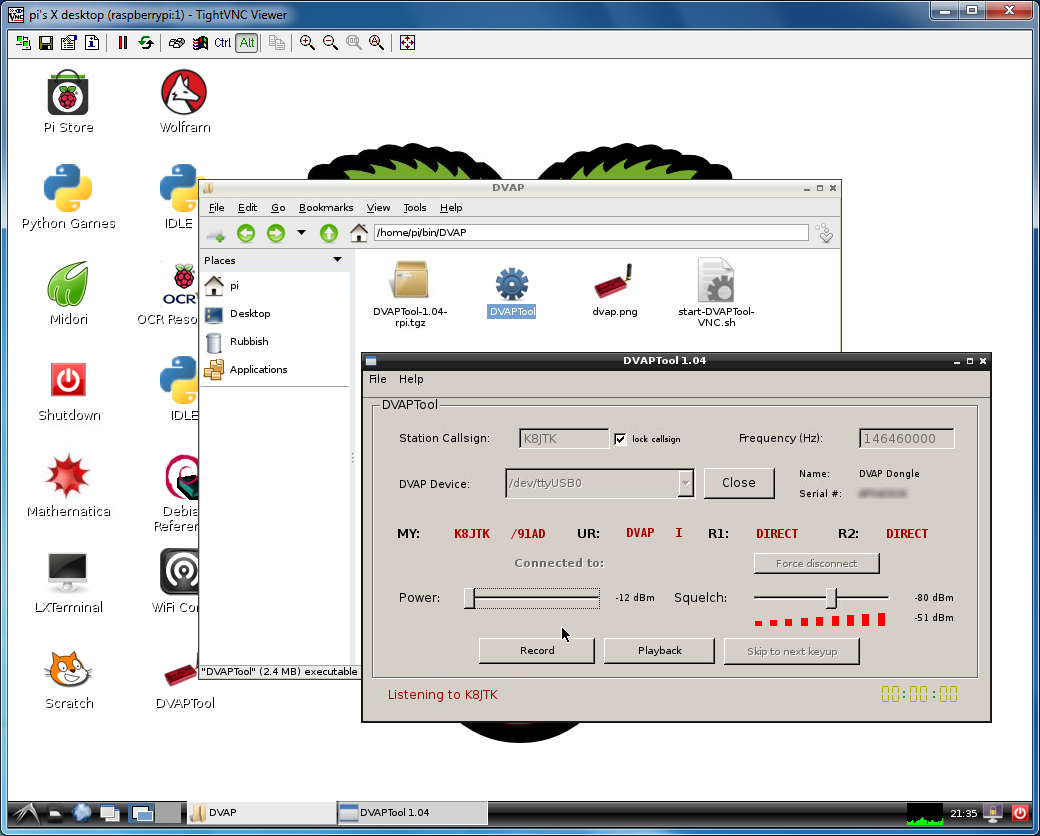
I use my DVAP in close proximity so i set my Power to the lowest setting.
Configure your radio to send the information request
UR: DVAP I
R1: DIRECT
R2: DIRECT
MY: your callsign
The DVAP should respond with “DV Access Point Dongle.” It’s working!
Other bits
start-DVAPTool-VNC.sh
This script is executed only when the DVAP is autostarted, when the Pi boots. This script solved a few problems.
1) I was getting alot of “gateway unknown” messages back from the DVAP Tool software when trying to link to a D-STAR gateway system. I would have to reboot 2, 3, or more times before I was able to link. I determined the DVAP Tool was starting before the network stack was initialized, authenticated, and connected. I fixed this by adding a script.
This is pretty straight forward Linux Bash shell scripting. If you’ve never seen stuff like this before, let me try to explain what is happening.
until [ “`ping -c 1 auth.dstargateway.org > /dev/null 2>&1; echo $?`” -eq 0 ]
do
sleep 5s
done #until
This says “if I cannot successfully ($? -eq[uals] 0) send one (-c 1) packet (ping) to the D-STAR authentication server (auth.dstargateway.org) and get it back, then (do) wait (sleep) five sections and try again (until).”
“$?” is the exit code of the ping command. Linux commands return exit codes. 0 means the command executed successfully, without error. Anything other than 0 means some sort of error, unexpected result, or a status code. The other stuff “> /dev/null 2>&1” is throwing away any output generated by the ping command. This output is not needed since the exit code is being checked and would otherwise confuse the test (between the two brackets “[” and “]”).
If ping gets a packet back from the auth server, there is a communication path form the Pi to the server and back, meaning all interfaces and connections are active. Once ping exits with a code of 0, the script exits the until loop statement. Meaning it no longer waits 5 seconds and continues with the rest the commands.
Couple notes on points of failure to keep in mind. These points would prevent the DVAP Tool from starting or resulting in a false positive. The server was down or the DNS entry changes from auth.dstargateway.org, would prevent startup. If on a network that used OpenDNS or similar DNS redirector service if the name does not resolve to an IP. This would generate a false positive because the IP address returned is not that of the D-STAR gateway auth server, but redirected to that of a landing server instead.
2) Even though the setup is headless, the DVAP Tool was staring on the “:0” display or the physical video connection on the device. This wasn’t useful to me since the purpose was not to carry a monitor for the Pi. To have the DVAP Tool start on a display I could access with a laptop or phone, the virtual display via the VNC service (:1), I put this in the startup script
if [ ! -z $VNCDESKTOP ]
then
exec lxterminal -e /home/pi/bin/DVAP/DVAPTool -open
fi #if
When VNC starts a display, it assigns a value to a variable in that display instance called VNCDESKTOP. I test the variable ($VNCDESKTOP) to make see if the length (-z) is not (!) 0. If it is 0 or the variable doesn’t exist, the script simply doesn’t run (exec) the DVAP Tool on that display.
The “autostart” programs are started on each display, once for the “:0” display and once for the “:1” VNC display. When I would start the DVAPTool on the “:1” display, with it having been started on the “:0” display, I would see an error saying it couldn’t connect to the device because it’s already in use. This code avoids that error too.
3) The PC version of the DVAP Tool has a terminal like window that displays callsigns, user messages, and diagnostic messages. I like to see this output. I am able to display those messages by having DVAPTool started by LXTerminal. If /home/pi/bin/DVAP/DVAPTool -open is used, only the DVAPTool GUI is seen.
