VNC
I enabled VNC in case, for example, I had my Pi on a trip and didn’t have a monitor. Sometimes it’s just useful to use the graphical desktop.
The VNC client I use is the standard one for Windows, TightVNC.
I used the tutorial from Adafruit on Remote Control with VNC. Autocutsel enables copy & pasting from the VNC window, very handy.
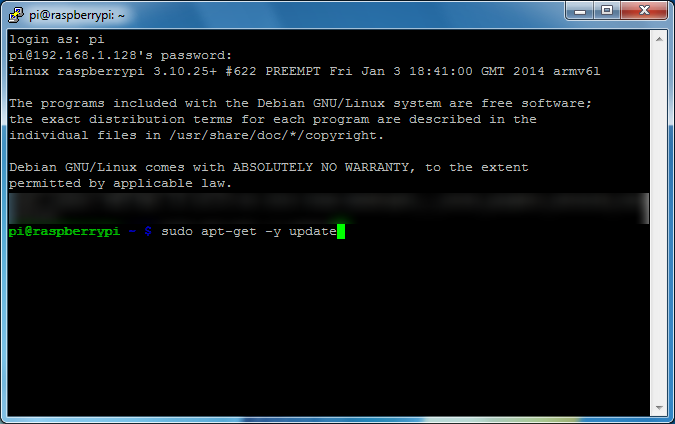
Connect via SSH to the Pi.
Update the repository archives by entering
sudo apt-get -y update
For a description of this command see the Updating Wheezy Raspbian section.
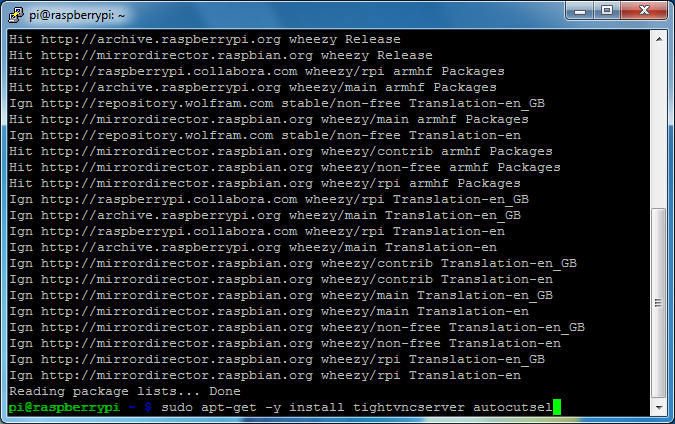
Once complete, install the VNC server package by entering
sudo apt-get -y install tightvncserver autocutsel
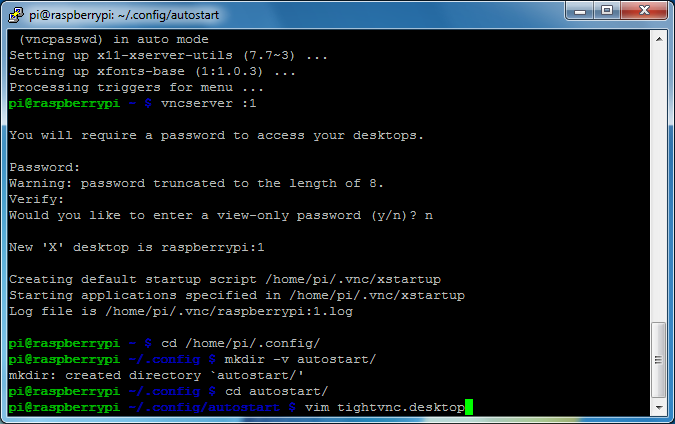
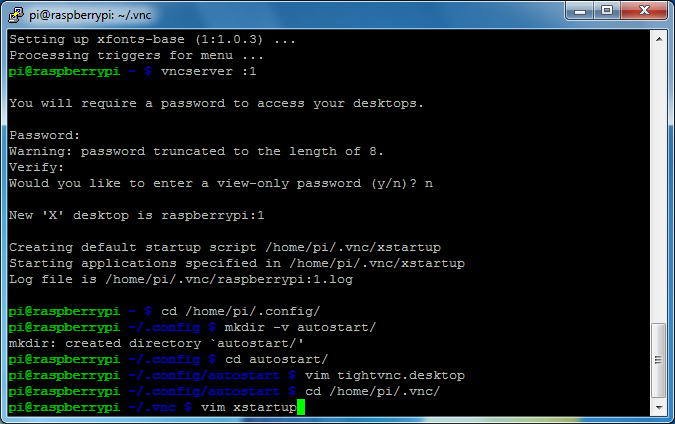
When the installation is complete, start the VNC server to setup access passwords.
vncserver :1
You will be required to enter a password for VNC. This can be different from the password for the “pi” user and are limited to 8 characters.
Answer no to the read-only password.
Next will be the setup to have the VNC server start when the Pi boots. Enter the following commands
cd /home/pi/.config/
mkdir -v autostart/
cd autostart/
vim tightvnc.desktop
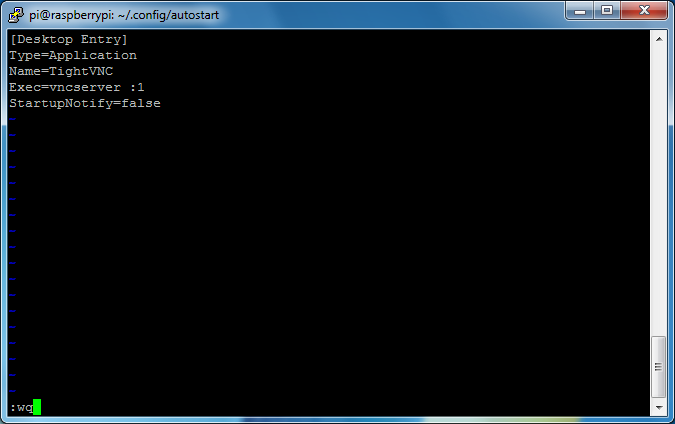
Put VIM in to insert mode by pressing “i” and you will see
— INSERT —
at the bottom of the window. Paste the following
[Desktop Entry]
Type=Application
Name=TightVNC
Exec=vncserver :1
StartupNotify=false
Press the Escape key to take VIM out of insert mode.
Then have VIM save (write) and quit by typing
:wq
Press Enter.
This will enable the copy & paste feature over a VNC connection. Enter the following commands
cd /home/pi/.vnc/
vim xstartup
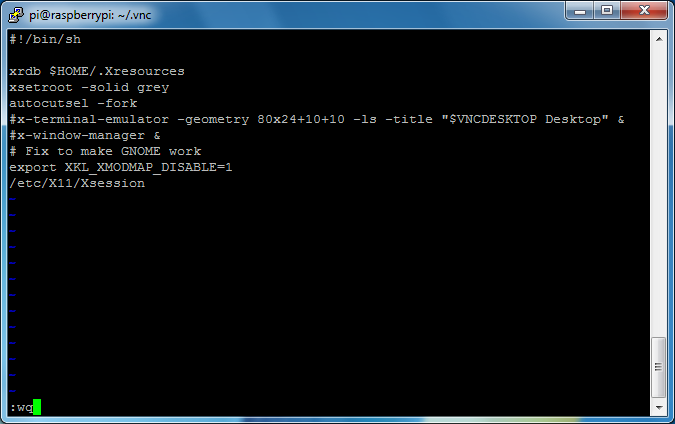
Press the “i” key to enter insert mode. Place the green cursor at the end of this line
xsetroot -solid grey
by using the arrow keys and End key.
Press Enter to add a new line. Paste
autocutsel -fork
Press the Escape key to take VIM out of insert mode.
Then save (write) and quit by
:wq
Press Enter.
VNC will now automatically start when the Raspberry Pi is booted.
Connecting via VNC
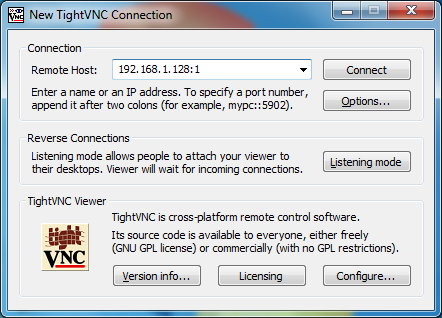
Start the TightVNC Viewer on a PC.
For Remote Host, enter the IP address found earlier and display. In this case: 192.168.1.128:1
Click Connect.
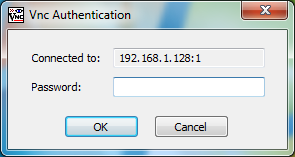
Enter the VNC password setup earlier.
Click OK.
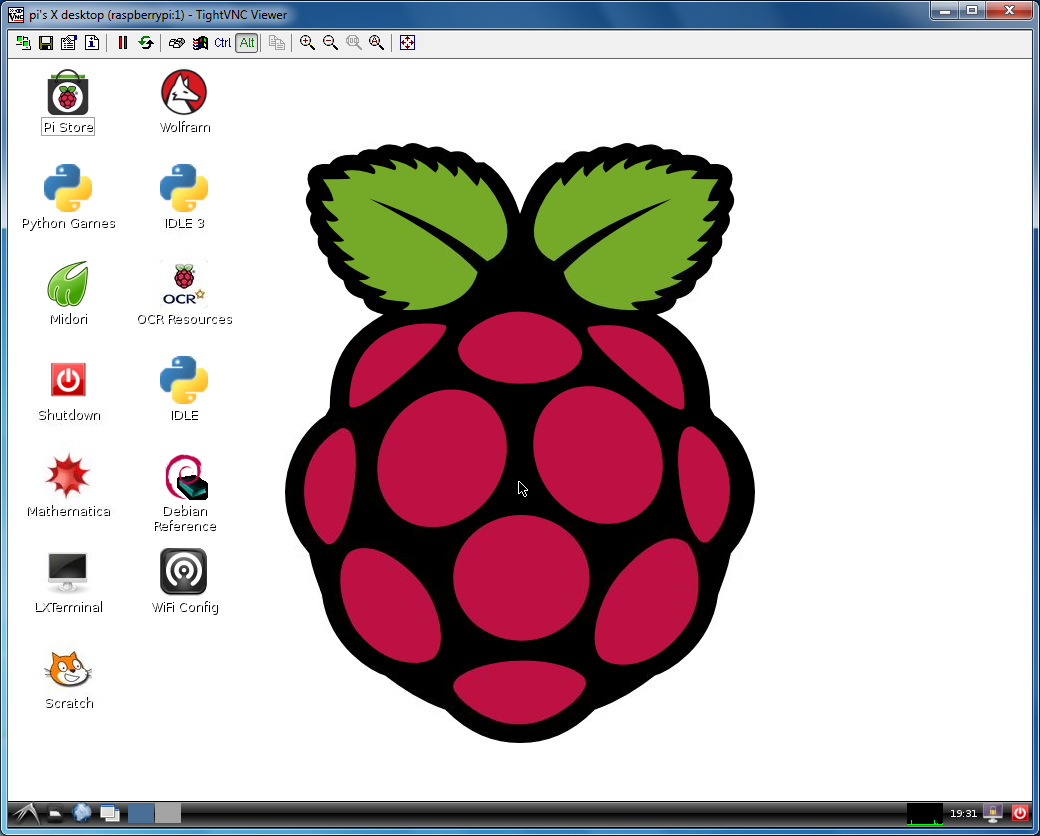
You should see the Raspberry Pi desktop.
VNC is working!
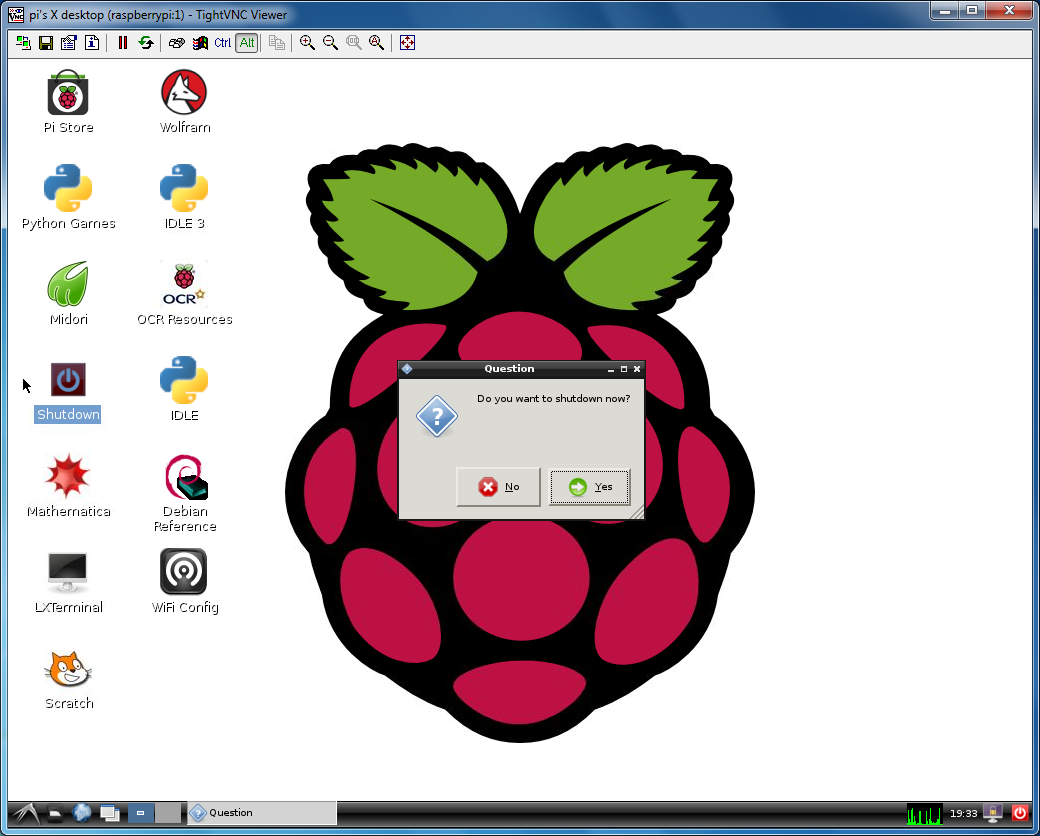
On the desktop, click Shutdown.
Click Yes.
Other bits
Linux has the concept of displays and screens. The syntax is
[host]:[display][.screen]
Each host (usually localhost) can have multiple displays. Each display can have multiple screens. 0 usually is the display on the physical device that has a monitor attached.
Other displays can be started using the VNC service. VNC is started on display “:1” but could have multiple displays for multiple users. Example
vncserver :1; vncserver :2; vncserver :3
would start a total of 3 VNC sessions users could connect to over the network. Each display is separate. Users who connected to the same display number would see the same screen.
GDBus.Error
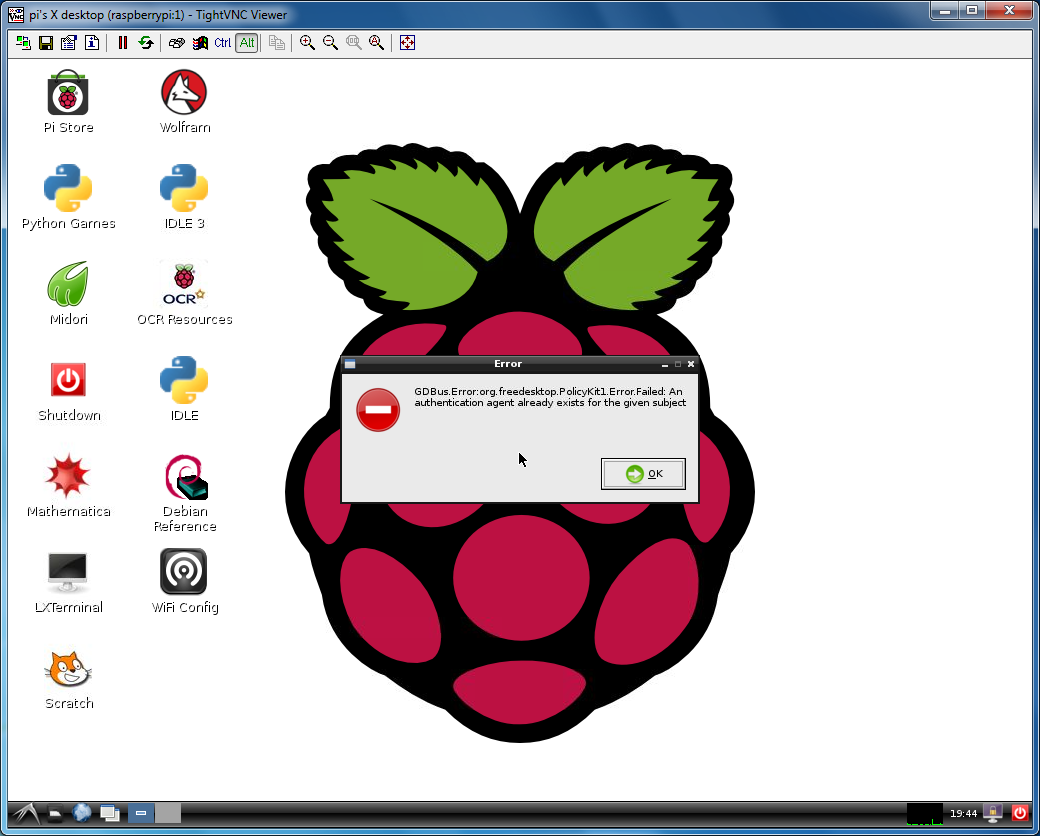
So, I’ve seen this error in a number of versions of Wheezy Raspbian using VNC. I figure it’s some bug or configuration setting. I ignore it by clicking OK.