Tag Archives: Linux

Ohio Section Journal – The Technical Coordinator – April 2018 edition

One of the responsibilities of the Technical Coordinator in the Ohio Section is to submit something for the Section Journal. The Section Journal covers Amateur Radio related things happening in and around the ARRL Ohio Section. It is published by the Section Manager Scott – N8SY and articles are submitted by cabinet members.

Once my article is published in the Journal, I will also make it available on my site with a link to the published edition.

You can receive the Journal and other Ohio Section news by joining the mailing list Scott has setup. You do not need to be a member of the ARRL, Ohio Section, or even a ham to join the mailing list. Please sign up!

If you are an ARRL member and reside in the Ohio Section, update your mailing preferences to receive Ohio Section news in your inbox. Those residing outside the section will need to use the mailing list link above.
Updating your ARRL profile will deliver news from the section where you reside (if the leadership chooses to use this method).
Go to www.arrl.org and logon.
Click Edit your Profile.
You will be taken to the Edit Your Profile page. On the first tab Edit Info, verify your Email address is correct.
Click the Edit Email Subscriptions tab.
Check the News and information from your Division Director and Section Manager box.
Click Save.

Now without further ado…


Read the full edition at: http://arrl-ohio.org/news/2018/OSJ-Apr-18.pdf

THE TECHNICAL COORDINATOR
Jeff Kopcak – TC
k8jtk@arrl.net

DSCF5081 K8JTKHey gang,

In all the ragging (er, discussion?) on Windows 10 last month, Bill – K8RWH had some good points and questions about Linux that I decided to write a follow up this month. There is a lot to parse, especially different terminology. The most useful website for Linux information is called DistroWatch, short for Distribution Watch. Most of the information here will come from that site. Let’s get to it.

History

Linux came out of the Unix operating system implemented by Ken Thompson and Dennis Ritchie (both of AT&T Bell Laboratories) in 1969. “Linux began in 1991 with the commencement of a personal project by Finnish student Linus Torvalds to create a new free operating system kernel. Since then, the resulting Linux kernel has been marked by constant growth throughout its history. Since the initial release of its source code in 1991, it has grown from a small number of C (programming language) files under a license prohibiting commercial distribution to the 4.15 version in 2018 with more than 23.3 million lines of [code] … ” (Wikipedia).

Tux

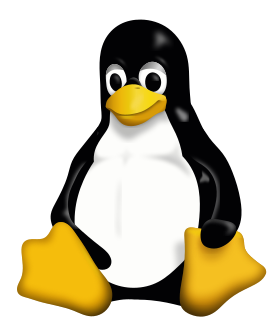
I’d be remiss if I didn’t mention the official Linux mascot. “Torvalds announced in 1996 that there would be a mascot for Linux, a penguin. This was due to the fact when they were about to select the mascot, Torvalds mentioned he was bitten by a little penguin on a visit to the National Zoo & Aquarium in Canberra, Australia. Larry Ewing provided the original draft of today’s well known mascot based on this description. The name Tux was suggested by James Hughes as derivative of Torvalds’ UniX, along with being short for tuxedo, a type of suit with color similar to that of a penguin” (Wikipedia).

Crash course in Linux terminology

GNU/GPL – software licensing methodologies frequently used by Linux and Unix variants.

Open Source – anyone can see the building blocks of a project known as the source code. This is beneficial because anyone with skills can fix and improve upon an open source program.

Kernel – is the core to any operating system (not only Linux). It interacts with and controls the computer’s hardware (mouse, keyboard, monitor/graphics, hard drive, USB devices, network). It is the lowest level of the operating system.

Operating System – collection of kernel and software that make a computing device work. Most operating systems include drivers, text editor, file manager, and a method for installing & removing applications (known as a “Package Manager” in Linux).

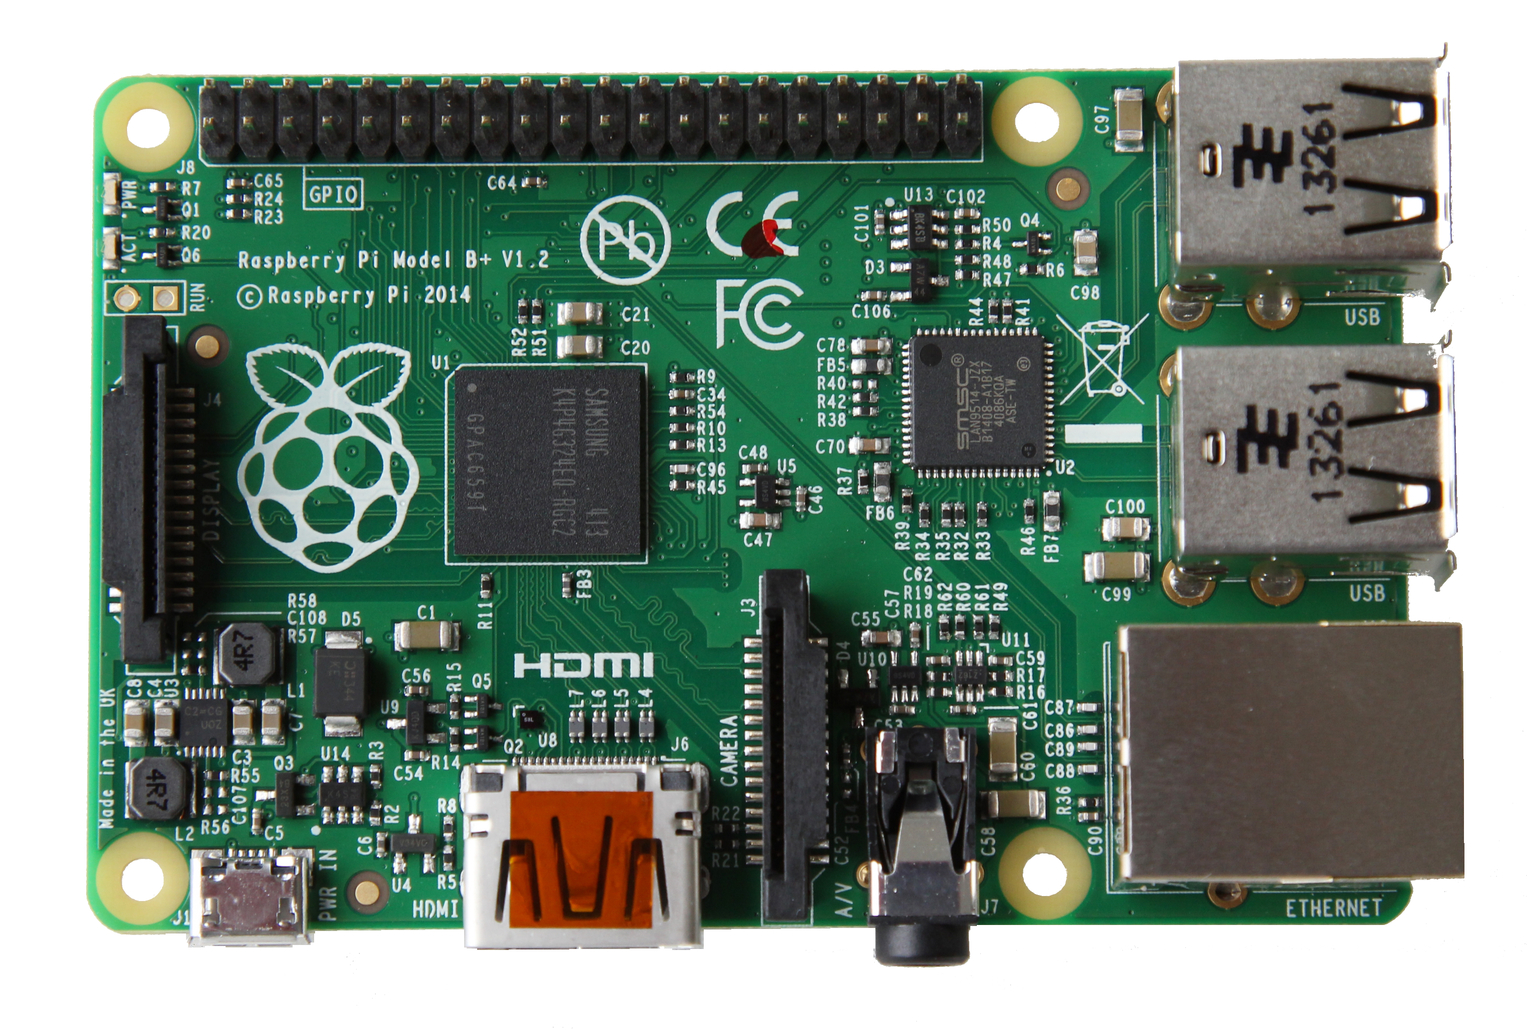
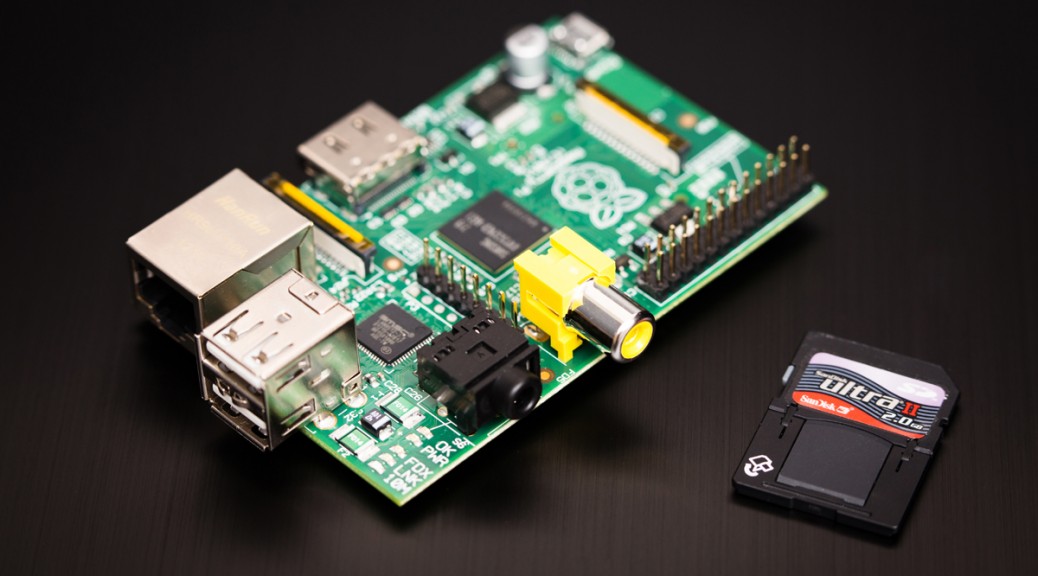
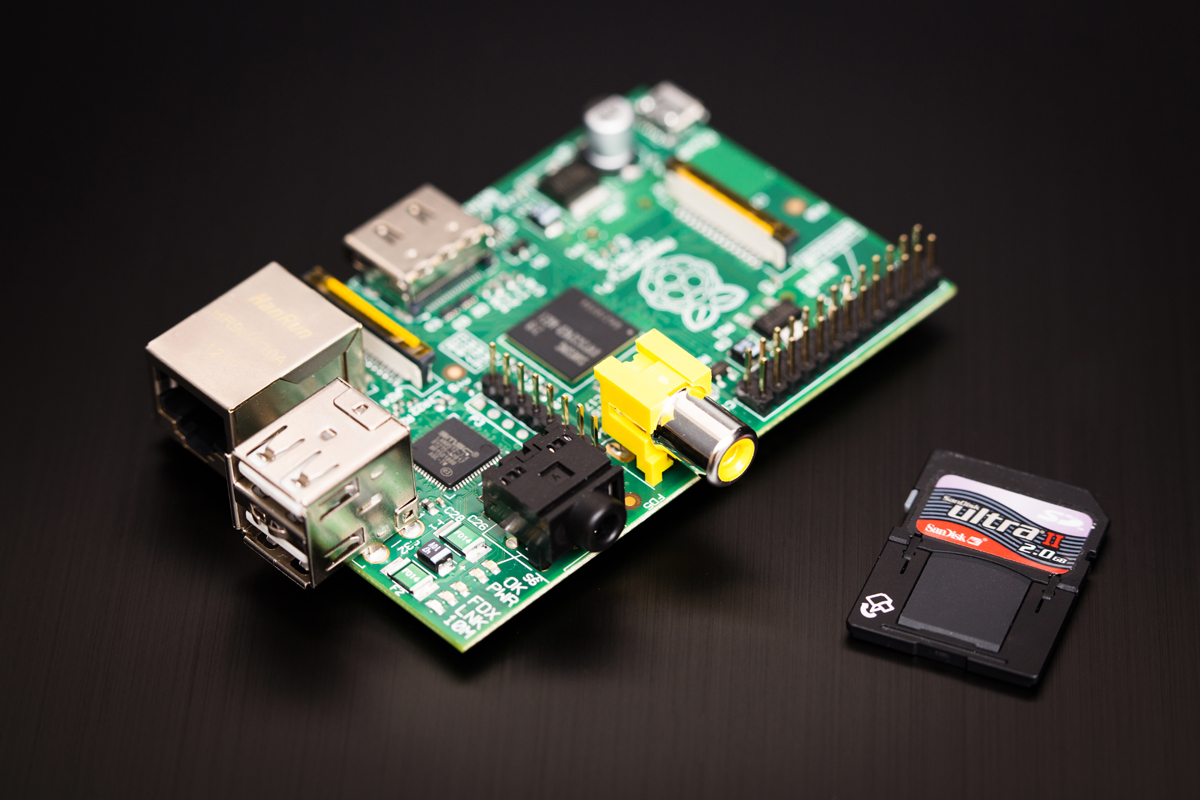
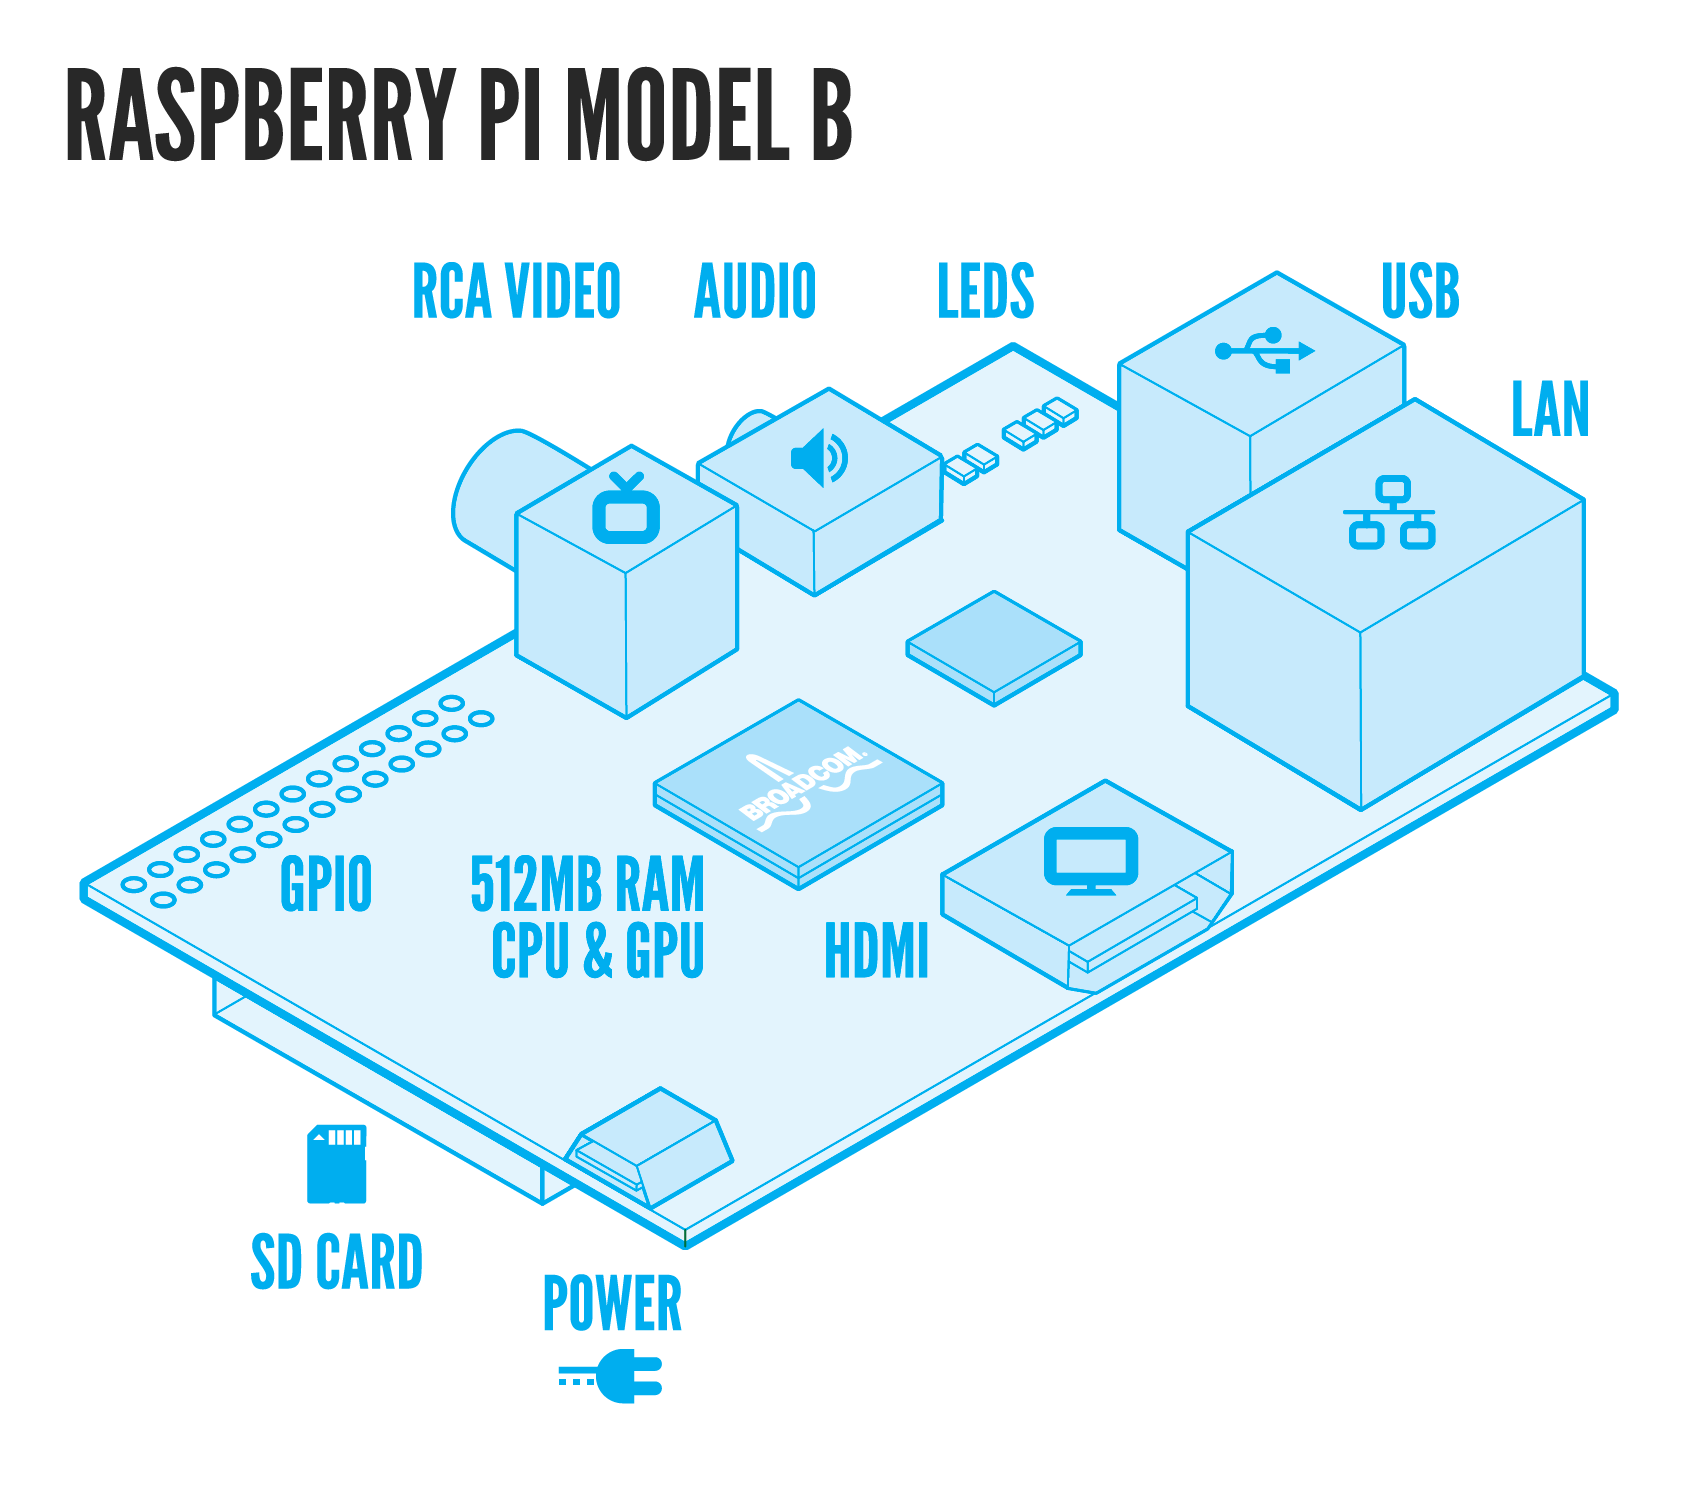
Architecture – type of processor an operating system can run. 64-bit, 32-bit processors, Raspberry Pi and mobile devices are examples.

Live CD/Medium – the operating system can be run from a CD or USB drive without installing to a hard drive. This is useful in testing different operating systems or to aid in recovering an inaccessible system.

Dual-boot – in contrast to “live CD,” installation of one or more operating systems on the same computer. My experience: install Windows first, then Linux. The Linux boot-loader plays nice with Windows but not the other way around. Reinstalling Windows will also break the Linux boot-loader. It can be repaired but will stress your Google and command line-fu skills.

Distribution – similar to “Operating System” but often targeted for a specific purpose or category: servers, desktops, beginners, education, gaming, multimedia, security, utilities, telephony, etc.

Checksum or Hash – applies an algorithm to data. It is used to track errors introduced in transmitting data or storing data. Checksum programs are standard in Linux operating systems. A third-party program like HashTab or QuickHash GUI are needed to verify a checksum in Windows.

Desktop environment – how a user interacts with multiple applications at once. This is a matter of personal preference. Popular desktop environments are: Cinnamon, GNOME, KDE, MATE, and Xfce.

Popular Linux Distributions

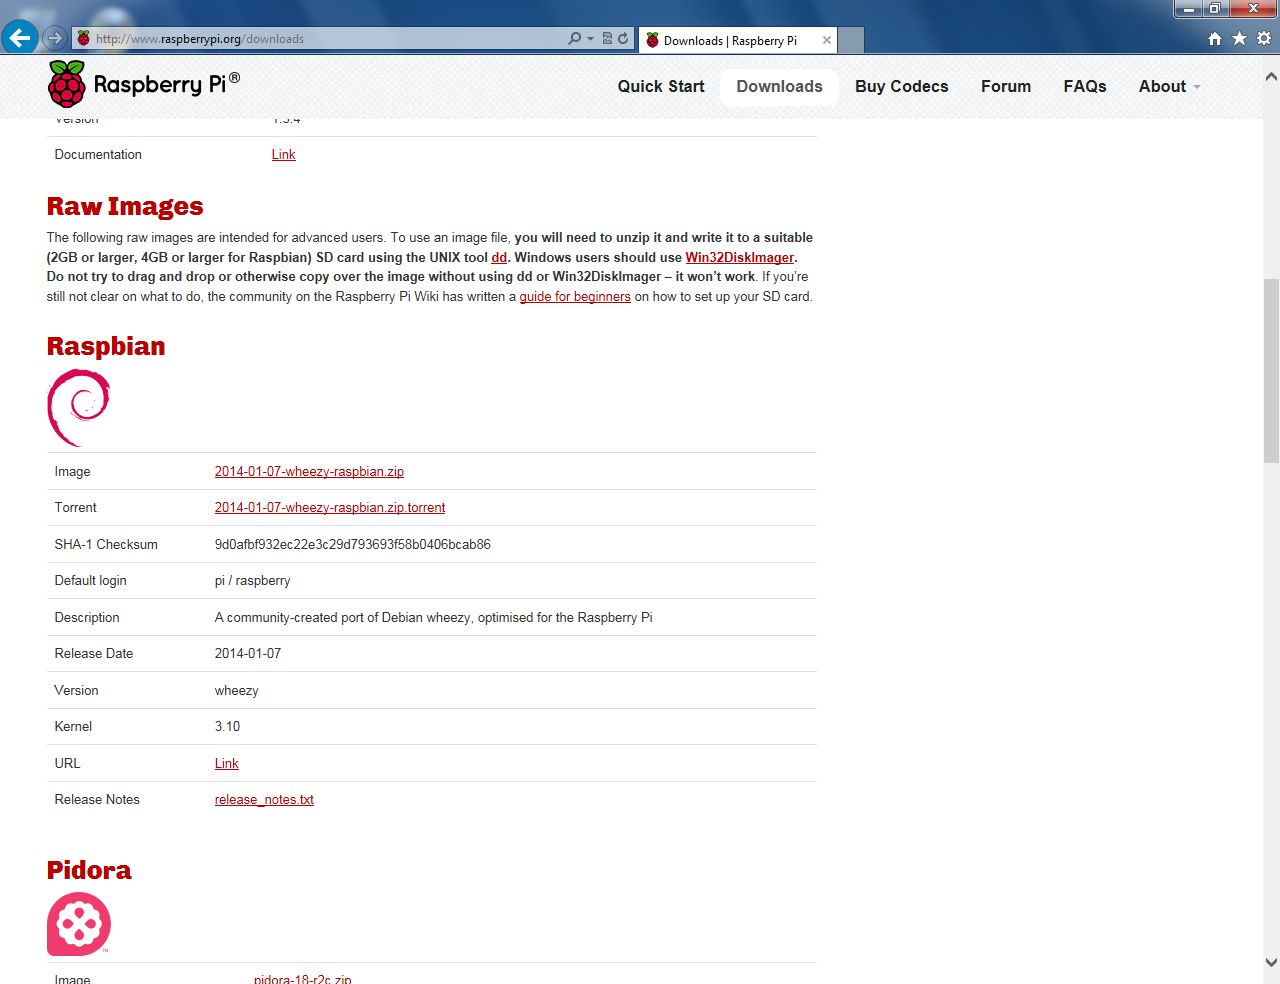
DistroWatch has just short of 900 Linux distributions in their database. Over 300 are considered active (updated in the last 2 years). Only about a handful are useful to average users. For a complete guide see “A Guide to Choosing a Distribution.”

Linux Mint

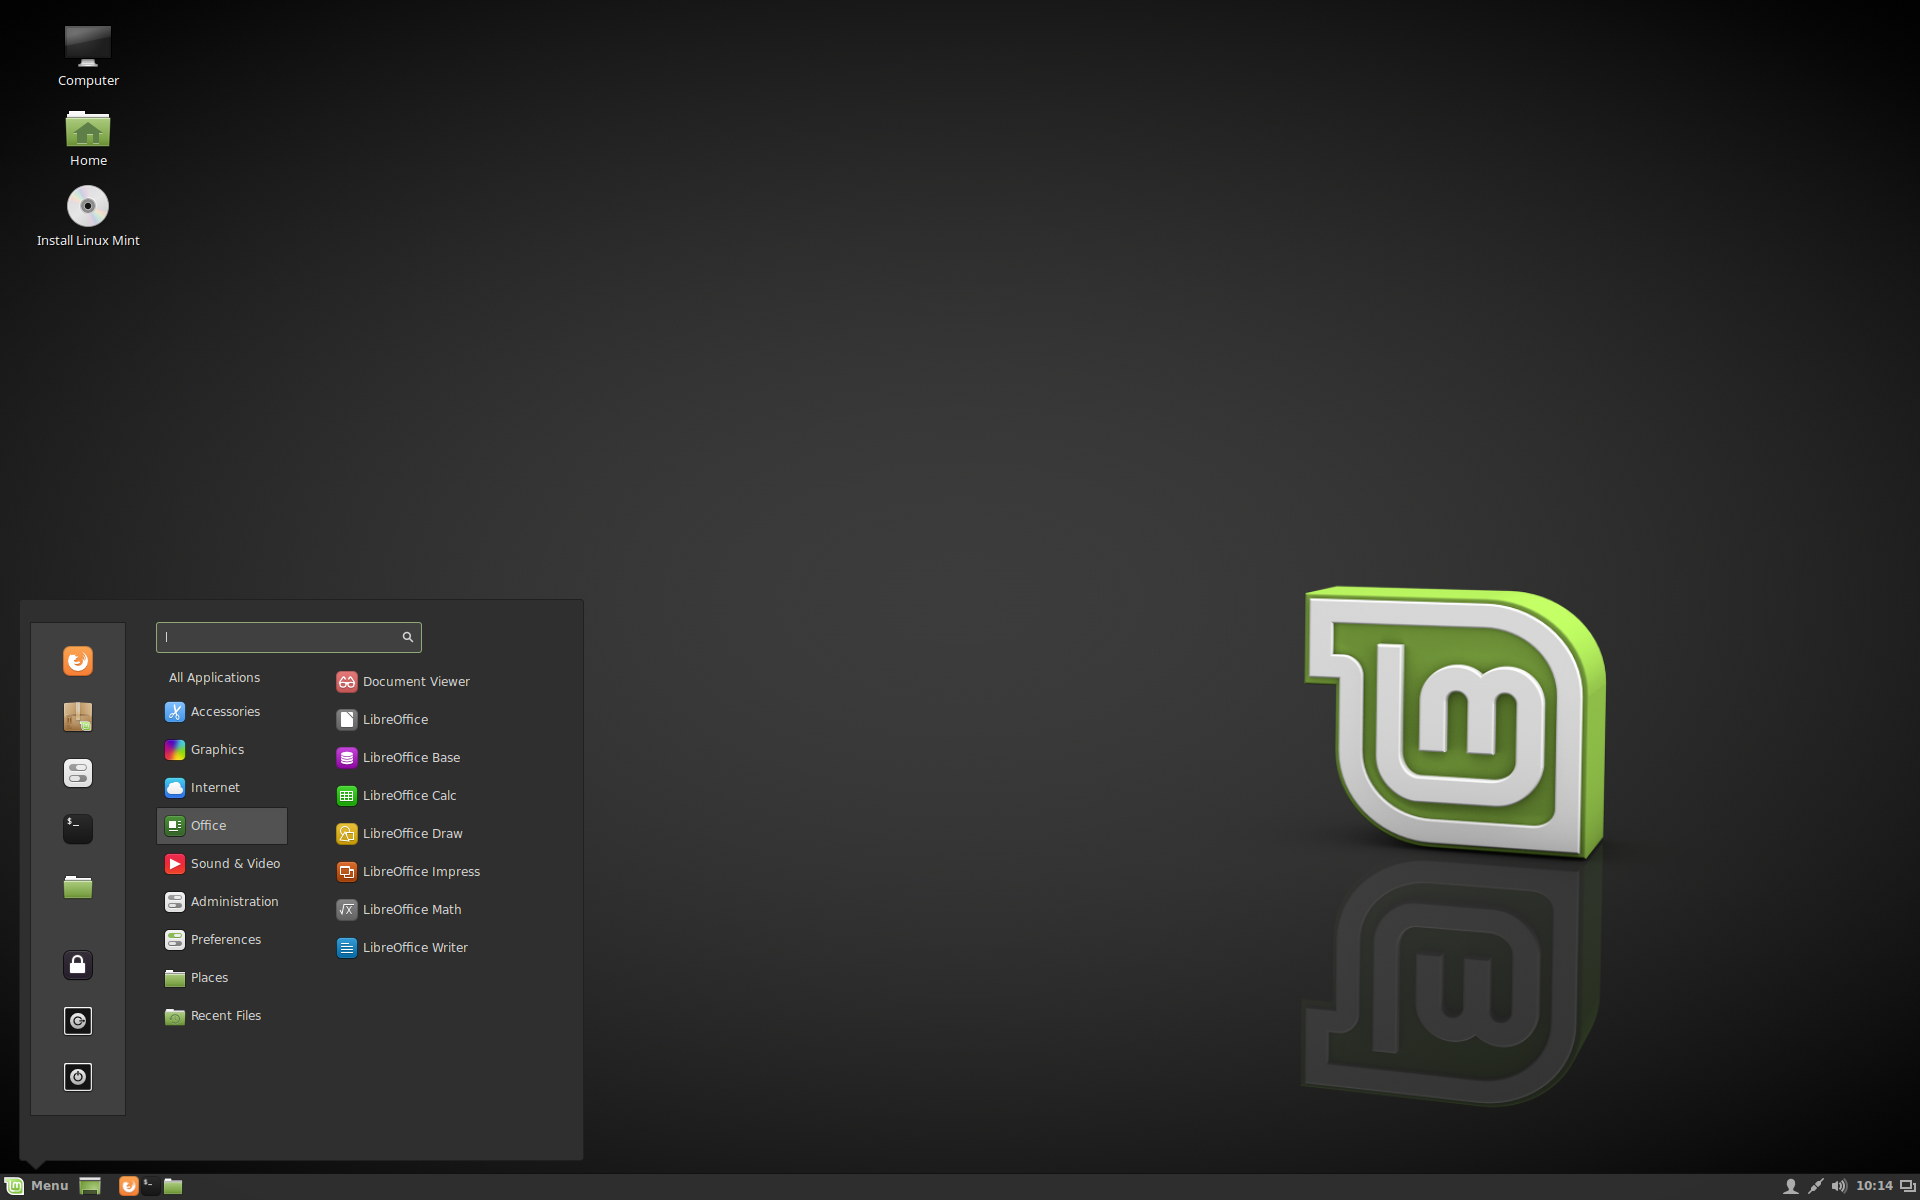
Linux Mint – launched in 2006 to address many of the drawbacks associated with a more technical operating system such as Linux. Using the Ubuntu distribution as a base, many beginner enhancements were created for usability. I had read about security concerns with Mint and began to steer users away from it. However, DistroWatch published a “Myths and Misunderstandings” debunking many of those points. If you’re a noobie and want to dive into Linux as an alternative operating system, start with Mint.

Ubuntu – Launched a few years earlier in 2004, this project took off faster than any other distribution and was touted as the way to get average people to use Linux. Learning from the mistakes of other projects and taking a professional approach to its users made it a popular choice. Excellent web-based documentation and an easy to use bug reporting facility was created. Though frequent major changes and the Unity interface – more suited for mobile devices – have driven users away.

Elementary OS – This one is for Mac users. It emulates MacOS and puts a lot of focus into ascetics.

Debian – base for the above and 120 other Linux distributions. Debian is remarkably stable due to its high level of quality control. It has support for many software packages and processor types making it a great choice for older systems. Due to that level of processor support it lacks newer technologies.

In the 300 other active Linux distributions, specialized versions serve an intended purpose:

Windows Compatibility

Users who’ve switched to Linux or Linux users that need to run a Windows app might ask: can I run Windows applications on Linux? Yes, there are a couple ways to accomplish this.

Run a virtual machine program like VirtualBox. A virtual machine emulates hardware and the functionality of a physical computer. Similar to dual-booting it requires a full installation of the desired (guest) operating system. Emulation is resource intensive for the physical (host) operating system hardware. It doesn’t make much sense to have a multi-gigabyte Windows virtual install to run a small application.

WINE running Media Player Classic and SumatraPDF (Wikipedia)

This is where WINE comes into play. Wine stands for Wine Is Not an Emulator. It’s not a virtual machine but rather a compatibility layer to translate Windows system calls into Linux system calls. WINE takes a considerable amount of configuring but programs like PlayOnLinux and Winetricks make life much easier. Neither solution is perfect and won’t succeeded in cases of complex applications or ones requiring specialized hardware.

In terms of ham radio, Windows was the overwhelming platform of choice for Morse Code and digital mode applications because everyone was using it. Older Windows only applications (MMSSTV, DigiPan) are going to run well on that platform. The good news is programs like Fldigi and QSSTV are viable replacements on Linux and, in many cases, better than their dedicated Windows counterpart. In addition, the Ubuntu package manager has an entire category dedicated to Amateur Radio applications. If you’re someone whose fed up with the badness and frustrations of Windows 10, give Linux a try.

Thanks for reading and 73… de Jeff – K8JTK

Bridge a Remote Site Network with OpenVPN Access Server

Having access to your devices over the Internet is a requirement for any admin deploying a project. Instead of running to a remote site to administer devices (making changes, applying updates and patches), it’s easier to connect remotely and make changes. Remote access poses many issues and concerns.

Security

First and foremost is security. You always, always, ALWAYS want devices connected to the Internet behind a router with a built-in firewall (NAT router). A firewall filters traffic between two networks (your ISP and home for example) and will block attempts to connect to your internal (private) network.

Device manufacturers take security for granted. Little testing and auditing takes place because the analysis is expensive for throw-away devices. This is noted in many stories including Bug Exposes IP Cameras, Baby Monitors where simply clicking “OK” on the login dialog allowed access to the Internet connected video camera. It is trivial to find these devices on the Internet because of Shodan. Shodan is dubbed the “Internet of Things Search Engine.” If you’re not familiar, think of it as the Google for devices connected directly to the internet. These could be: web servers, printers, cameras, industrial machines, bitcoin mining… Putting devices behind a firewall minimizes the risk because anything trying to peer into the network would be blocked by the firewall.

This holds true for networks you don’t control (granted access on someone else’s network). Put your stuff behind a router/firewall so they can’t see your devices and you can’t be exploited by devices on the other network.

Port Forwarding is a popular technique to only allow traffic on a specific port to a device you specify in your firewall (router). This provides little security as it still allows a potentially vulnerable service to accept incoming connections from the Internet.

Choose a good router

Couple of tips for a good router:

  • You get what you pay for. Don’t opt for cheap.
  • Opt for ones that support third-party firmware like DD-WRT and Tomato or setup a dedicated computer running pfsense or Untangle. These have proven to be more secure than stock firmware in addition to offering a more complete feature set.
  • Stick with popular models as found on Amazon, Newegg, or other tech store. They’re more likely to be reliable, well updated models.
  • Look for ones that accept USB cellular modem dongles for installations that have no accessible network connection like a remote site.

Virtual Private Network

The preferred way to connect to a remote network is to use a VPN. A VPN connects to a private network securely over the Internet. It allows the user to exchange data, use services, and connect to devices as if they were directly connected to that network. An open-source project that implements VPN technologies security is OpenVPN. OpenVPN is an application that allows for secure point-to-point communication. There are many implementations of OpenVPN including using it in many third-party router firmware (mentioned above). OpenVPN Access Server is one of the many implementations and the one used for this project.

This project was inspired by Hak5 1921 – Access Internal Networks with Reverse VPN Connections. As an Amateur Radio operator into the newer computer and digital technologies, more devices are located at remote sites.

This setup consists of:

  1. A remote network behind a firewall where devices exist you want to access. This will be a Linux server on the remote network that will act as the gateway and persistently connected to the bridge. This could be a full desktop computer purposed for something else or Raspberry Pi. Also on the same network will be a Windows machine.
  2. An unsecure/unknown network, AKA the Internet.
  3. A private server that will act as the bridge between the remote network and a device you choose.
  4. A device in a separate location that will connect to the cloud server and will be able to access the remote network. I will use a Windows machine to act as a ‘home’ computer.

This setup works in nearly all cases because the only device receiving incoming connections is the bridge server in the cloud. Firewalls block incoming connections by default. Very few block connections originating inside the network out to the Internet (egress). If a device along the way filters by content, connection attempts will be blocked. Many corporate networks are doing this kind of filtering. Otherwise the traffic looks the same as secure web traffic on port 443. No port forwarding is used.

Hosting

I recommend using an infrastructure hosting provider for the bridge server. This can cost anywhere from $5-$15 per month. The device can be anywhere on the public Internet. It must accept multiple connections on different ports but only by a couple users at a time are needed. Minimal configuration is more than sufficient. Bandwidth, latency, and up-time of all points in this setup effect reliability. My personal recommendations for infrastructure hosting providers are: Rackspace and DigitalOcean.

IP addressing

All remote networks and the home user networks cannot overlap in address space. That is they need to be differently numbered. For example, typically home networks have addressing as 192.168.1.x. The remote site(s) can’t have the same numbering (192.168.1.x). It must be different. I suggest making the remote site different enough to not cause conflict with any home users’ networks. Remote sites as 192.168.25.x, 192.168.26.x, and 192.168.27.x would work fine when the home users’ networks is addressed 192.168.0.x, 192.168.1.x, 192.168.2.x, and so on (except 25-27). Similarly addressed networks create routing conflicts and the packets will not reach the correct network.

Downsides

Cost.

In addition to hosting, a downside to using OpenVPN Access Server is licensing. While OpenVPN is Open-Source Software and OpenVPN Access Server is free, the license allows for only two concurrent tunnel connections at any one time. This means the remote site counts as one connection and the home device the second. If a second person (third device) needed access to the remote network, they would get a message saying ‘Access Server has reached its concurrent connections limit.’ The first person would need to disconnect first before the second could connect otherwise current connections will begin to be booted. Additionally, connecting two or more remote sites and a home user is not possible without purchasing licenses or running an additional bridge server. Additional licenses can be purchased for “$9.60 License Fee Per Client Connection Per Year. Support & Updates included. 10 Client minimum purchase.” $96 per year.

An alternative to OpenVPN Access Server is to setup your own (roll your own) OpenVPN server which is free. I hope to do an OVPN server setup at some point in the future.

Assumptions

This guide is step-by-step in nature, meant for beginners, with brief explanations of the steps. It will help to have an understanding of Linux commands and scripting. Capitalization is important in Linux! Understanding of basic networking concepts including determining network prefixes and CIDR notation is also required.

Program versions

I used a Windows 7 64 bit PC for configuration (and Home PC). Applications and versions used in this writeup:

  • OpenVPN Access Server 2.0.24
  • Putty 0.67
  • Ubuntu 14.04 x64 (bridge and remote servers)
  • Filezilla 3.16.0

Running Fldigi Flmsg and Flwrap on the Raspberry Pi 2

With the popularity of the Raspberry Pi and the growing need of NBEMS, I wondered if it was possible to run NBEMS programs on the Pi. This maybe of interest to those who want to make a Go Kit (box) with digital or a club wants to replace older computers in their operations center with more efficient devices.

Fldigi is the program used and developed for Narrow Band Emergency Messaging System, but it does so much more. It’s also the standard for many Ham Radio operators because of the number of modes the software will operate.

Fldigi stands for Fast Light Digital modem application created by W1HKJ (David Freese, Jr.) and associates. Flmsg is a forms manager with standardized forms like MARS, plaintext messages, Radiograms, Red Cross, and Weather report forms. Flwrap is a file encapsulation and compression tool allowing for reception of a file exactly like the original.

The Fldigi application is open source, public license software meaning it’s free and available for auditing. With the source code available for Linux, I wondered if it was possible to compile the application on the Raspberry Pi.

At first I had some problems with the project. After (wasting) alot of time on it, I had given up. Only to find out the power supply I had been using was the cause of the issues.

Requirements

Work with my SignaLink USB. As a standard with my projects, the Pi can administered through SSH and VNC if needed. On Windows, I use PuTTY and TightVNC.

Assumptions

This guide is step-by-step in nature, meant for beginners, with brief explanations of the steps. It will help to have an understanding of Linux commands and scripting. Capitalization is important in Linux!

Check my other posts for setup guides on using your radio interface (though written for Windows) and Fldigi, Flmsg, and Flwrap.

Program versions

Applications and versions used in this writeup:

  • Windows 7 64 bit
  • Raspbian Jessie 2015-09-24
  • Win32DiskImager 0.9.5
  • PuTTY 0.65
  • TightVNC 2.7.10 64 bit
  • Fldigi 3.23.04
  • Flmsg 2.0.12
  • Flwrap 1.3.4

Build times

I did a face off for build times between the later model Pi versions: B+, 2, and 3. Later iterations will be faster. The results are in the format of the Linux command time, which contrary to it’s name does not set the time. It gives statistics about this program run. They consist of the elapsed real time between invocation and termination, the user CPU time, and the system CPU time. Later versions than listed above were used in this face off: Raspbian Jessie 2016-05-27, Fldigi 3.23.10, Flmsg 3.0.0, Flwrap is the same at 1.3.4.

Raspberry Pi B+

Failed. Apparently there is an issue running the Make command for Fldigi with versions later than the ones I originally used in this writeup. By the error messages this is an internal g++ compiler error. Make does not fail on the Pi 2 and 3 which probably means it’s a hardware issue (out of memory).

The error is “Warning: partial line at end of file ignored” for dialogs/fldigi-confdialog.o.

Raspberry Pi 2

real 21m49.783s
user 72m9.970s
sys 2m39.290s

Raspberry Pi 3

real 12m50.129s
user 42m8.980s
sys 1m19.160s

Parts list

Listed below are all the parts needed to get this project working. It is noted when items can be left out or substituted.

That’s all the parts needed for this project. Check out the AdaFruit Raspberry Pi page for other hardware that might be useful, like the USB to PS/2 adapter for example. Many of these parts are included in the Raspberry Pi Starter Pack.

If the Pi is setup where there may not be Internet, want to consider purchasing a Real Time Clock (RTC) addon. The Pi will keep time after power has been removed. Of course the time would just have to be set each time.

Flmsg custom forms

In order for custom forms to be used in Flmsg, version 2.0.17 or later must be used. There was a bug in previous versions that didn’t allow the forms to be parsed correctly. In addition, another browser needs to be installed as the default is unable to connect to the webserver created by Flmsg. Thanks to Ken – W0KAH for determining this issue and getting it resolved with the program author.

Linux package installer

The version available from the package manager could be installed but that version is several revisions behind which won’t have the latest enhancements. Some repositories don’t have Flmsg and Flwrap which makes it hard for NBEMS operation.

sudo apt-get -y install fldigi

sudo apt-get -y install flmsg flwrap
If it doesn’t work, you’ll get a message like:

E: Unable to locate package flmsg

Getting Started with Fldigi – Including Flmsg and Flwrap

Updated: 03/26/2017

Table of Contents

Introduction – page 1

Download and installation – page 2
-All 3 programs

Configuration – page 3
-Fldigi
-Flmsg

Receiving
-Fldigi – page 4
-Flmsg – page 5
-Flwrap – page 6

Transmitting
-Fldigi – page 7
-Flmsg – page 8
-Flwrap – page 9

Introduction

This document will show installation, setup, and basic use of Fldigi, Flmsg, and Flwrap. Fldigi stands for Fast Light Digital modem application created by W1HKJ (David Freese, Jr.) and associates. Flmsg is a forms manager with standardized forms like MARS, plaintext messages, Radiograms, Red Cross, and Weather report forms. Flwrap is a file encapsulation and compression tool allowing for reception of a file exactly like the original.

The Fldigi suite has many applications and can operate many, many different modes. For the list of modes, click the “Op Mode” menu in Fldigi. A quick description of the Fldigi suite from W1HKJ:

Fldigi – Digital modem program.
Flarq – AutomaticReQuest file transfer program (works with Fldigi).
Flamp – Amateur Multicast Protocol file transfer program.
Flwrap – File encapsulation for error free transfers over amateur radio.
Flmsg – Formatted message manager – 25 forms including Radiogram.
Flrig – Transceiver control program.
Flwkey – Winkeyer control program.
Fllog – Logbook program – works with Fldigi, Flwkey etal.
Flnet – Net management and database program.

The Digital Net typically operates Fldigi using NBEMS standard methods for VHF and UHF communication. NBEMS stands for Narrow Band Emergency Messaging System (or Software) (http://www.arrl.org/nbems). NBEMS VHF/UHF operating mode is MT63-2KL and Olivia 8/500 or 16/500 for HF operation. HF digital operation is considerably different than VHF/UHF FM digital. HF station operating tips are not covered however application usage is similar.

Flwrap is no longer considered part of NBEMS but is a useful program to send small files.  If only operating NBEMS, Flwrap can be omitted and ignored.

This is written with the beginner in mind and many concepts outlined step-by-step. It will provide direction for further experimentation on your own or on the net and direction for troubleshooting.  For SignaLink and audio setup, visit the Radio Interface Setup post.

Prepared for The Lake Erie Amateur Radio Association’s Digital Net (http://www.leara.org/).

Program versions

Program versions used in this document.

Windows 7 – 64 bit

Fldigi 3.23.21

Flmsg 4.0.1

Flwrap 1.3.4

Resources

http://www.w1hkj.com/beginners.html – Beginners guide to Fldigi.

http://www.w1hkj.com/FldigiHelp/index.html – Fldigi help.

http://www.w1hkj.com/flmsg-help/index.html – Flmsg help.

http://www.w1hkj.com/Flwrap/index.html – Flwrap help.

Calibration

Sound card calibration for some modes Fldigi supports is important; it is recommended regardless of mode. See the “Sound card clock calibration” section in the “Radio Interface Setup – For getting started with Ham Radio Sound Card digital modes” document. Fldigi method: http://www.k8jtk.org/2015/10/19/nbemsfldigi-sound-card-calibration/.

ADS-B Decoding with RTL-SDR, ADSBSharp, and Virtual Radar Server

Update: ADSBSharp (ADSB#) is no longer available and has been deprecated.  Copies can be found by doing some searching.  It is not available from the authors site as described in this post for the RTL-SDR. A program like RTL1090 or Dump1090 (or any of its forks) can be substituted.  The author is focusing on AirSpy devices and ADSBSpy is available from the same site as SDR#.


An interesting project I came across using the RTL-SDR dongle is to decode ADS-B data.  ADS-B stands for Automatic dependent surveillance – broadcast allowing aircraft to be tracked by ground stations and provide situational awareness to nearby aircraft.  It is part of the FAA’s NextGen project and mandated by agencies across the globe.  ADS-B uses a frequency of 1090 MHz.

Thanks goes out to Robert Nickels – W9RAN and his article in the January 2014 edition of QST which covers this project and how to make a Collinear Array for 1090.  HAK5 also did a couple episodes showing how to make an antenna and configure Virtual Radar Server.

adsb-hub-diagram
Block diagram of the ADS-B Hub setup. From: QST, January 2014.

Program versions

I used a Windows 7 64 bit PC.  Applications and versions used in this writeup…

SDRSharp: 1.0.0.1330
ADSBSharp: 1.0.11.1
Zadig: 2.1.0.658
Virtual Radar Server: 2.0.2
SBS Resources: 6.7

Parts list

Listed below are all the parts needed to get this project working.

Antenna with receive coverage of 1090 MHz.
RTL-SDR dongle.

I had a ham radio antenna that I used.  It is the MP Antenna 08-ANT-0860 Ultra Mobile Antenna if you’re interested.  To build an antenna, see the QST article above.  The one that comes with the dongle will work but at short range.

Dongle Bits: RPi B+ and $20 SDR

This article appeared in the The Lake Erie Amateur Radio Association newsletter The Spirit of ’76 and ’88 August 2014 edition and The Wood County Amateur Radio Club newsletter CQ Chatter September 2014 edition.

Read the rest of the series in the Dongle Bits articles category.


Before we begin talking about the RTL-SDR dongle as promised, some big news broke. The Raspberry Pi Foundation released the Raspberry Pi Model B+. They point out this is not a “Raspberry Pi 2” but an evolution of the model B board. Price is the same at $35. Key improvements are:

  • More GPIO: 40 pins with the first 26 pins the same as the Model B.
  • More USB: 4 USB 2.0 ports with better hotswap and overcurrent behavior.
  • Micro SD: SD card socket has been replaced with a micro SD version.
  • Lower power consumption: Reduced power consumption by 0.5W to 1W.
  • Better audio: The audio circuit incorporates a dedicated low-noise power supply.
  • Neater form factor: Aligned the USB connectors with the board edge, moved composite video onto the 3.5mm jack, and added four squarely-placed mounting holes.
Raspberry Pi Model B+

For more details, diagrams, and videos, please visit Introducing Raspberry Pi Model B+. Because of the new configuration layout many accessories for the B board will not work with the B+ board.

Now, RTL-SDRs: RTL-SDR is a term used describe a very cheap software defined radio. Other names for this device are: RTL2832U, DVB-T SDR, or “$20 Software Defined Radio.” RTL refers to Realtek Semiconductor Corp most widely known for their computer IC network controllers, card readers, and very popular High Definition Audio codec used in many laptop and desktop computers.

SDR refers to “software defined radio.” Typically radio components like mixers, filters, amplifiers, modulators/demodulators, and detectors are implemented in hardware level components. In SDRs these components are implemented by way of software running on a PC or embedded system. The most widely known SDR in ham radio is FlexRadio.

RTL-SDR Dongle

The RTL-SDR is a DVB-T TV tuner dongle based on the RTL2832U chipset. DVB-T stands for Digital Video Broadcasting – Terrestrial used in the eastern hemisphere (Europe, Asia, Africa, and Australia) as their over-the-air broadcast standard. In contrast, North America uses ATSC (Advanced Television Systems Committee) standard for digital television transmission over-the-air, cable, and satellite networks (sources: DVB-T and ATSC).

Antti Palosaari, Eric Fry, and Osmocom were hackers playing around with these receivers and found the signal data could be accessed directly. This allowed a cheap DVB-T TV tuner to be converted into a wideband software defined radio via a new software driver and used as a computer based radio scanner. Add in software packages to expand the capability and you have a system that would cost hundreds or even thousands of dollars.

RTL-SDR Internal Hardware

The current popular dongle is the NooElec NESDR Mini SDR & DVB-T USB Stick (R820T). It comes with an antenna that only works well for very strong signals. Yes, it does come with a Remote but you don’t need it for SDR. They guarantee the NESDR will have an electrostatic discharge diode (ESD) in their dongles. This is useful when handling the dongle or traveling where the possibility of frying it is greater. However, as I found out, if you drop one of them upon returning from Dayton you’re better off getting another because it just won’t work the same!

Let’s dive into some specifics:

  • RTL2832U Chipset close-up

    Frequency range: depends on the device and chipsets used. The NooElec NESDR has a receive range of 24 – 1766 MHz. The previous Elonics E4000 hotness covered 52 – 2200 MHz. However, that company went out of business making the dongle rare and more expensive.

  • Sample rate: maximum theoretical sample rate is 3.2 MS/s (mega samples per second). The optimal sample rate (without any dropped samples) is 2.4 MS/s.
  • Analog-to-digital conversion resolution: 8 bits.
  • Input impedance: 75 Ohms. The mismatch loss when using 50 Ohm cabling is minimal.
  • Connector type: most use an MCX connector. The E4000 uses a
    MCX Connector

    PAL connector.

These $20 dongles only receive. Other dongles offer better performance but come at a higher price. The FunCube Dongle is an example of this. HackRF (10 – 6000 MHz) and BladeRF (300 – 3800 MHz) are SDR radios that will transmit over their given frequency range. That’s right, wideband transmit! These are even more expensive at $300 – $650 (sources: About RTL-SDR and Buy RTL-SDR Dongles).

What about HF? The dongles themselves don’t cover HF. There are two options for reception: use an upconverter to receive the frequency and convert it up to a frequency the RTL-SDR dongle can receive. Make a hardware modification to allow “direct sampling mode.” HF upconverters are anywhere from $50 – $100 (cheaper if you build your own) and offer better performance over the hardware mod. KF7LZE has a round-up of HF upconverters.

This quickstart guide shows how easy it is to setup and start receiving signals. Windows users will probably start out with SDRsharp (also written SDR#) to receive signals. Linux users have a couple options; GNURadio being the best though it is unwieldy because you build out the SDR from scratch.

These make it easy to receive FM broadcast (WFM), NOAA weather radio, amateur radio, or public service frequencies that are still analog. I will show uses and applications of these SDR receivers including a reason you might want to get two (or more) dongles. Hint: it’s not to replace one after Dayton!

Dongle Bits: DVAP Pi Hotspot

This article appeared in the The Lake Erie Amateur Radio Association newsletter The Spirit of ’76 and ’88 April 2014 edition and The Wood County Amateur Radio Club newsletter CQ Chatter May 2014 edition.

Read the rest of the series in the Dongle Bits articles category.


One of the questions I was asked about the Raspberry PI was “why would I want to get one of these?” I can say with absolute certainty: the answer isn’t going to be the same for everyone.  My recommendation is to find a project that really gets you excited!  Go out and do it.  Then do it better.  Make it a learning tool as it was intended.  The hardware, operating system, and many projects are published under the Open Source model.  The concept of Open Source is something that can be freely used, changed, and shared.  This means YOU can download a project and “hack” it yourself.  From there, explore other projects or prototype one of your own!

In my previous article, I mentioned two ways to find projects.  For an initial project, I suggest finding something that has a good amount of detail in the instructions.  This way you won’t be frustrated if they are vague or unclear.  Projects with videos and screen-shots are always helpful for me to visualize what is taking place and I’m able to check my settings with theirs.  On the other hand, if the project doesn’t work, it’s a great opportunity to sharpen troubleshooting skills.

After finding out about the Raspberry Pi and seeing projects appearing in blogs and podcasts, the project that got me excited was the “DVAP Pi Hotspot.”  If you’re on D-STAR, you probably know about a couple dongles that make D-STAR available to you if there is not a repeater nearby.  These dongles traditionally need a PC computer, USB connection, and Internet connection to access the D-STAR network.

The blue box is called the “DV Dongle.”  It is D-STAR in a box.  It uses your computer speakers and microphone for sending and receiving Digital Voice (DV).  This dongle does the encoding and decoding internally.  I don’t know of any Raspberry Pi projects using the DV Dongle yet.  The second is the red box called the “DV Access Point Dongle” or DVAP.  This device has a low power, 10 mW 2m or 440 transceiver that works with a D-STAR radio.  It passes the bits from the Internet & D-STAR network over the air to your D-STAR radio and vice versa.  The radio does the encoding and decoding.  These devices are great for traveling as they can be hooked to a laptop and used in a hotel room to link back to your home repeater or favorite reflector.

I had been hearing about this DVAP Pi Hotspot on D-STAR nets.  Two advantages were the unit was self-contained, making it no longer necessary to keep a desktop computer running with the DVAP connected.  Since the Raspberry Pi draws far less power than a desktop, some were leaving their DVAP Pi running all the time.  The second advantage was it could be easily converted into a mobile setup.

I follow the guys over at AmateurLogic.TV.  They’re the longest running podcast dedicated to Amateur Radio and technology.  In episode 57, Tommy, N5ZNO, did a segment on how he setup his DVAP Pi.  The project seemed easy enough and the setup was just like how I wanted mine to operate: “headless” where the app starts automatically so a video monitor is not required, has SSH (Linux Secure SHell) enabled, and connects to a mobile hotspot.  Soon after seeing the segment, I ordered my Raspberry Pi.

I completed the project and got it up and running in short order.  IMG_0003 Wow!  I was so amazed I got to experiment with this small, but powerful computer and have a portable D-STAR hotspot I can take with me anywhere.  Using a cell phone for the Internet connection, I am limited to the coverage area of my cell phone provider, big red.  Their coverage is very good and I don’t have many disconnects.  I use a portable charging station (fancy word for “battery pack”) as the power source.  The pack has 2 USB ports so I can run the Raspberry Pi and charge my cell phone at the same time.  I’ve also used my 1A micro-USB car charger to power the Raspberry Pi.  If the setup is on a home network, there is no need to worry about cell coverage or a portable power source.

I’ll leave the video tutorial to Tommy.  I did a detailed post on my site that shows, step-by-step, how I set mine up.  It’s a little more advanced than Tommy’s setup but it fixed an issue I was having.

When I booted the Raspberry Pi and tried to link the DVAP to a gateway, I frequently got a “gateway unknown” error message.  This error means the remote D-STAR system doesn’t exist or is offline.  However, neither was the case.  The problem was the DVAP software was not able to authenticate my callsign with the D-STAR authentication servers.  This happened because the WiFi interface wasn’t fully operational before the DVAP software tried to log me in.  I was running into this error enough for it to be frustrating.  Usually a reboot would work, however a few times I had to reboot 3 or 4 times.  I fixed the issue with a Linux shell script (like a DOS batch file) to make sure the Internet was accessible before the DVAP software is started.  Volá, fixed my problem! 🙂

Additionally, I added to the setup by installing VNC.  VNC (Virtual Network Computing) is a way to view and control the graphical desktop of the Raspberry Pi (or any computer) over a network connection.  Since there are SSH and VNC applications for smartphones, I am able to fully control the Raspberry Pi from my phone with it connected to the WiFi hotspot application.

IMG_7746That’s the first project I did with my Raspberry Pi.  I’ve done a couple other projects and see some other ones I would like to try out.  Right now, I mostly use my Raspberry Pi as a DVAP hotspot.

Next time, we’ll take a look at how other hams are using microcomputers in their projects.  If you have any projects using the Raspberry Pi, Arduino, Galileo, BeagleBoard/Bone, or any others, let me know.

DVAP Pi Hotspot

DVAPDongleOne of my interests is digital modes, so I’m a D-STAR fan.  My first project with the Raspberry Pi would be the DVAP Pi Hotspot.  The DVAP normally connects to a computer and has a low power, 10 mW 2m or 440 transceiver that works with a D-STAR radio.  It passes the bits from the Internet & D-STAR network over the air to your D-STAR radio and vice versa.  The radio does the encoding and decoding.

Thanks goes out to the guys over at AmateurLogic.TV.  Tommy, N5ZNO, did a DVAP Pi segment in episode 57 that I used to build mine.

Requirements

Much like Tommy, my DVAP Pi had to be portable (battery operated), headless (no monitor, autostart), use a cellphone WiFi hotspot, and administered through SSH and VNC if needed.  On Windows, I use PuTTY and TightVNC.  On Android, I use JuiceSSH and PocketCloud.

Assumptions

With this tutorial, I’m assuming anyone setting this up is already familiar with D-STAR, registered on the D-STAR network, and familiar with using the DVAP on a PC.

This guide is step-by-step in nature, meant for beginners, with brief explanations of the steps.  It will help to have an understanding of Linux commands and scripting.  Capitalization is important in Linux!

DPRS problem

I was hoping to use the DVAP Pi as a portable DPRS (D-STAR APRS) iGate to report location data to the APRS network.  It currently does not.  It only reports D-PRS data to the gateway system you’re connected to.  No further.  It will show up on the gateway’s DPlus Dashboard but the DVAP Tool nor the gateway/reflector/repeater will not pass location data to the APRS network.

If you come over the RF side of a repeater with a GPS enabled radio, it will pass the location data to the APRS network.  The repeater will not pass location data to the APRS network when transmitting through a DVAP linked to the system.

This is true when the DVAP is connected to a PC or the Pi.

Program versions

I used a Windows 7 64 bit PC. Applications and versions used in this writeup:

  • Wheezy Raspbian 2014-01-07
  • Win32 Disk Imager 0.9
  • PuTTY  0.63
  • TightVNC 2.7.10 64 bit
  • DVAPTool 1.04
  • Mobile Hotspot ? (added after publishing)
  • JuiceSSH ? (added after publishing)
  • PocketCloud ? (added after publishing)

Parts list

Listed below are all the parts needed to get this project working.  It is noted when items can be left out or substituted.

That’s all the parts needed for this project.  Check out the AdaFruit Raspberry Pi page for other hardware that might be useful, like the USB to PS/2 adapter for example.  Many of these parts are included in the Raspberry Pi Starter Pack.

Downloads

01_raspberry_pi_downloads

Go to http://www.raspberrypi.org/downloads and find the “Raw Images” section.

Download the Win32DiskImager and Raspbian image (800 MB).  Save them in your Downloads folder.

Dongle Bits: Raspberry Pi and Arduino

I’m writing a series for The Lake Erie Amateur Radio Association newsletter The Spirit of ’76 and ’88 about microcomputers.  Here is the first article that appeared in the February 2014 edition.  The series also  appears in The Wood County Amateur Radio Club newsletter CQ Chatter April 2014 edition. The series is titled “Dongle Bits.”

Read the rest of the series in the Dongle Bits articles category.


Raspi_Colour_RI first heard about the Raspberry Pi about a year and a half ago on a podcast I watch called Hak5 in episode 1117. The founder created these small, cheap computers to promote computer science skills in schools. I liked the idea because students would be using technology standards like the ARM processor, HDMI, and Linux. ARM processors are used in many embedded systems because of its system-on-a-chip architecture. It may include the CPU, video, audio, memory, and input/output interfaces on a single chip. ARM processors are used in just about every smartphone and tablet.

Two current popular micro boards are the Arduino Uno and Raspberry Pi. Galileo is a recent Arduino clone from Intel using their architecture. Devices like these are innovations coming out of a prolific DIY, maker/hacker, and education communities. Just to point out, “hacker” in the sense that hams were considered the first hackers: modifiers and builders. Not the people that steal your credit card data.

This overview will focus on the Raspberry Pi. I see more projects using it and I chose it because of my familiarity with Linux. The Raspberry Pi Foundation describes the device as “…a credit-card sized computer that plugs into your TV and a keyboard. It is a capable little computer which can be used in electronics projects, and for many of the things that your desktop PC does, like spreadsheets, word-processing and games. It also plays high-definition video. We want to see it being used by kids all over the world to learn programming.
(http://www.raspberrypi.org/faqs#introWhatIs).

7513051848_9a6ef2feb8_o

The “Pi” comes in 2 versions, revision A & B. Rev. A sold for about $25 and had fewer components. Rev. B is about $35 and comes fully assembled. For simplicity, I will talk about rev. B as it is the current standard. It’s a great choice for all kinds of projects due to the price point. If you’re doing a project and blow up your Pi, it’s not going to break the bank replacing it compared a desktop. The specs are:

RaspiModelB
Raspberry Pi Model B Components

• Weight of 1.6oz.
• 512 MB shared RAM.
• Video input connector for the optional Raspberry Pi camera.
• Video output over RCA or HDMI.
• Audio out over HDMI or 3.5mm headphone jack.
• SD card storage.
• 2 USB ports.
• 1 microUSB for power.
• 10/100 Ethernet.
• GPIO header (General purpose in/out).
(http://en.wikipedia.org/wiki/Raspberry_Pi)

On the software side, the Raspberry PI can run various distributions of Linux. A distribution is the kernel operating system distributed with different tools and programs. Weezy Raspbian is the standard distribution. Project authors may further customize a distribution or make one of their own. As an example, the Occidentalis distribution has modules for Pulse Width Modulation (PWM) and servos already loaded.

Arduino Uno R3
Arduino Uno R3

Though the Arduino and Raspberry Pi are similar devices, they are very different. The Arduino boots its firmware which allows access to all features over the USB port. An application can be loaded or have it run an instruction set when it boots. It is very simplistic in that it can read sensor data, process data, and produce output. All of this functionality must be programmed into this micro-controller.

The Raspberry Pi can run a full operating system with internet browsing, word processing, games; making it a micro-computer. The Pi does not have a Real Time Clock (RTC). The time is expected to be set via the Internet. Development and hacking of the Pi is typically software based, but it can do functions via the GPIO pins. It is a better choice for embedded systems and projects that require interactivity or greater processing power. A new project or other operating system can be loaded by changing SD cards.
(http://codeduino.com/information-and-news/hardware/arduino-vs-raspberry-pi/
http://www.makeuseof.com/tag/arduino-vs-raspberry-pi-which-is-the-mini-computer-for-you/)

A common issue with the Pi is that it can be “touchy.” Problems are usually related to peripheral incompatibilities and lack of current. The Pi should have at least a 1A power supply. If more than two USB ports are needed, use a powered USB hub. When purchasing the Pi and associated hardware, my strong recommendation is to check reviews, the verified components list, or use AdaFruit. Everything on that page will work with the Pi. There are great DIY projects and tutorials on AdaFruit.

I have been telling people Google (or Bing, you know, whichever) “Raspberry Pi [your hobby]” or poke around project sites for ideas. You’re bound to find something interesting!

The coming articles in this series will touch on some Raspberry Pi projects and cover other computer related projects.